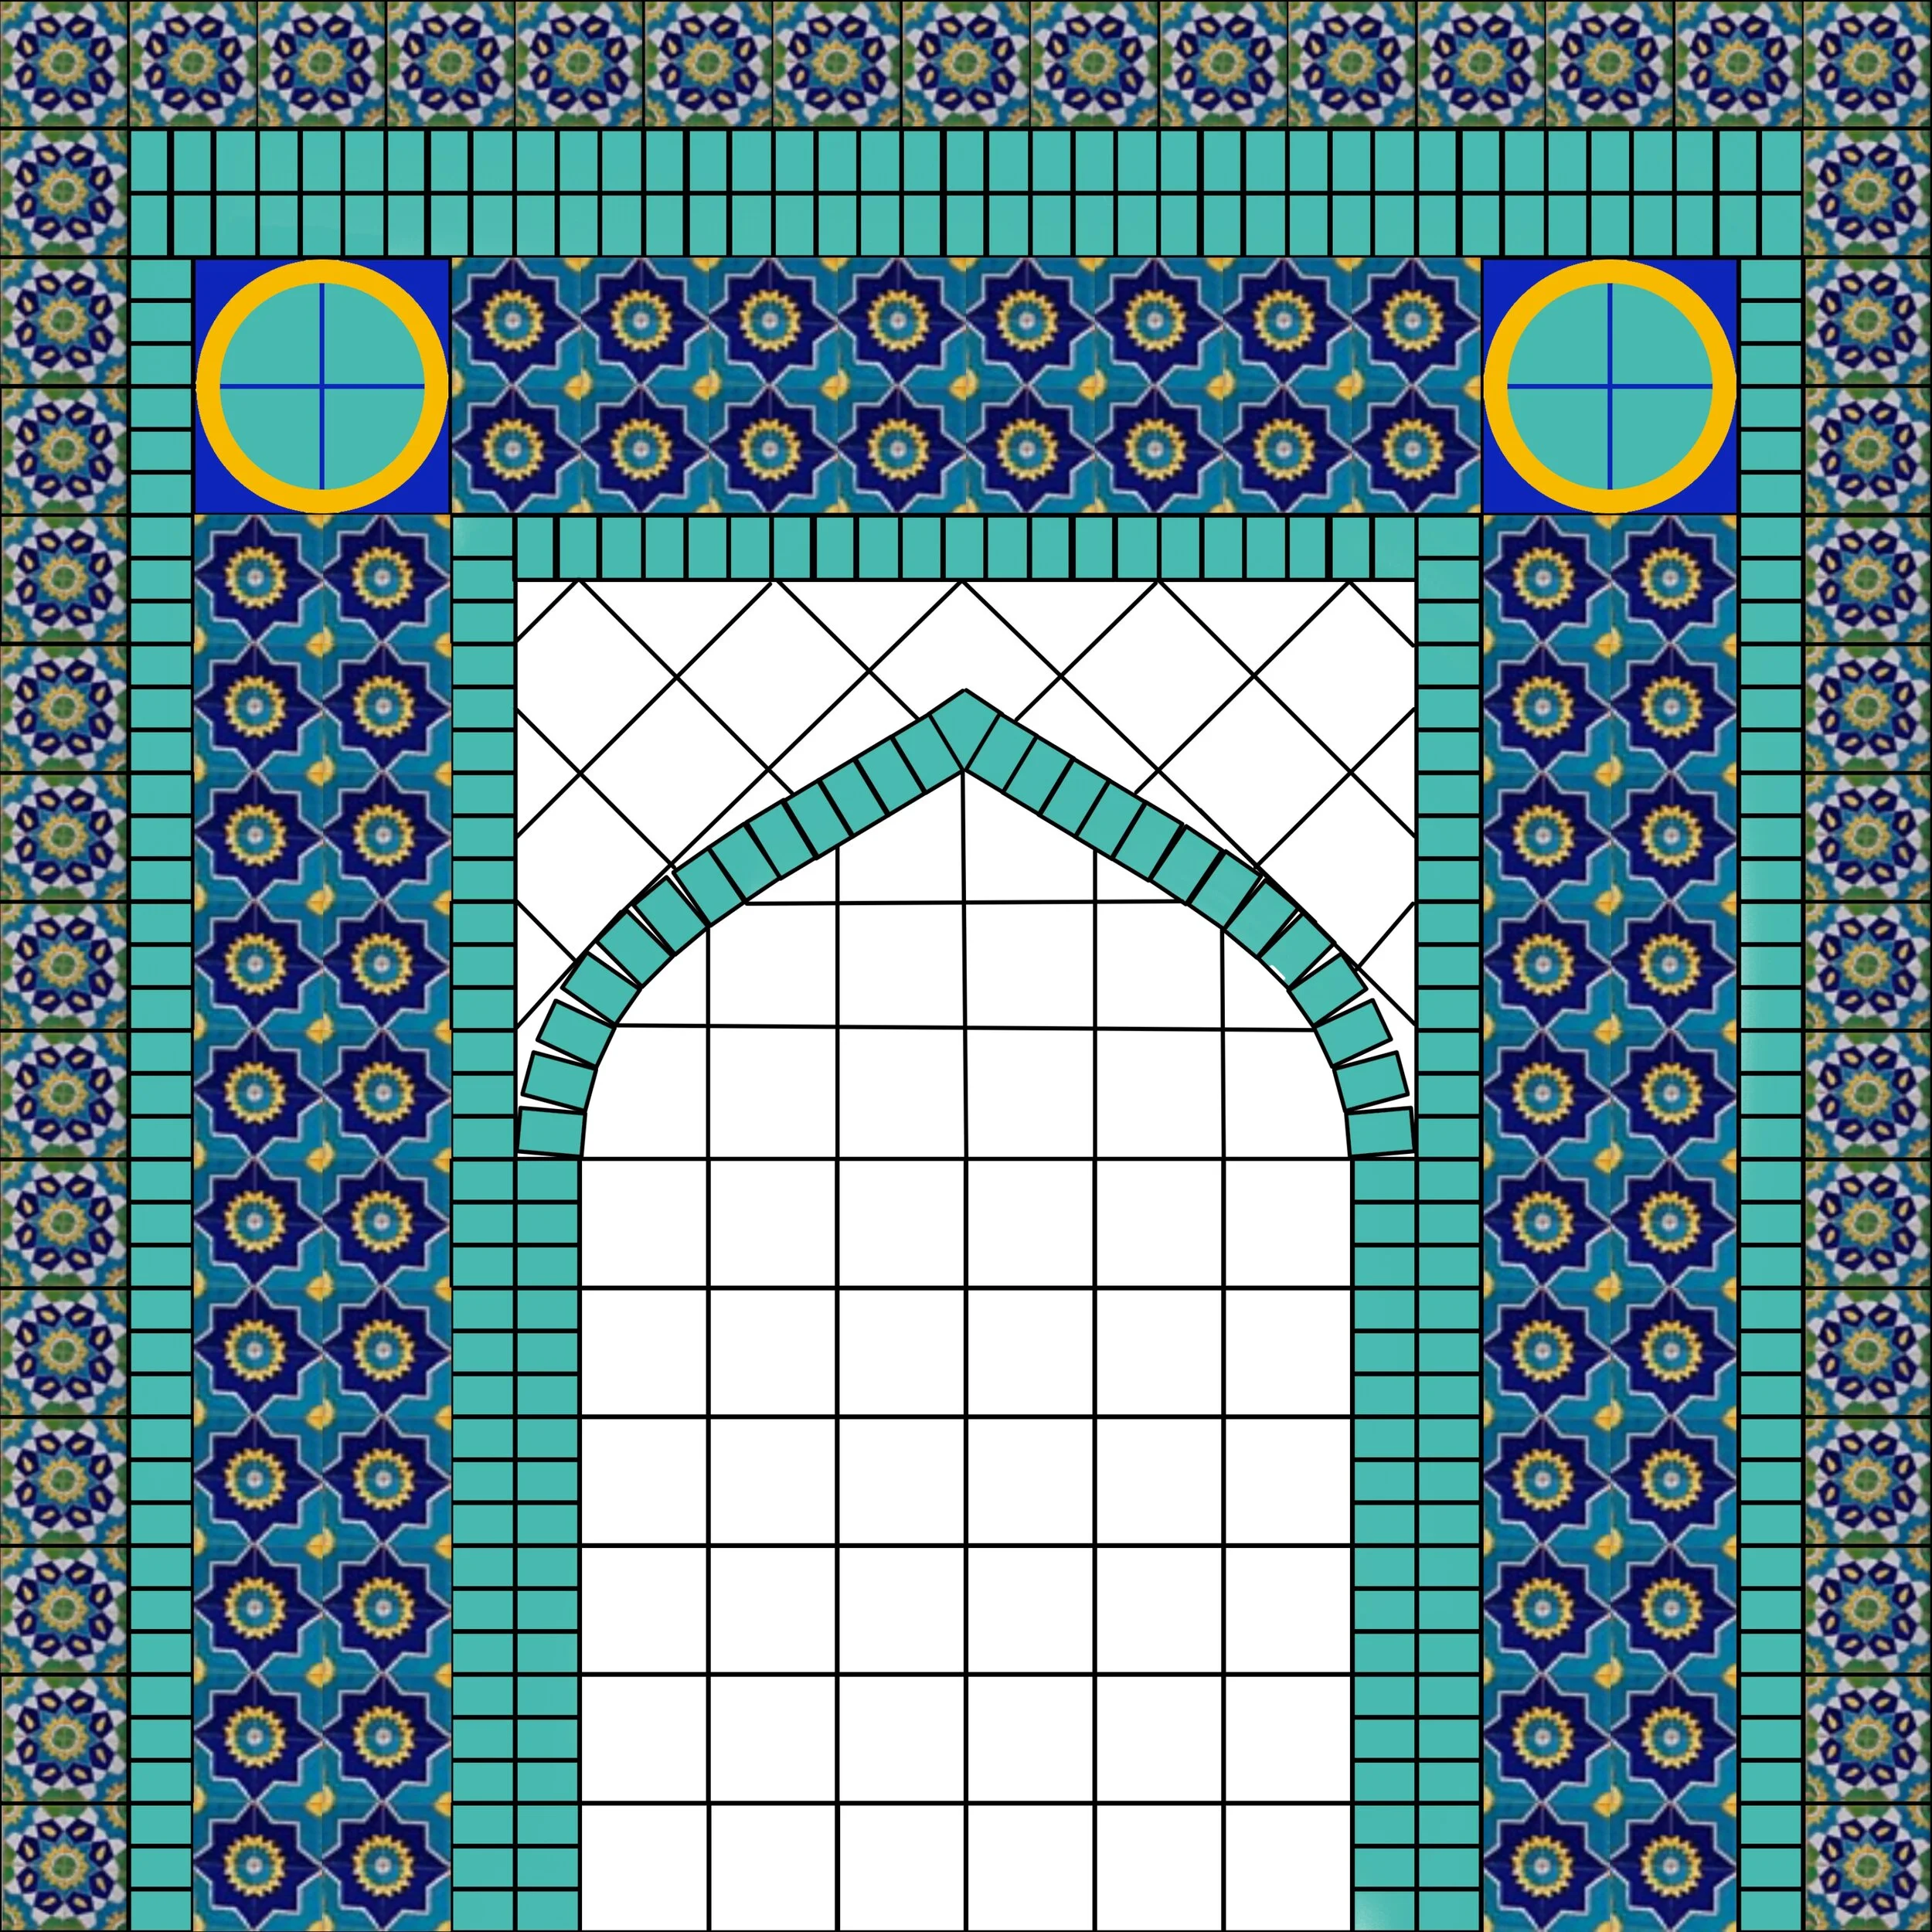
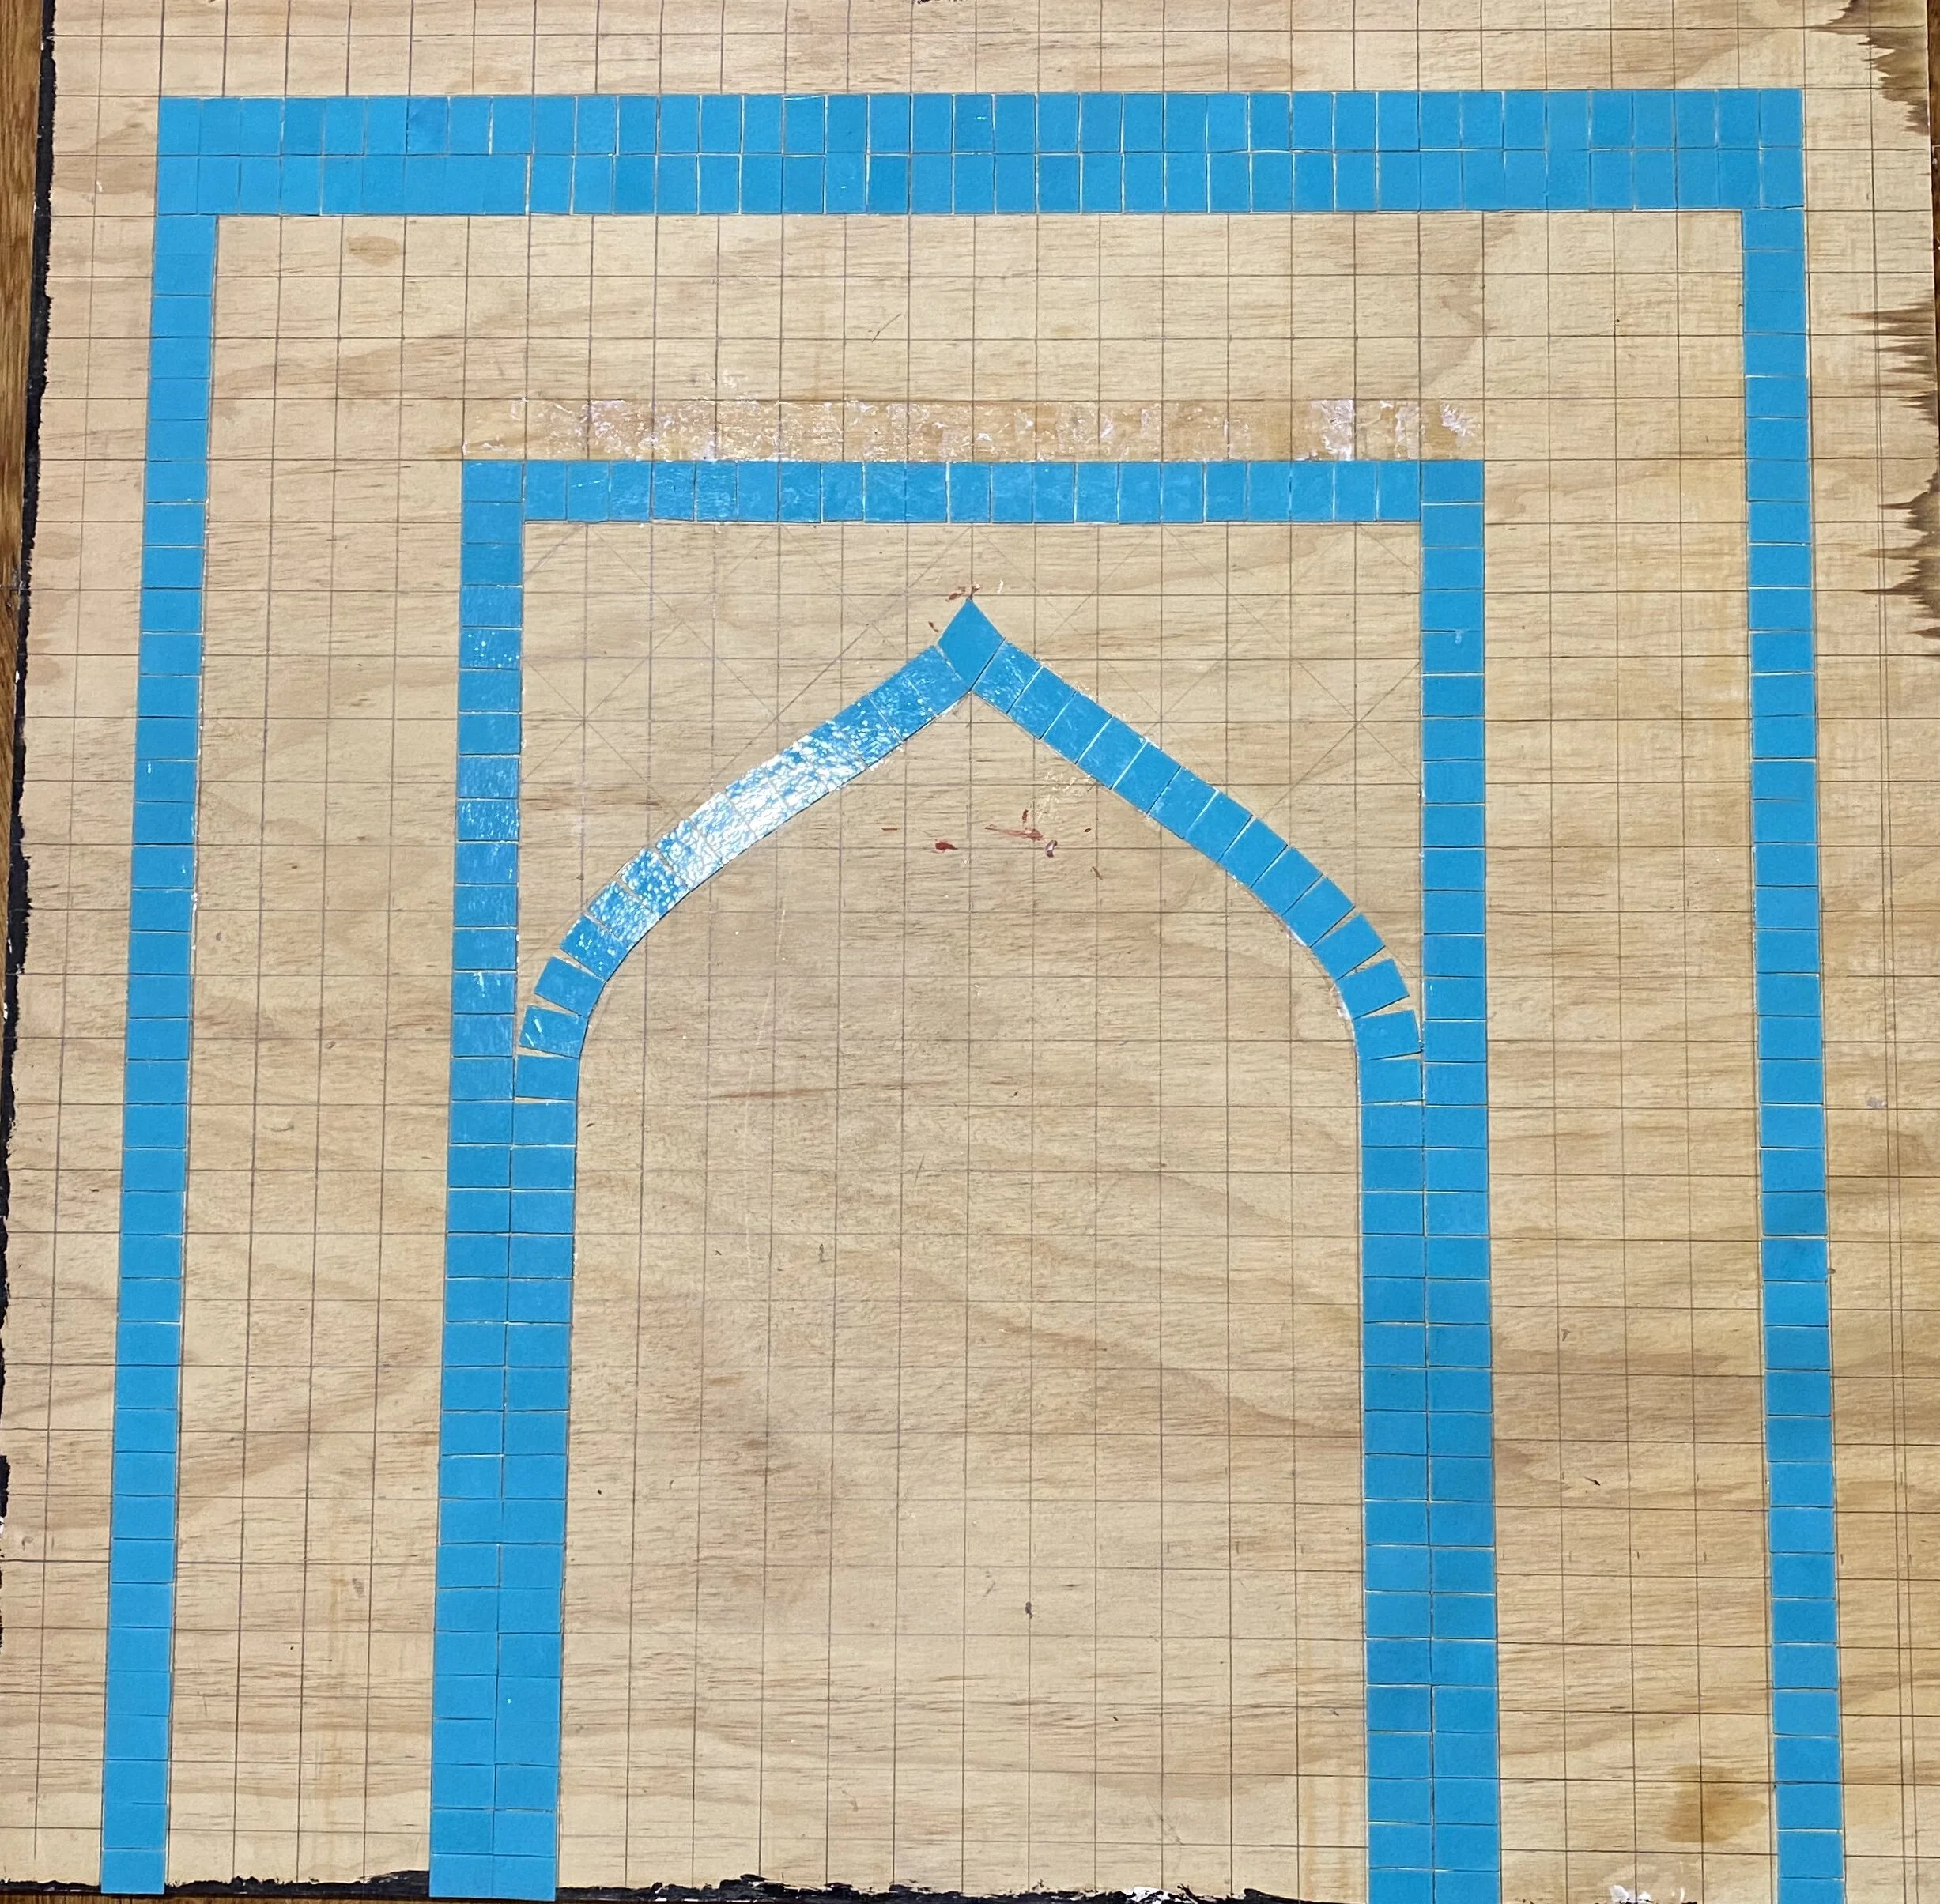
Secret Spa Mosaic

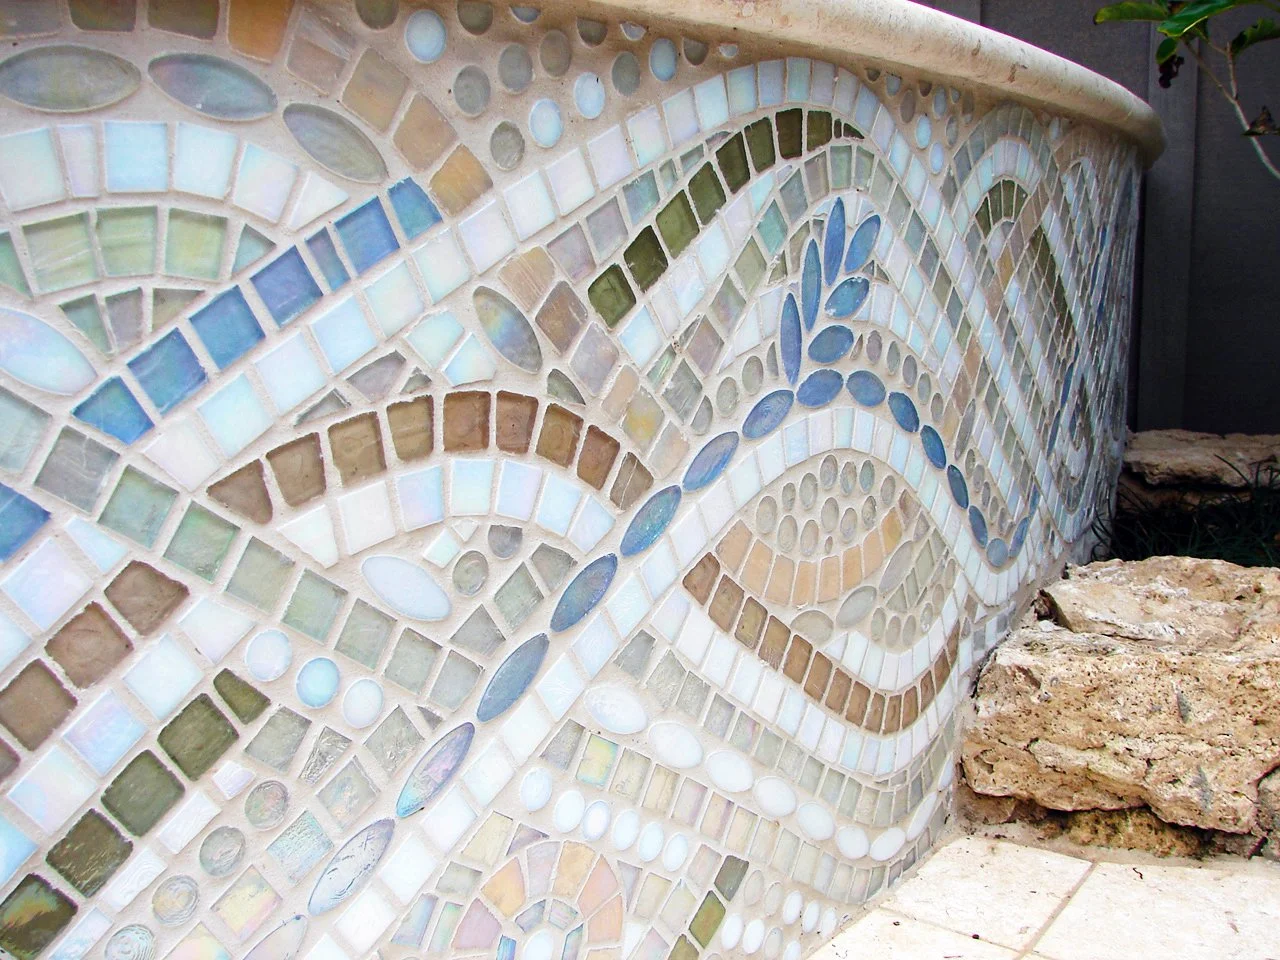
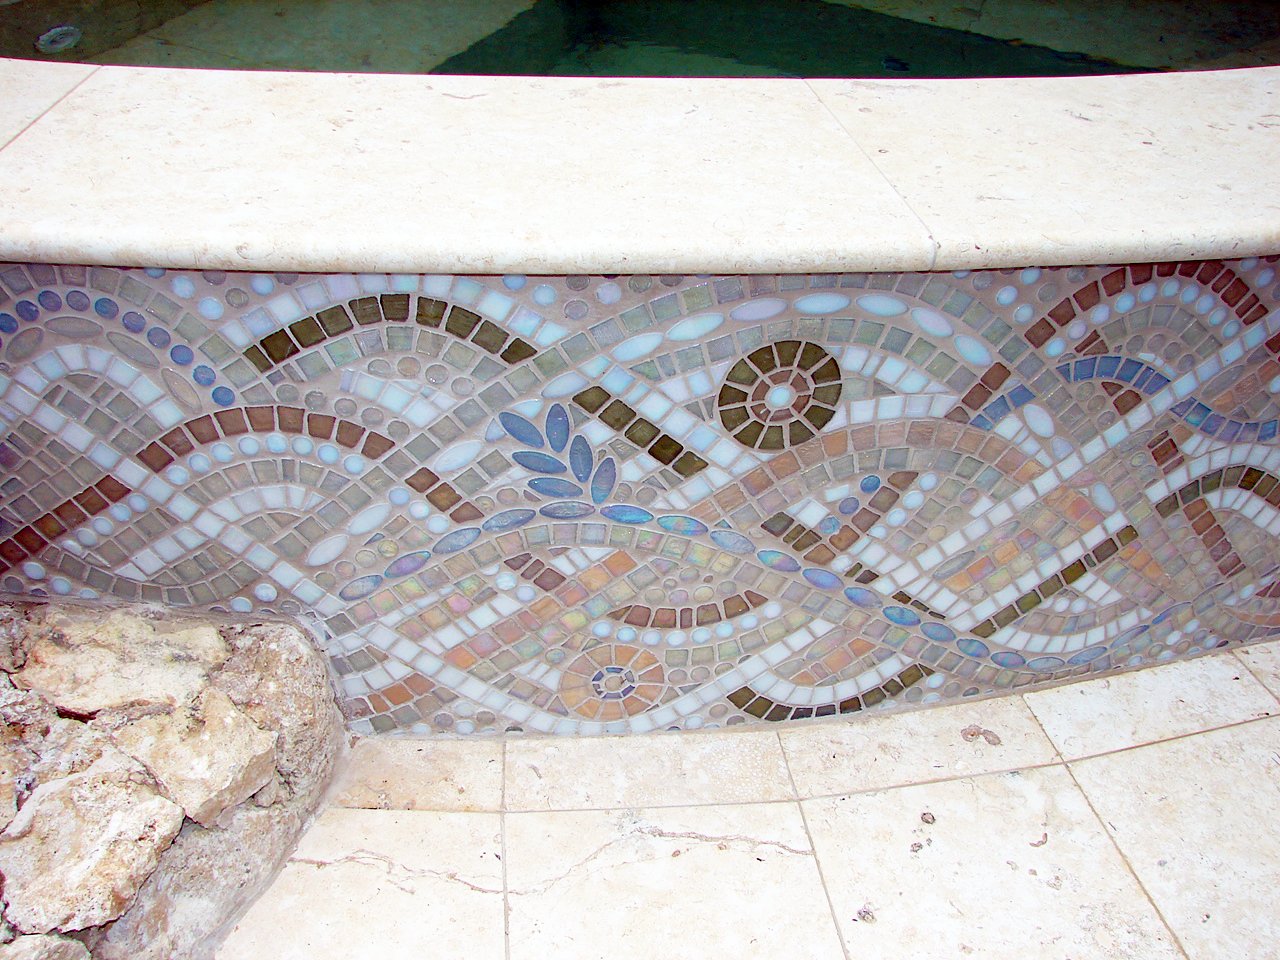
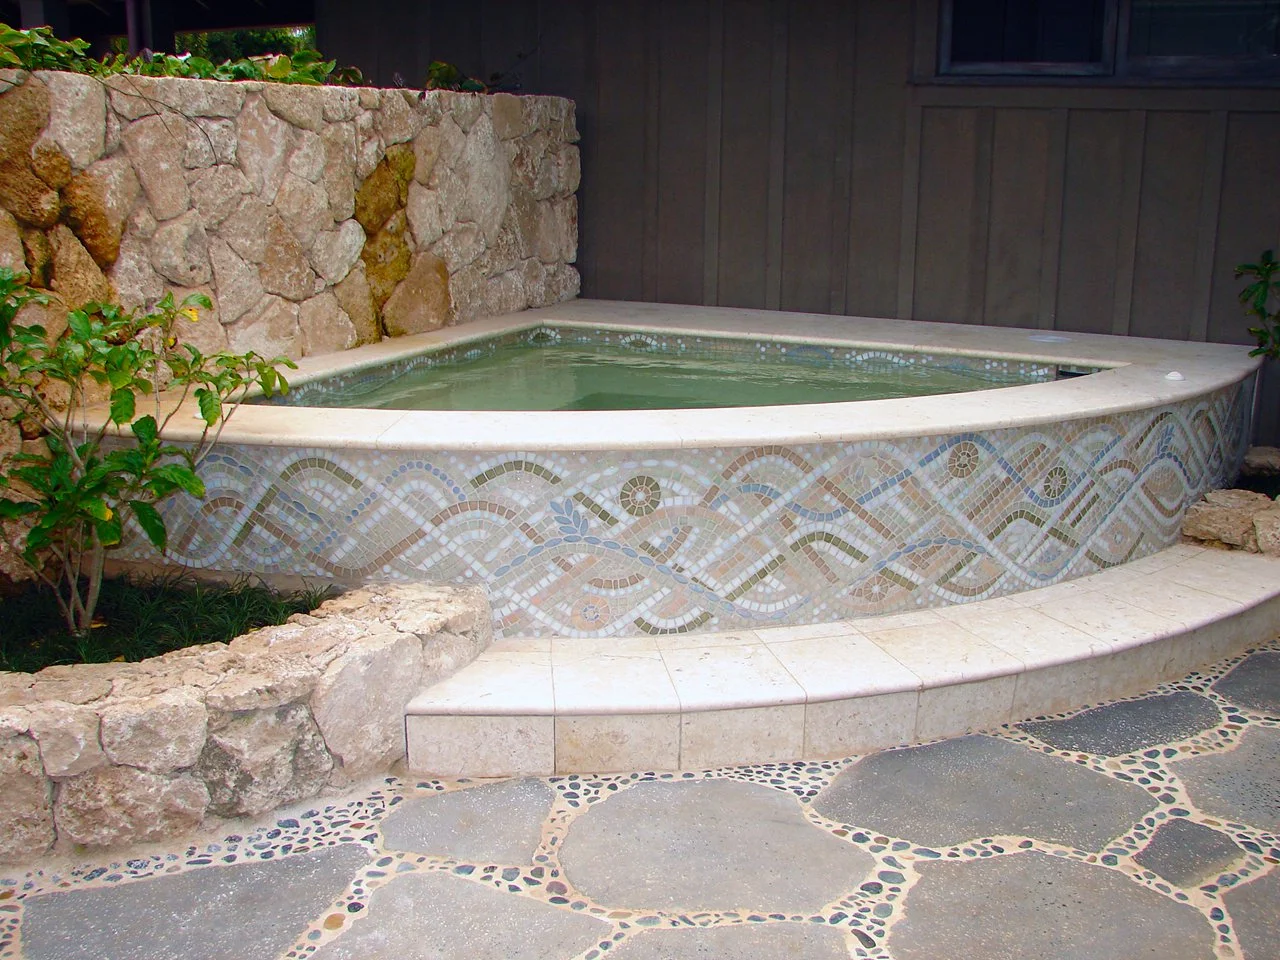
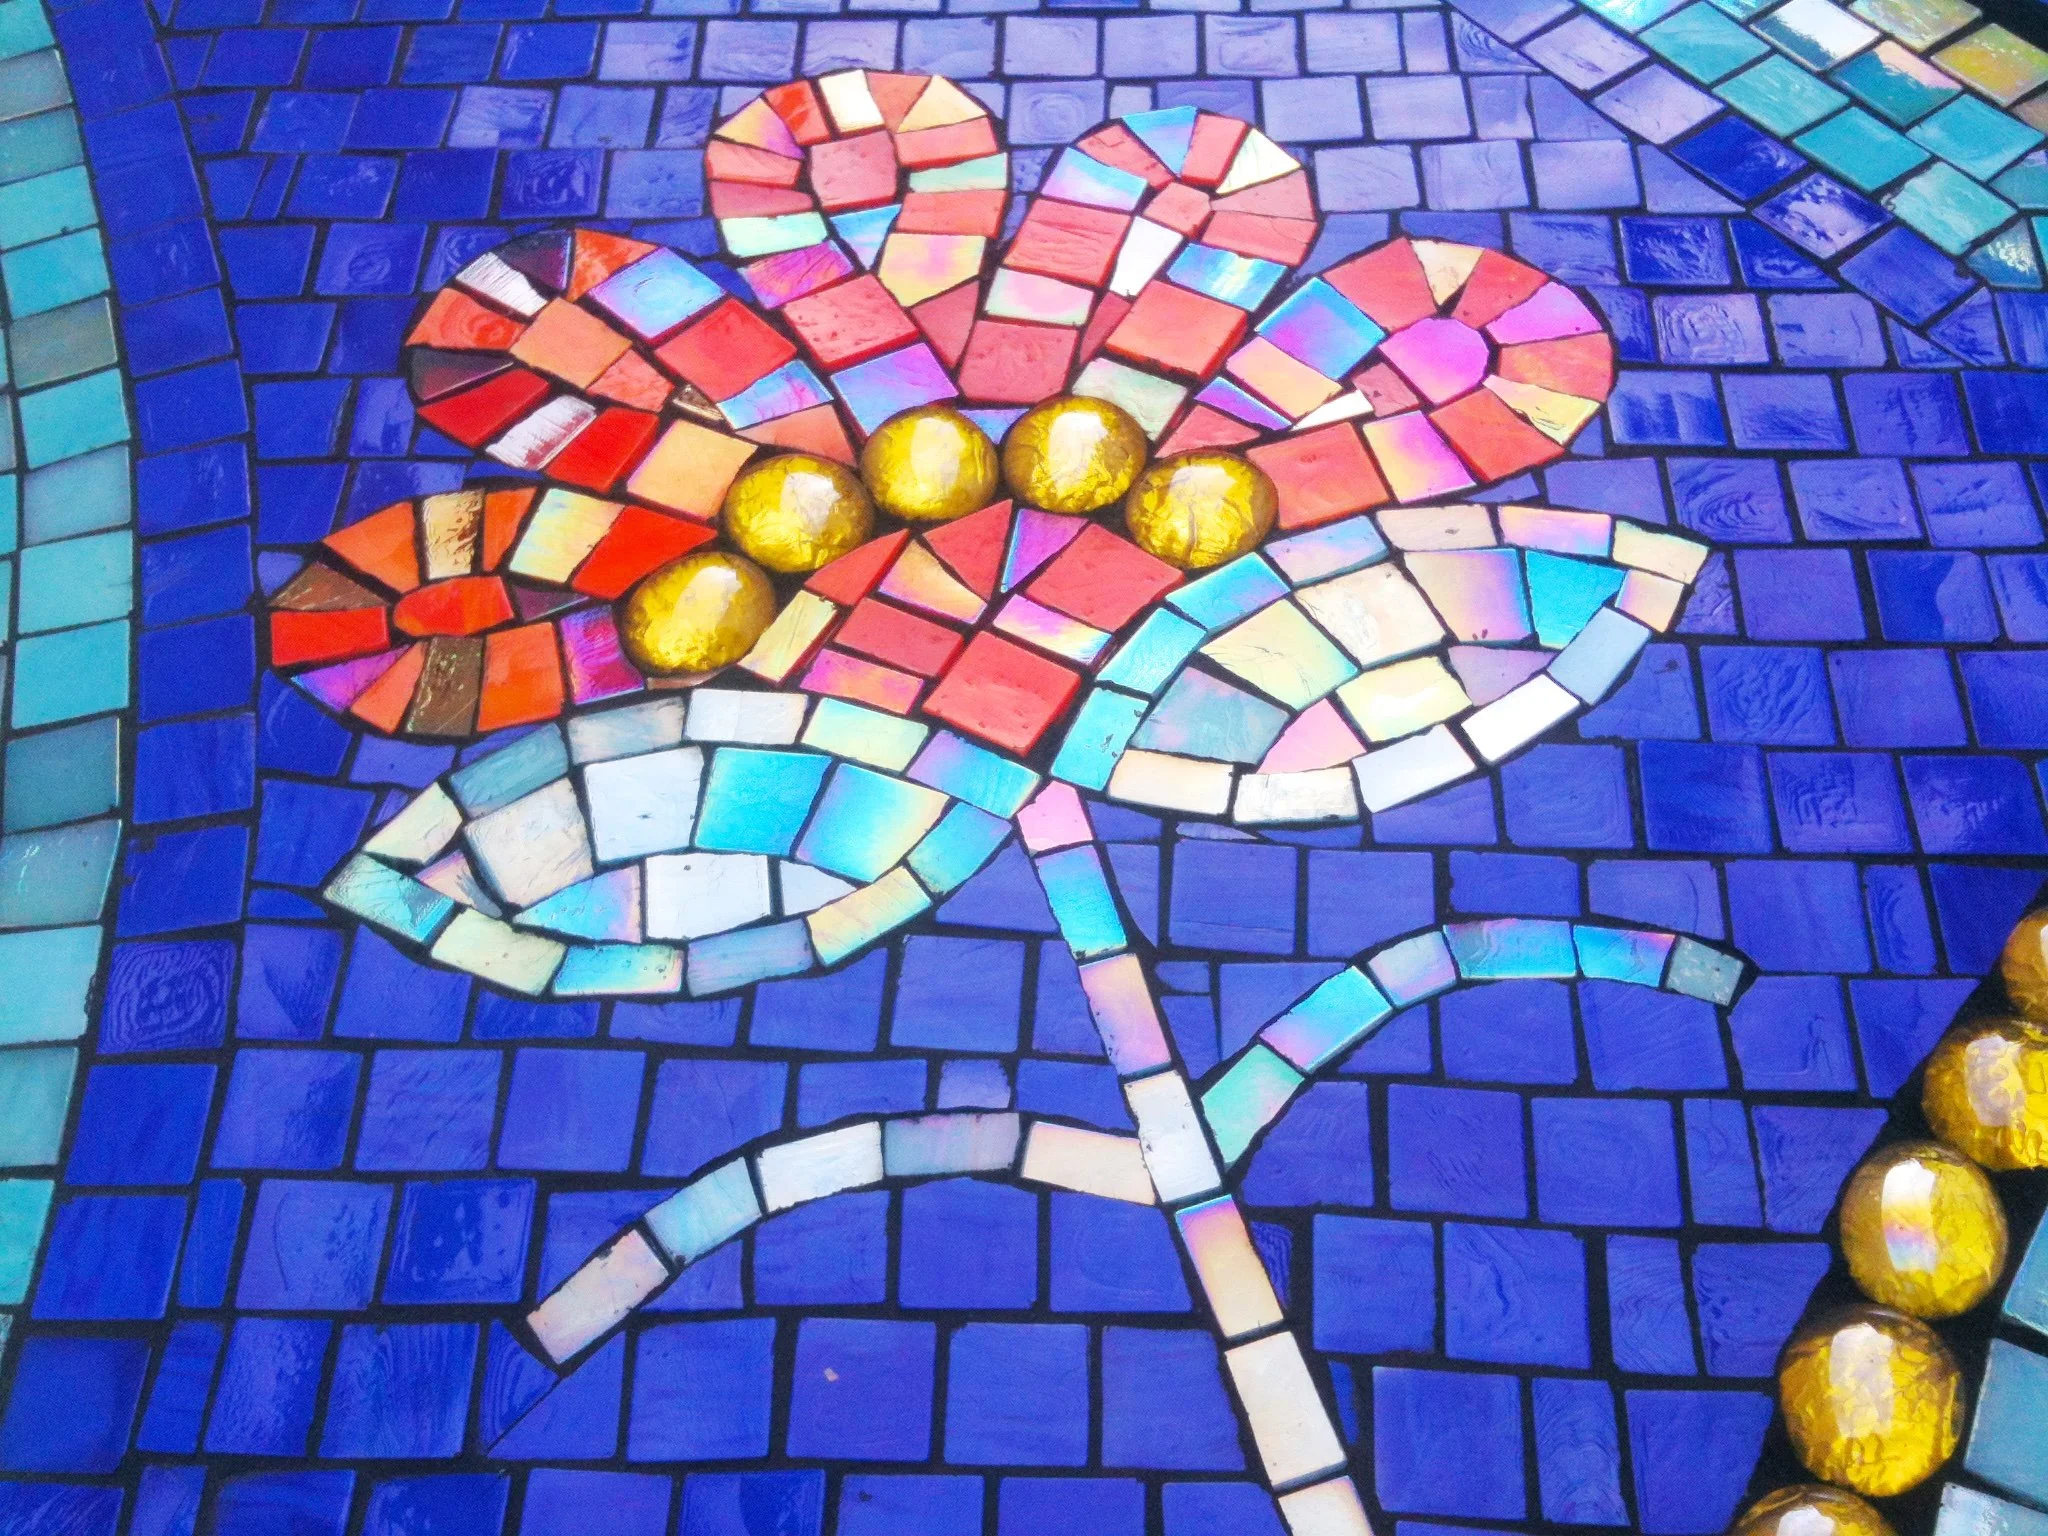
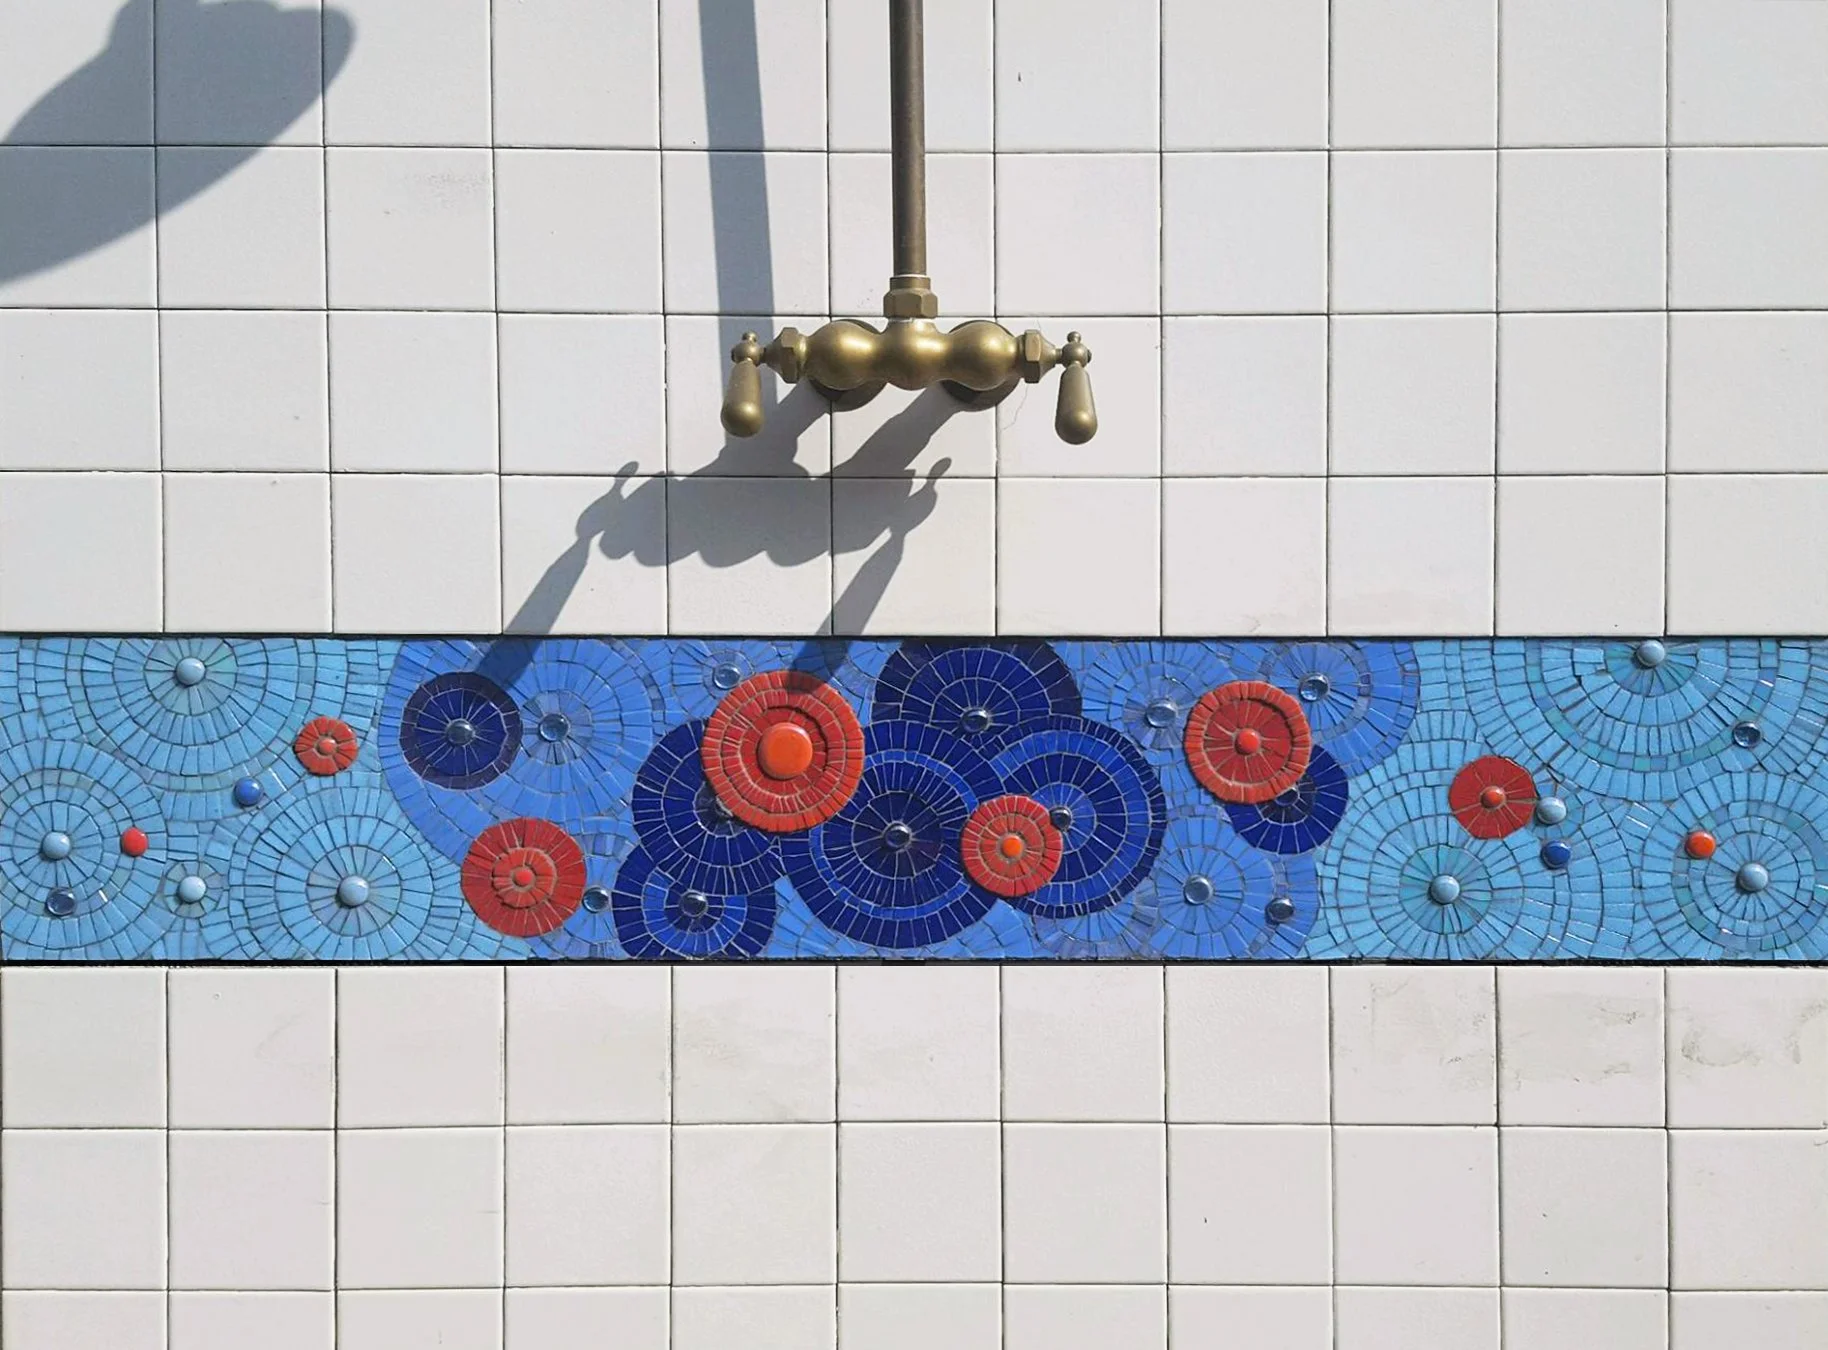
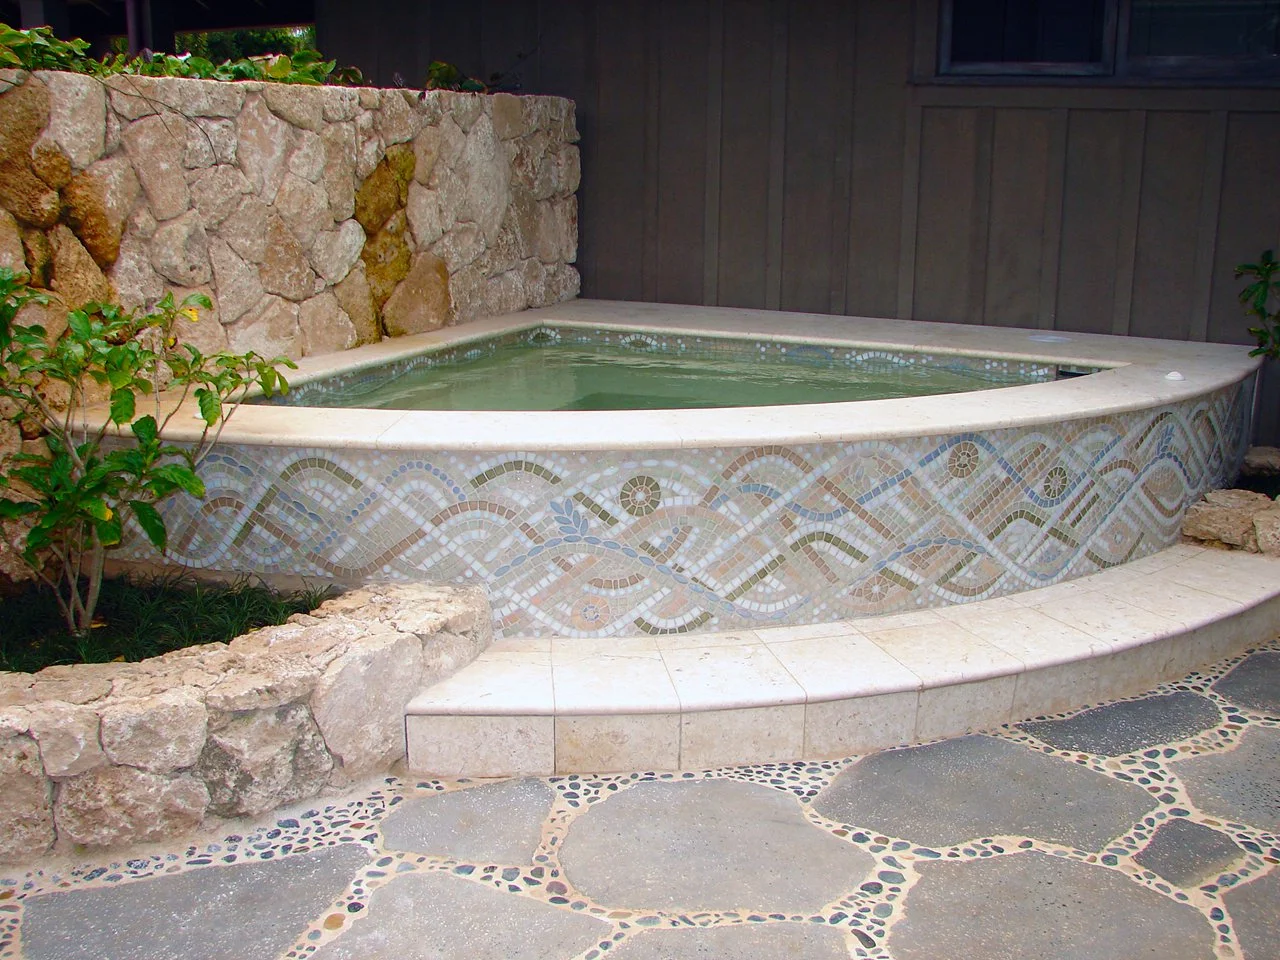
I made this mosaic mostly out of Sicis Neoglass for a spa at the same home as the Mokuluas art wall. 

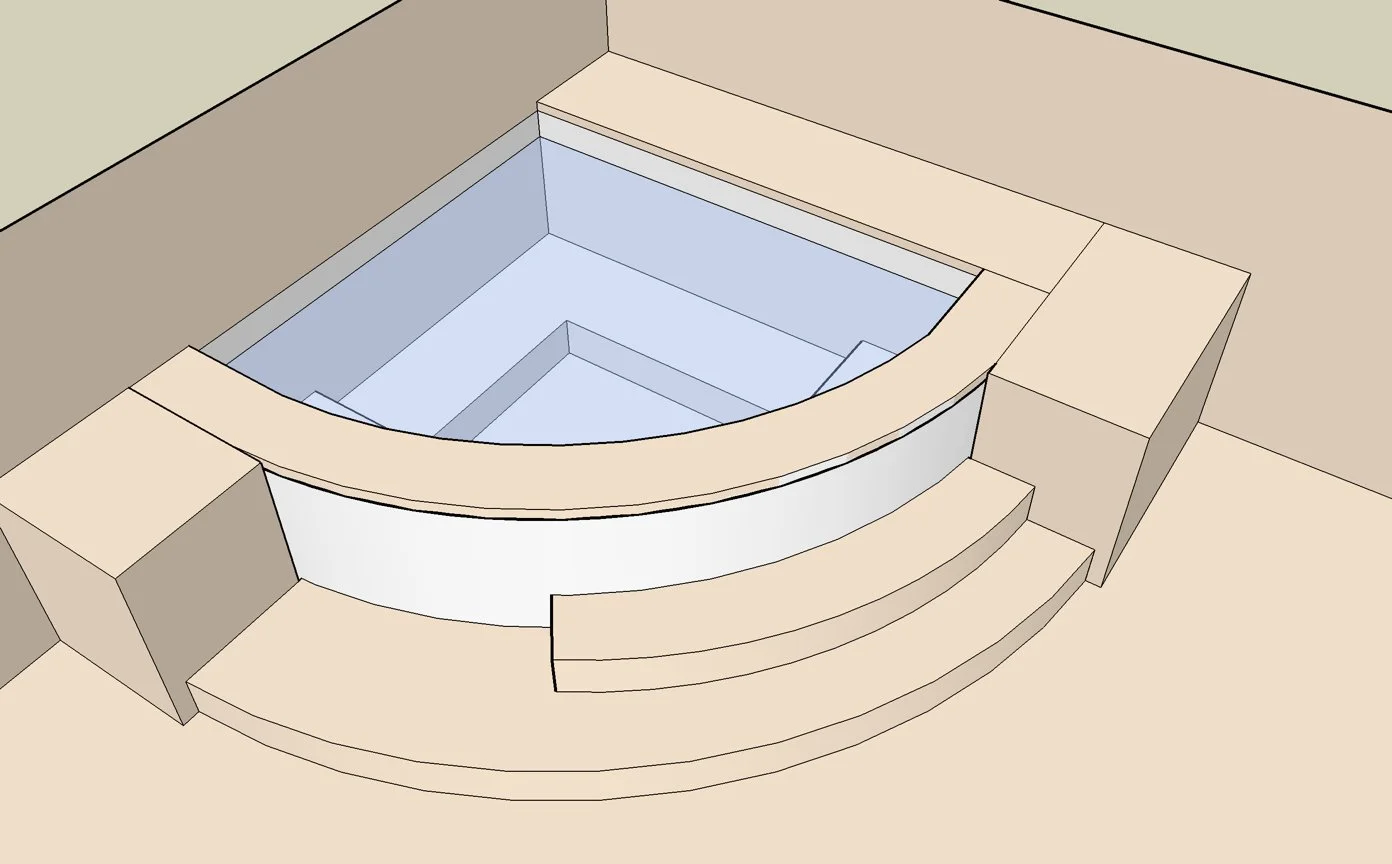
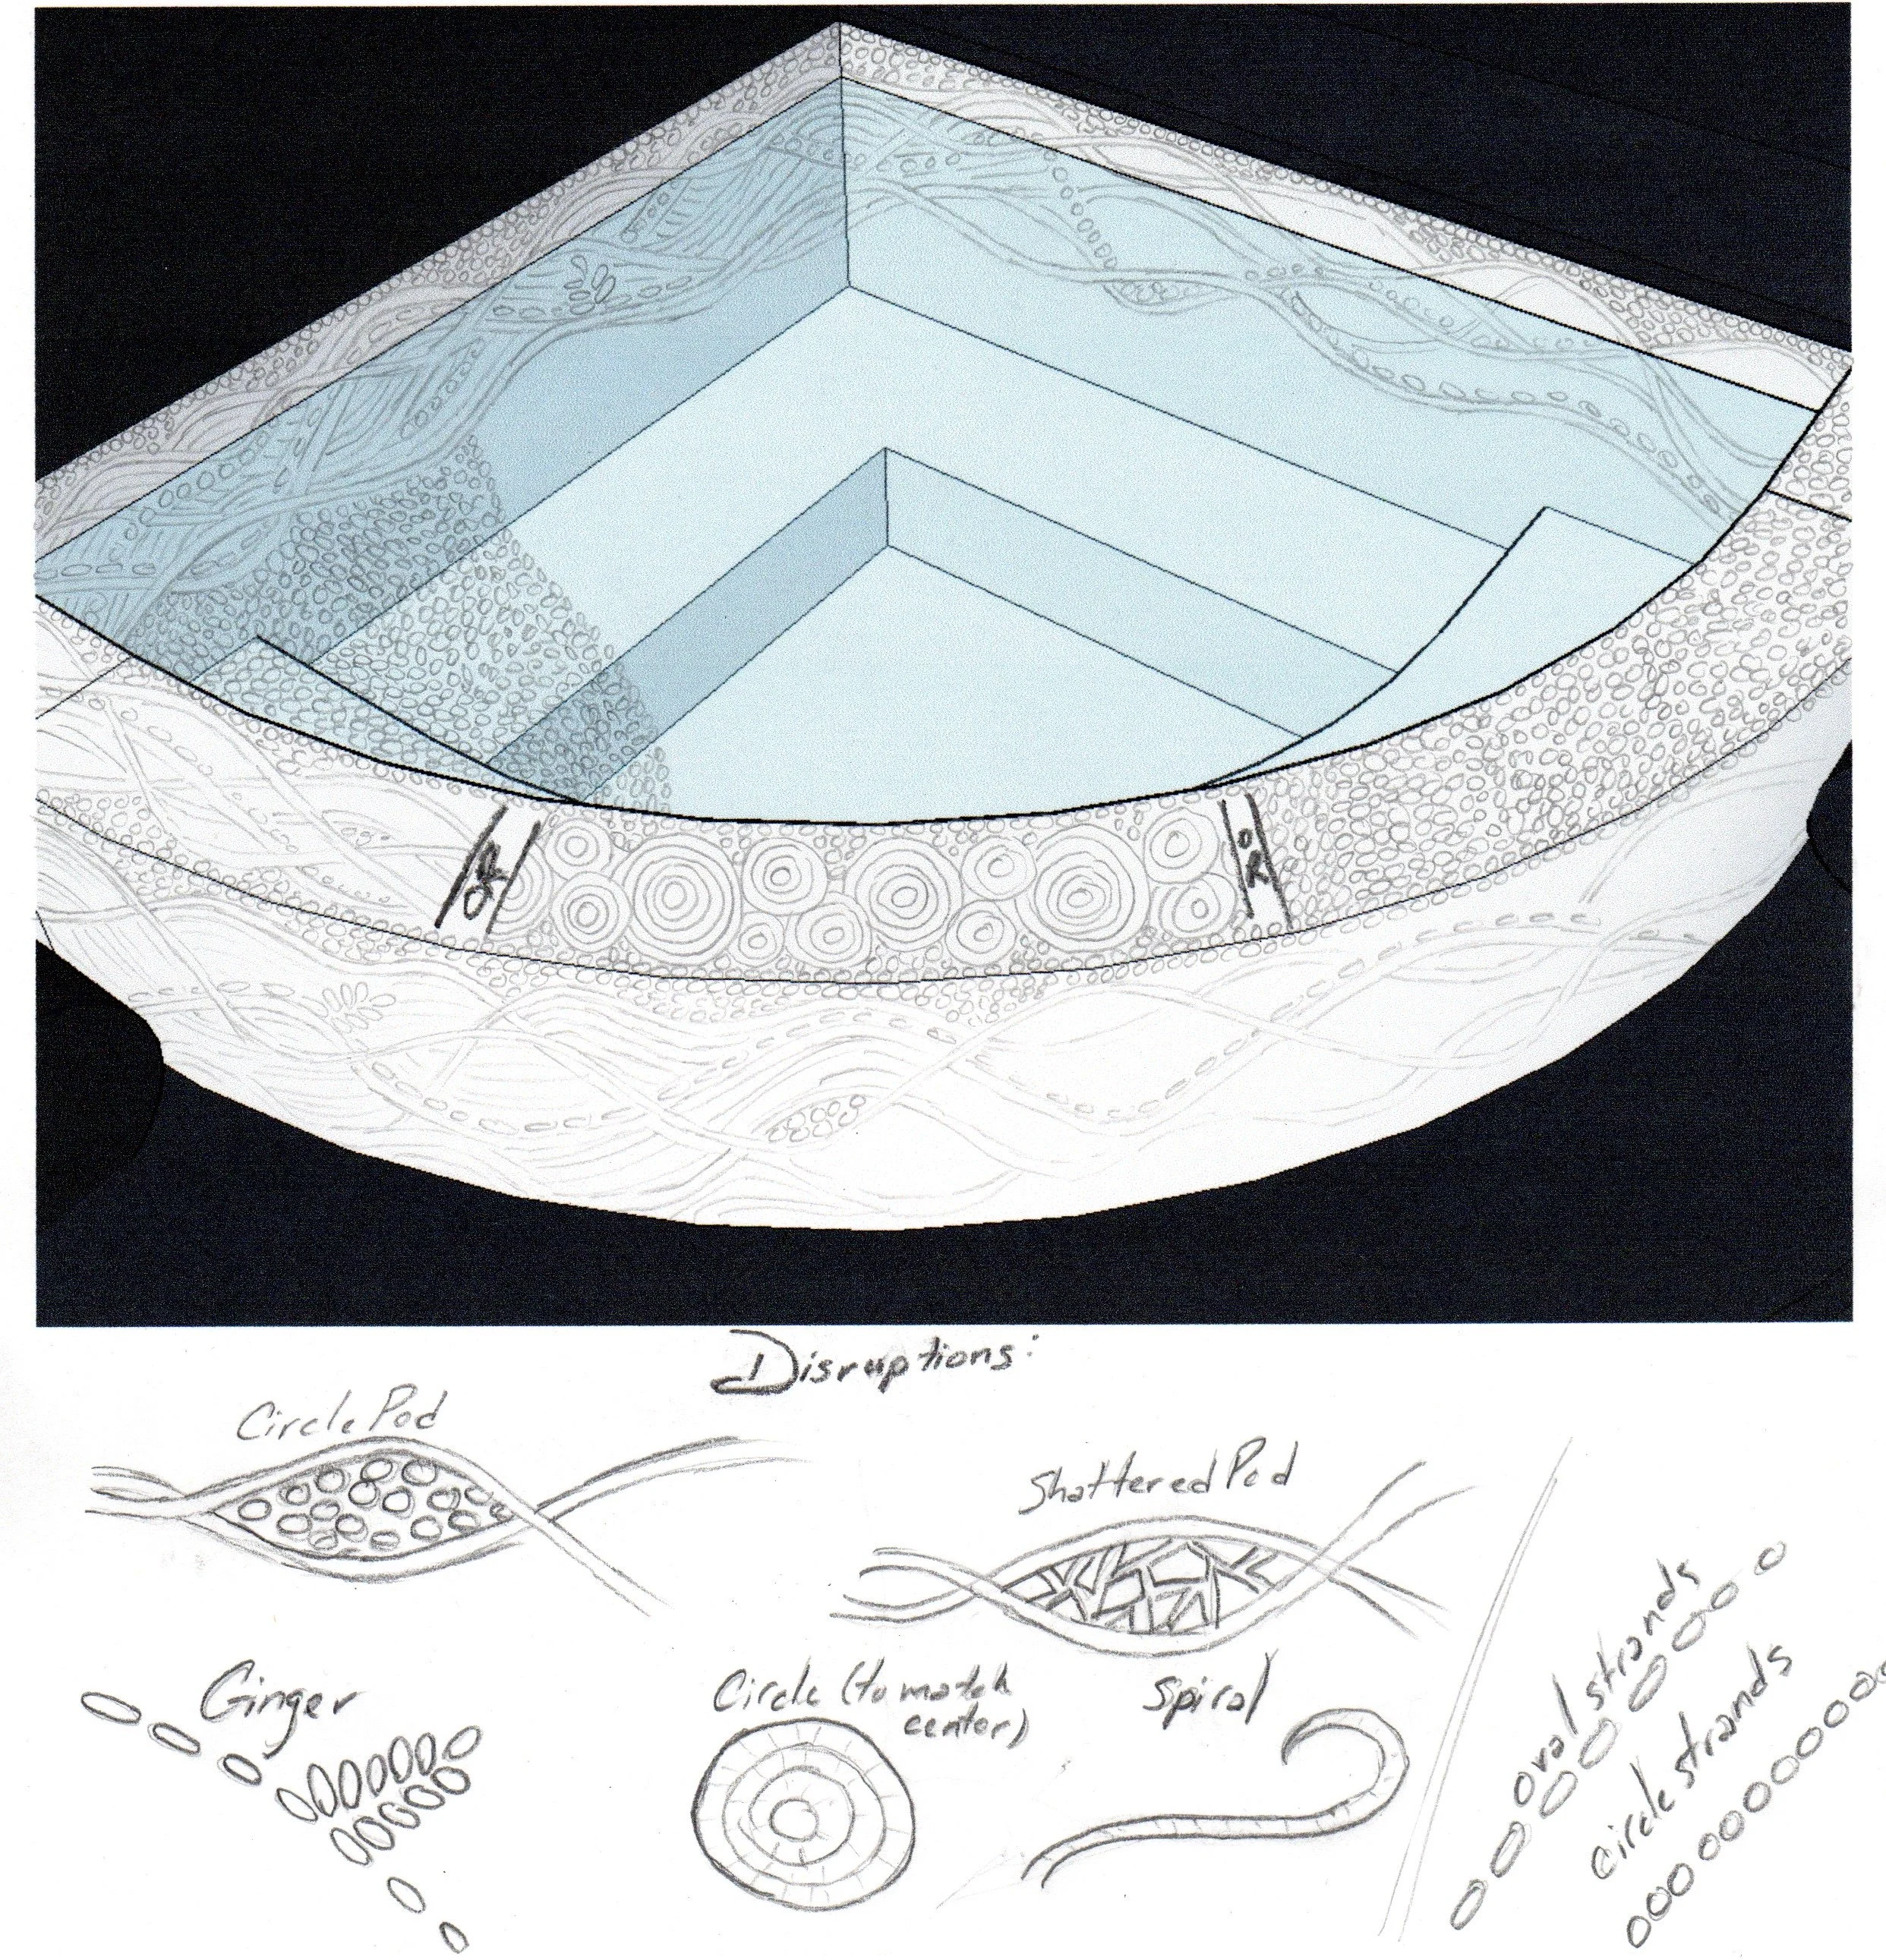
I created this mosaic before the actual spa was built, so I had to put the builder’s measurements into a CAD program to make sure the glass would fit once it was built.

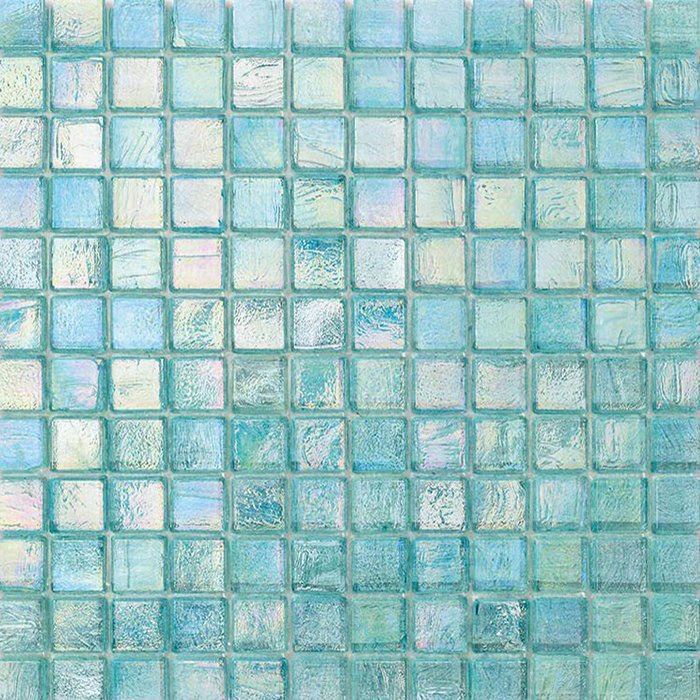
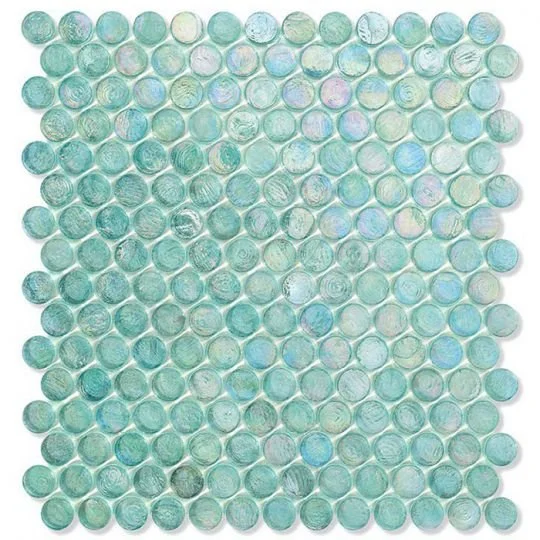
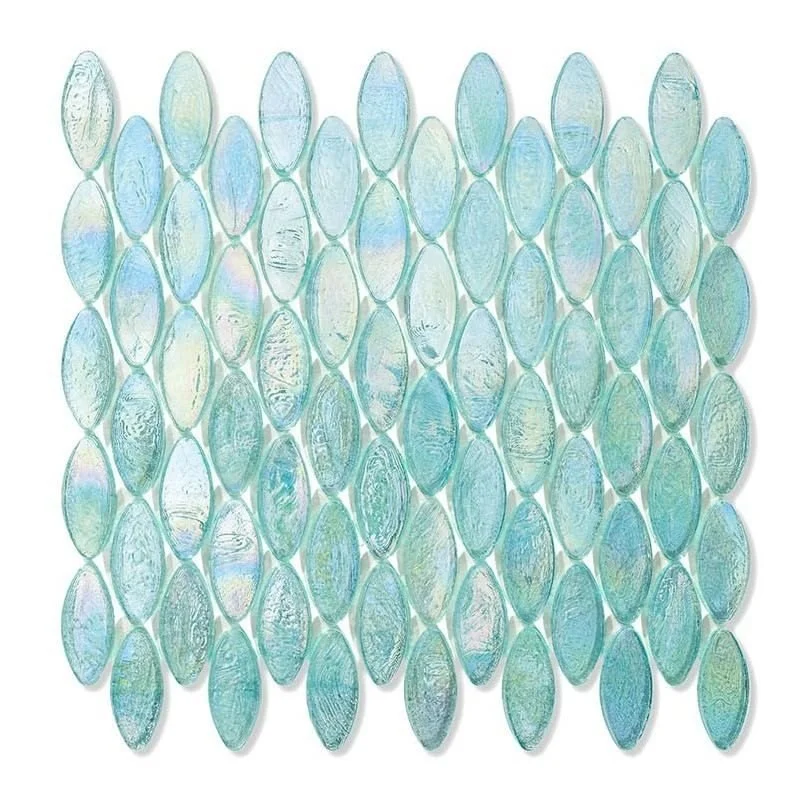
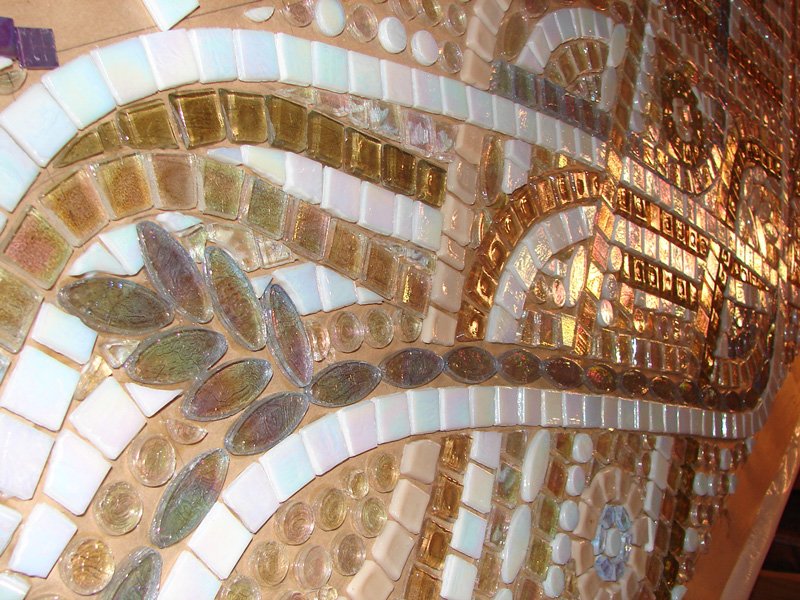
The client is an interior designer and fell in love with Sicis Neoglass. She wanted me to use this glass for the spa. Neoglass is about 1/4” thick and comes in 3 shapes: Cube, Barrel, and Dome.

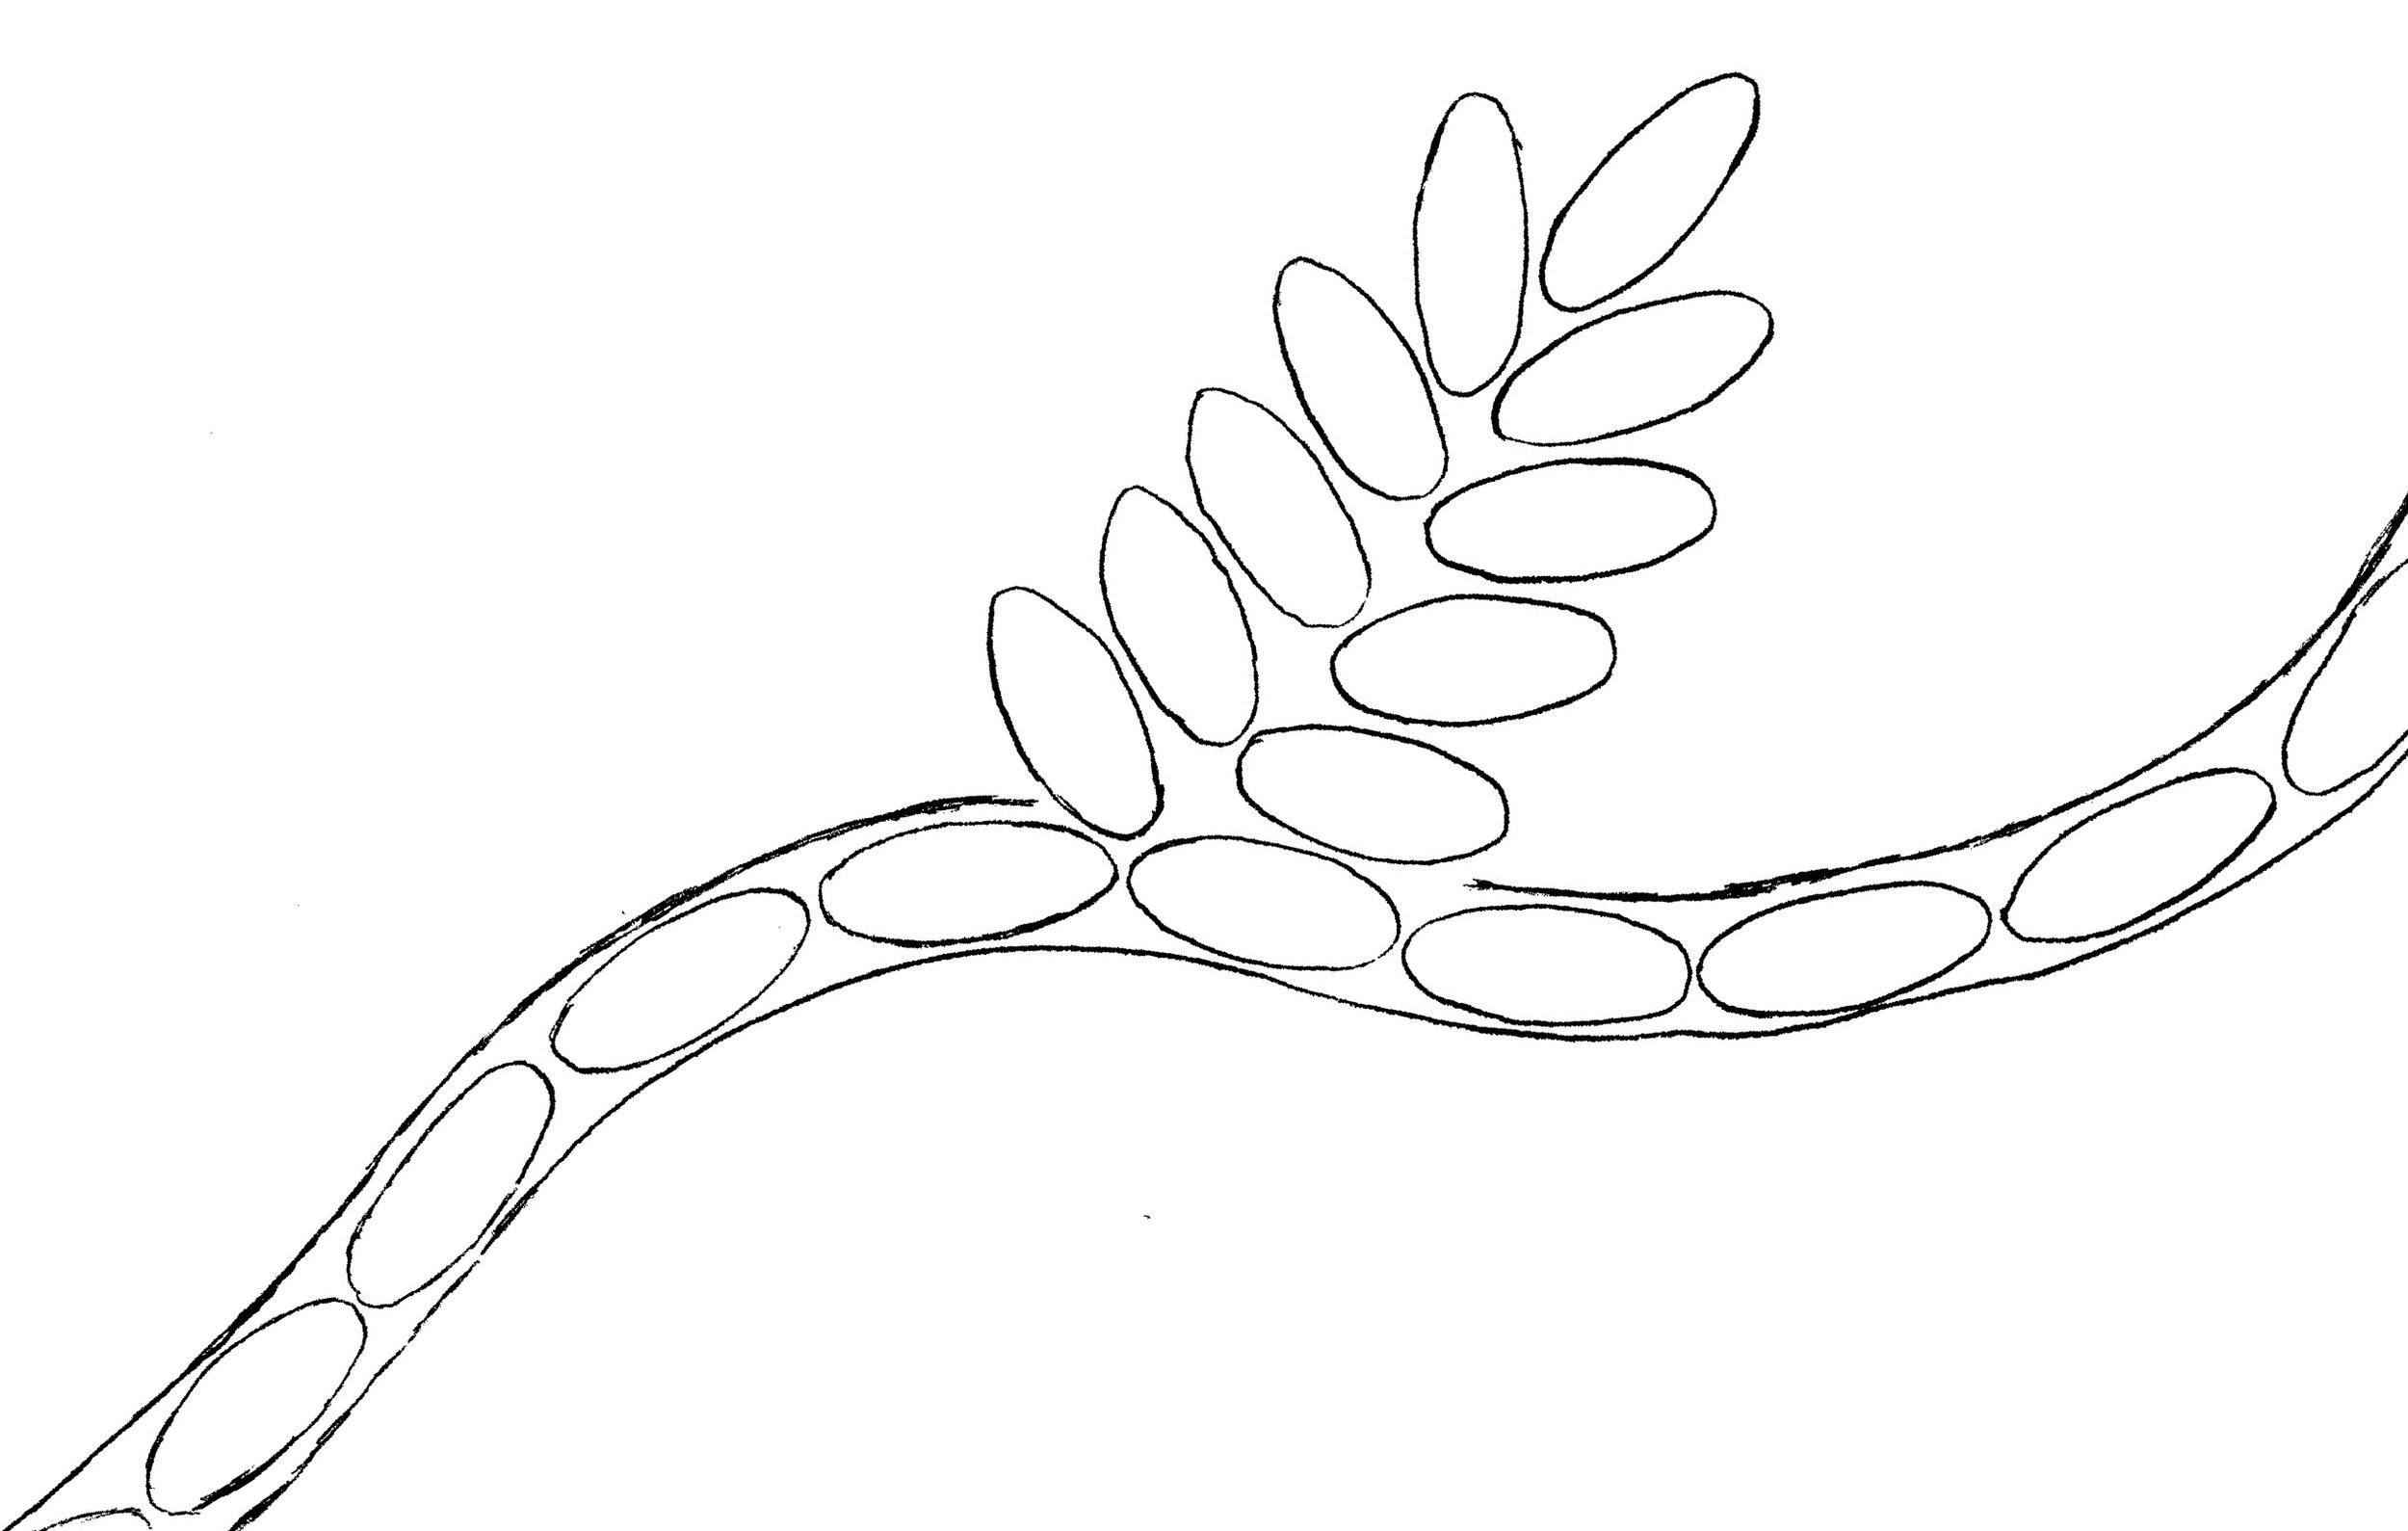
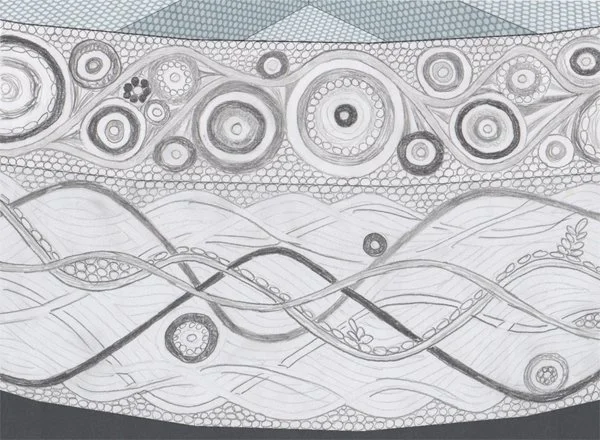
The client wanted a design to reflect the local surroundings, so I created a ginger flower embellishment pattern to work into the waves of the mosaic.

Originally the mosaic was going to cover the whole spa, but because of concerns about the surface being slippery, she requested I just mosaic the sides and an interior wave. They would top the spa with stone. These were the options for the original design.

With the design locked down, I started creating the mosaic in reverse on heavy kraft paper so that it could be easily shipped and installed by her builders in Hawaii.

And then the mosaic was finally installed and grouted in its home in Kailua, Hawaii.

VIDEO: Pathway Key to Success Mosaic: WIP #1

The first of two videos showing the making the Pathway Key to Success mosaic. This was a mosaic artwork I helped kids in a foster care program make as a thank you gift to one of their donors.

Video transcript for deaf or hard of hearing:

Hi Mosaic Fans! This mosaic begins when I had only a day to design a project for kids from a foster care organization to create as a gift for their largest donor.

Fortunately, I woke up at 4am and found myself looking on Etsy before I was even conscious and came across these antique bronze key replicas that range in size from ½” to 2- 1/2”.

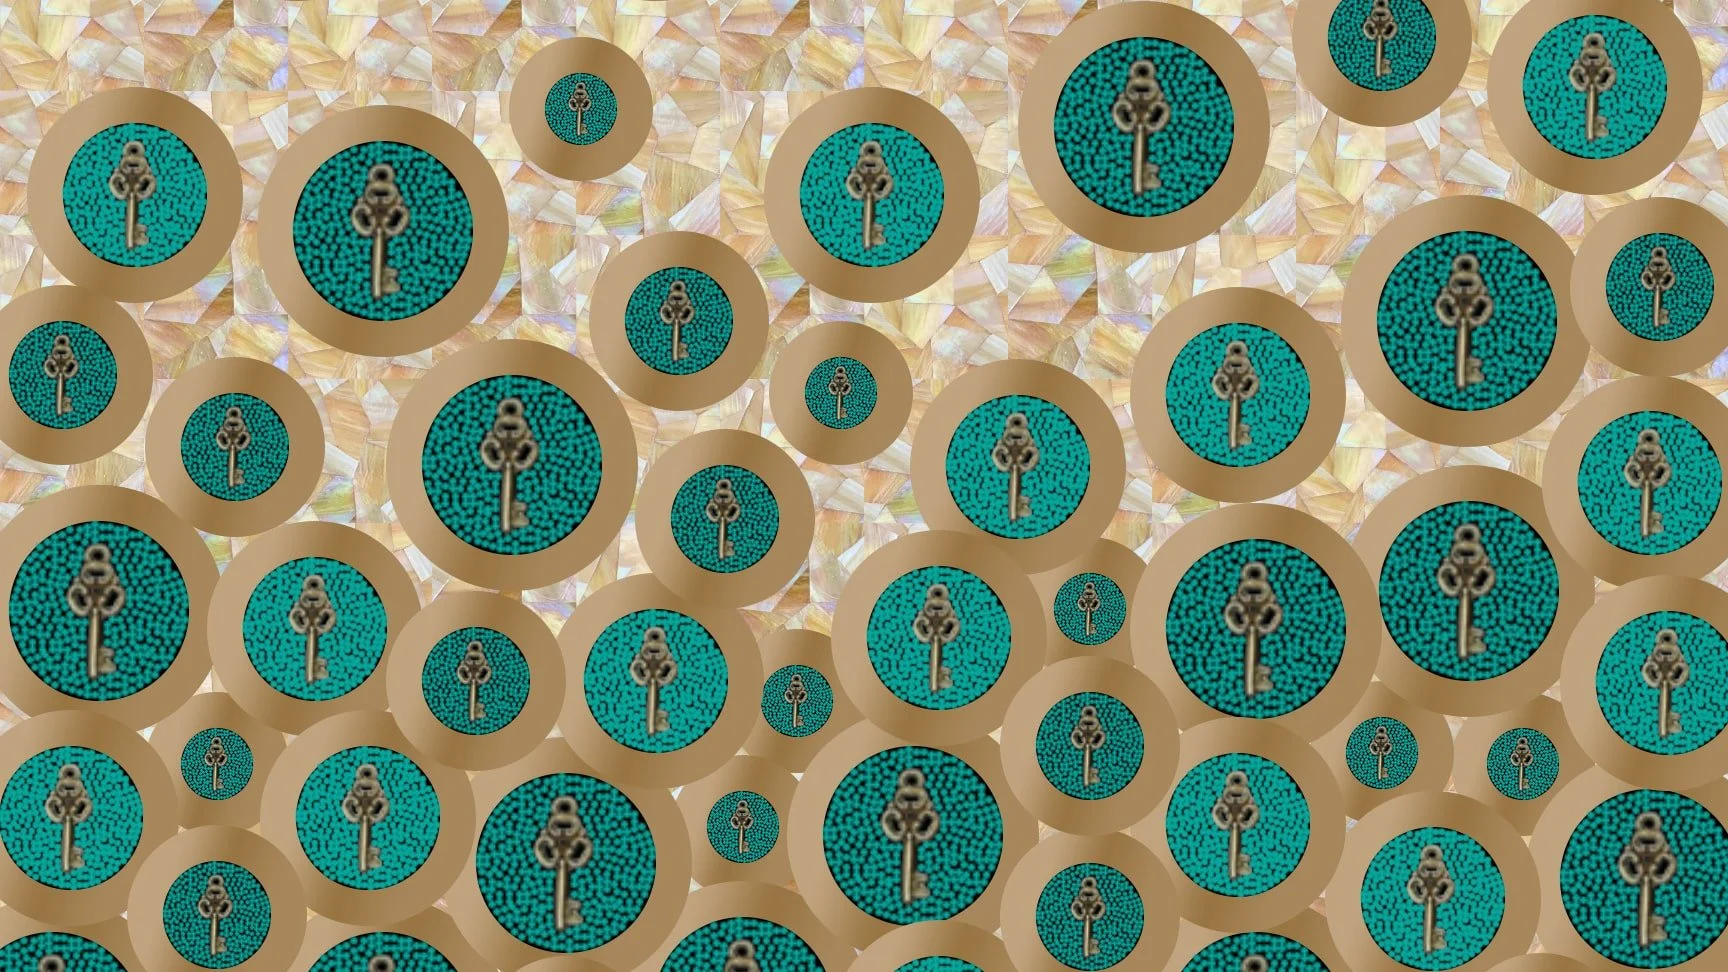
 I immediately had an idea of how to use the keys in a mosaic, so I jumped out of bed and went straight to the computer to make a mockup. The theme is to thank their donor for giving them the “Key to Success”.

 Mango, on the other hand stayed in bed until sunrise.

 I’m going to use bronze colored Van Gogh glass to create mosaic rings. Inside the rings, the kids will choose & place a key, then fill up the circle with tiny beads. They will also mosaic the background with my favorite iridescent amber/white glass from Wissmach.

I am using a 2’x3’, ¾” birch panel for the substrate.

I started by printing templates for the inner and outer circles, the inner circles on white cardstock and the outer on yellow cardstock so I can trace them onto the wood.

Then I traced the circles onto vellum so that I have a template I can see through to help make adjustments.

I wanted to keep the circles whole, except for those that come slightly off the edge, though even with those I had to make sure the keys would fit wholly onto the panel because I don’t want to have to cut the keys.

To make sure the circles all remain circles, I carefully interlinked the borders. This will mean making a lot of adjustments as I work, but will pay off in making the circles look very clean and crisp.

With the initial sketch completed, I primed the board. You can do this before or after sketching. I chose after because it’s harder to erase once the board has been primed.

The reason for priming is to help adhesion and to cut down on moisture later getting in and warping the wood. I’m priming using watered down Weldbond, which is the adhesive that will be used for the glass. We’ll be using Apoxie Sculpt for the beads, but I’ll get to that in the next video.

So that I can do this all at once, I use cups to place the mosaic on when I flip it over to prime the other side.

I wait only a few minutes until most of the primer has been absorbed, then flip it over and prime the back. I also make sure to prime the edges.

Now it’s time to cut the Van Gogh glass.

 I’m cutting it into ½” strips using the Morton grid. From there I’ll just cut wedge-shaped tessera as needed.

I started with the simple, straight forward rings on top to get a feel for the angles needed for each of the four sizes of rings.

Then I moved to the bottom to get the hard work of the interlocking rings over with. The glass size may not exactly match my templates, so I may need to adjust some of the free floating rings in the center. Doing the bottom first will allow me to size up how things will look best aesthetically.

As I move into the middle section, I’m just adjusting from the original sketch into what will look best once all the rings and beads are in place.

While the tedious nature of mosaics is often enough to drive someone crazy, it is good in instances when I’m preparing to work with kids because it gives me the opportunity to think through the best way to have them work without too much chaos.

In part two we’ll finish up the mosaic and I’ll show the kids working on it. Spoiler alert: They did awesome! Thank you!

VIDEO: Wissmach Glass Factory Trip

One of the best things about living in Ohio is being close enough to drive to the Wissmach Glass Factory in Paden City, WV.

Video transcript for deaf or hard of hearing:

Hi Mosaic Fans! I wanted to show you the Wissmach Glass Factory where I got this gorgeous glass for an awesome price.

At the factory they have scrap glass available to pick through for $1 a pound. As you can see, it’s not just tiny shards, it’s large pieces of their gorgeous stained glass. Even Mango was enjoying the visit, though mostly because one of the employees shared his lunch with Mango.

Here is their bin of COE 90 glass, which is unfortunately pretty sparse. I had hoped to find something good for my sister that fuses this kind of glass, but there wasn’t anything interesting, or basics like clear glass.

There’s even more glass here around the corner and you can choose from any of these bins down to the No Smoking sign. And someone pointed out to me today that there’s also this bin of samples.

Here’s most of the glass I got during this trip. It’s probably thousands of dollars worth of glass and I only paid $300 for it, so that was a pretty good deal. As you can see, a lot of it is a little more broken than it was at the factory and I have a few bags of smaller, broken pieces because unfortunately right as I left the factory, a car pulled out in front of me and I had to slam on my brakes, which broke a lot of the glass. I guess it’s a good thing I do mosaics!

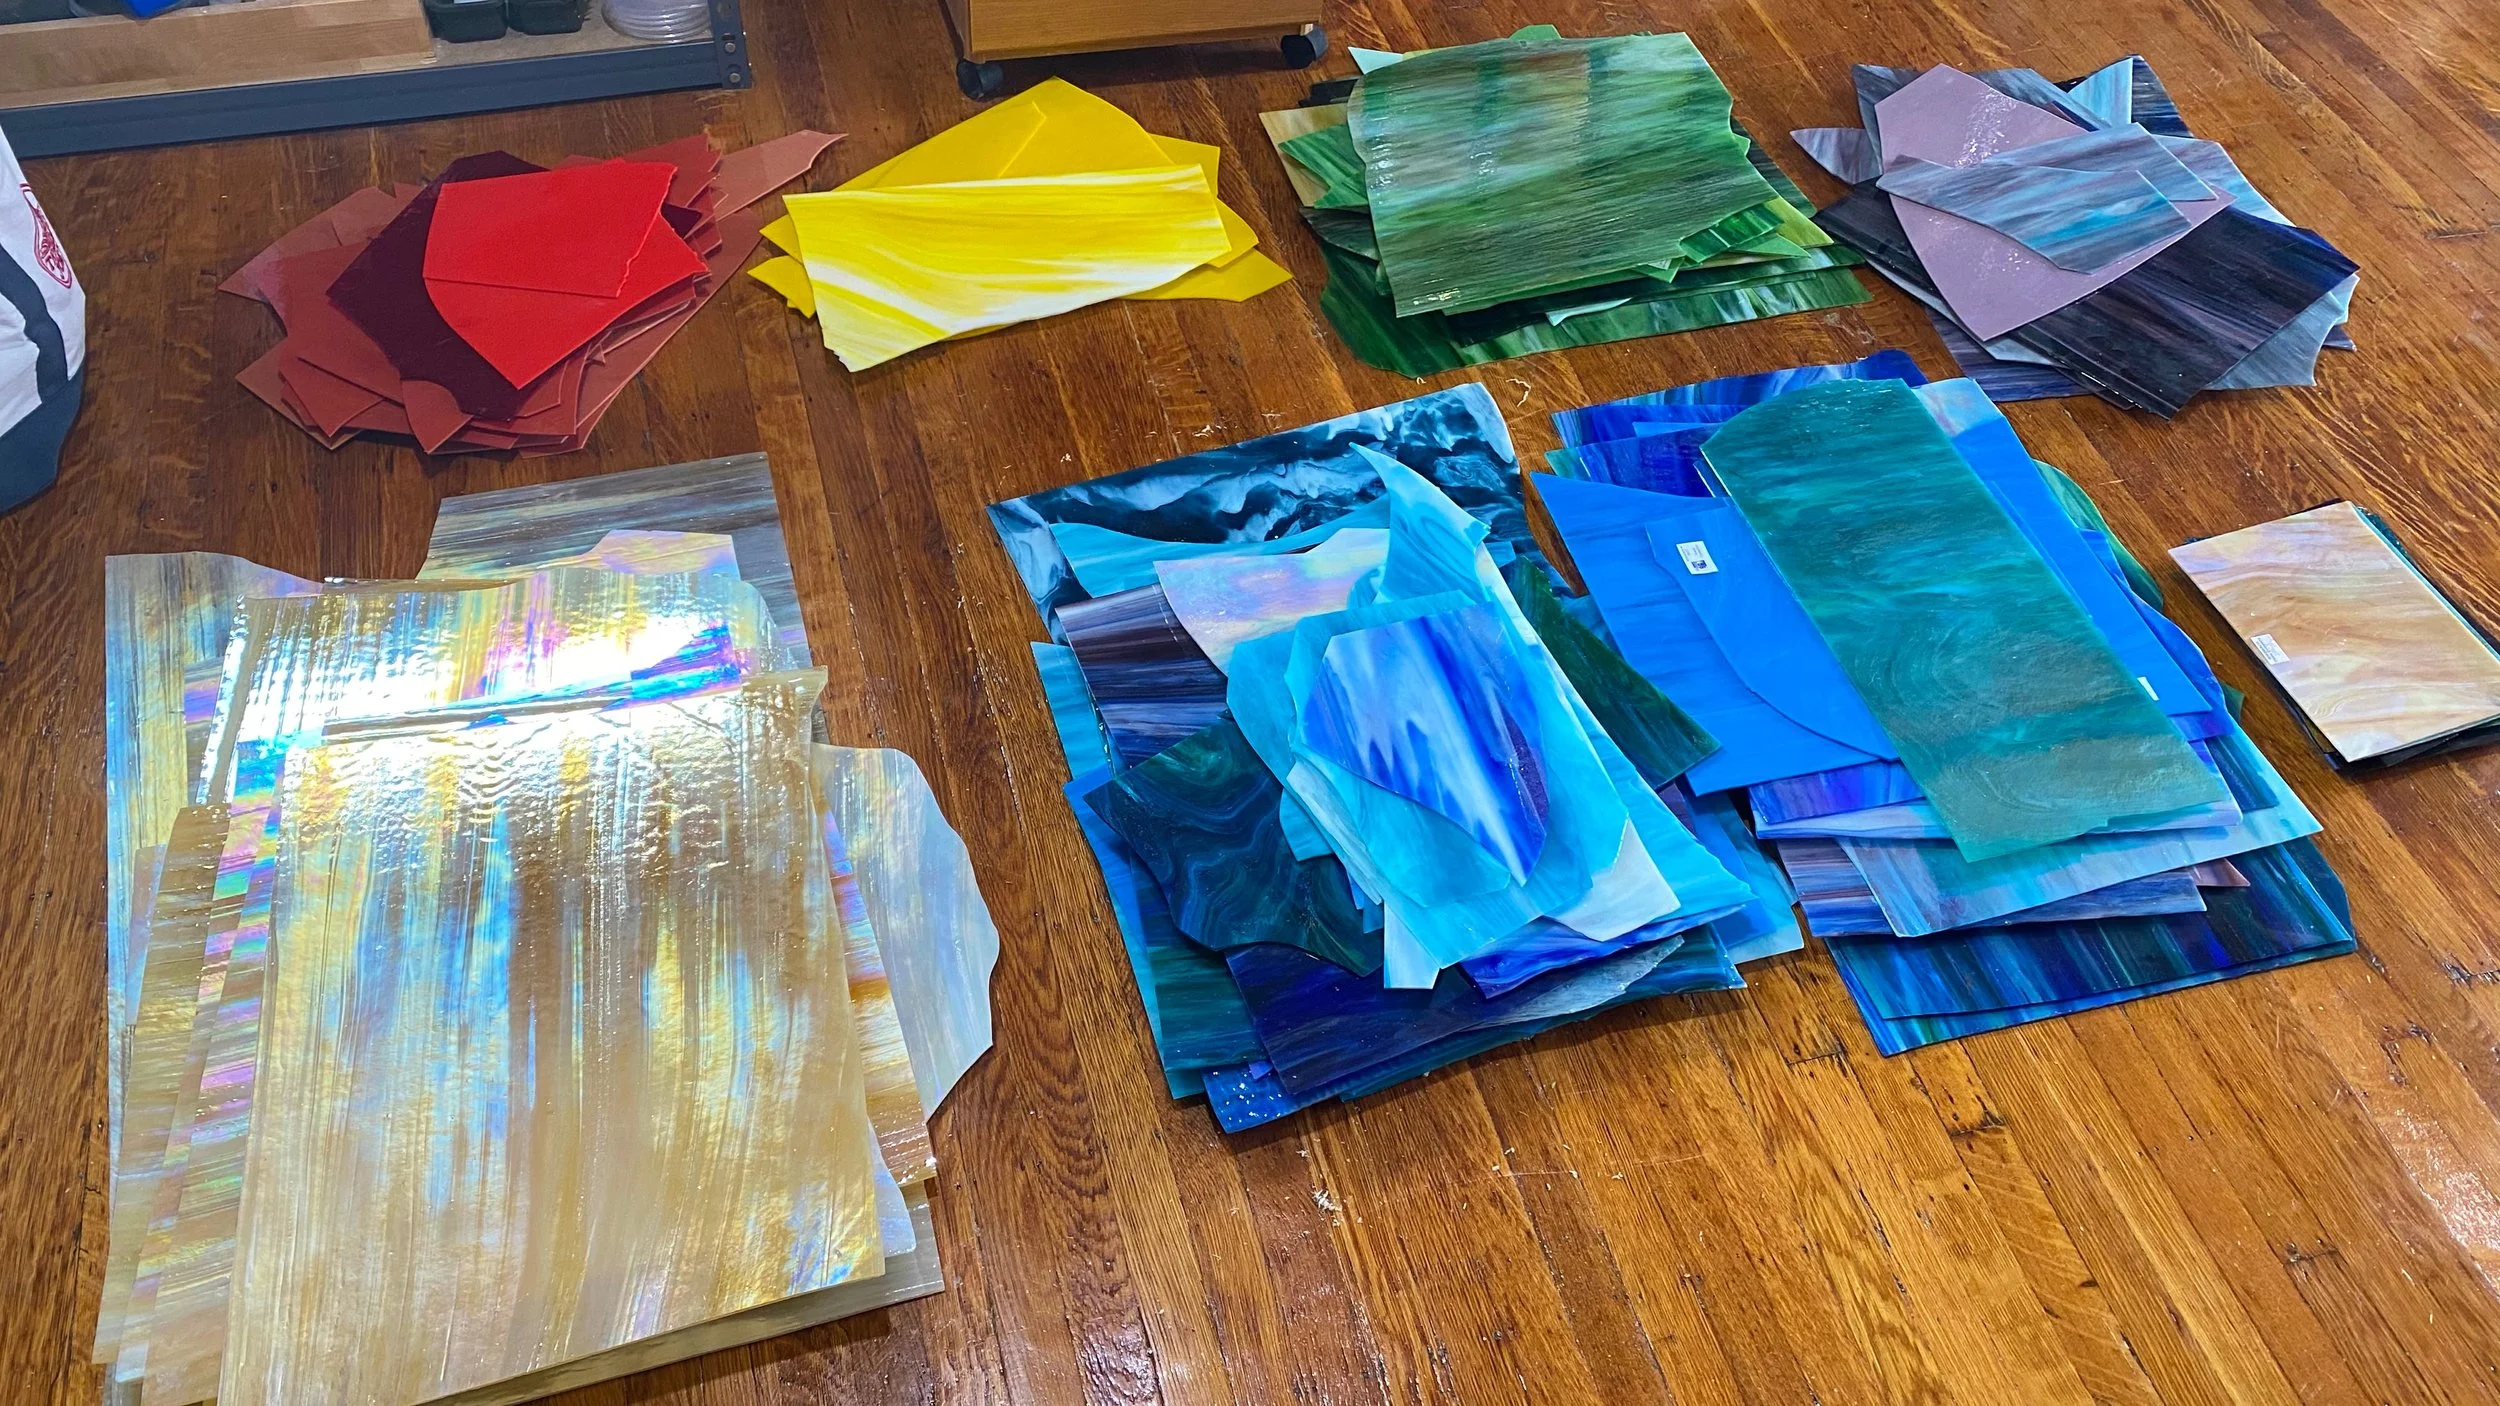
What I mostly stopped in for was this wispy iridescent glass that varies in color from amber to white. It’s what I used as the background for the Copper I mosaic. I’ve fallen deeply in love with it and want to use it more.

I wanted to find glass to use for more copper mosaics, but didn’t find a lot. I did find a lot more iridescent glass than usual though.

So that’s it for this Wissmach Glass trip. I hope you get a chance to either go there or to another glass factory sometime because in addition to finding this inexpensive glass you can pick out, they also give tours to show how they make the glass. I’ve never been on one of these tours and I would love to and I hope all of you get to sometime too. Thank you!  
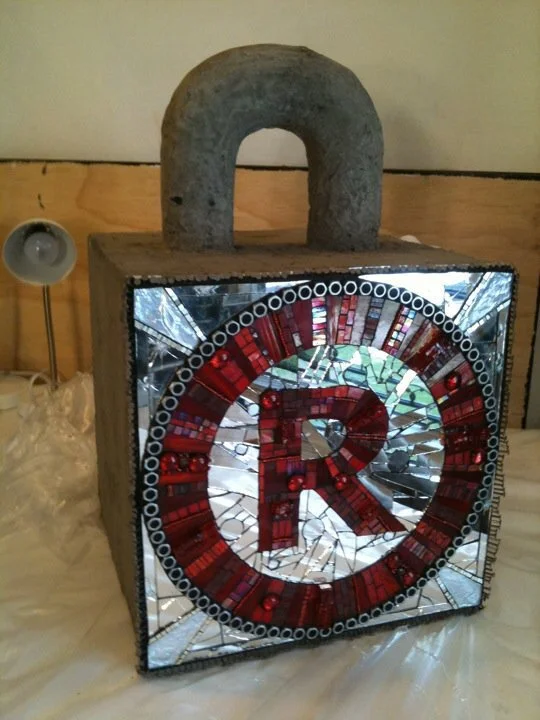
Registered Trademark Mosaic

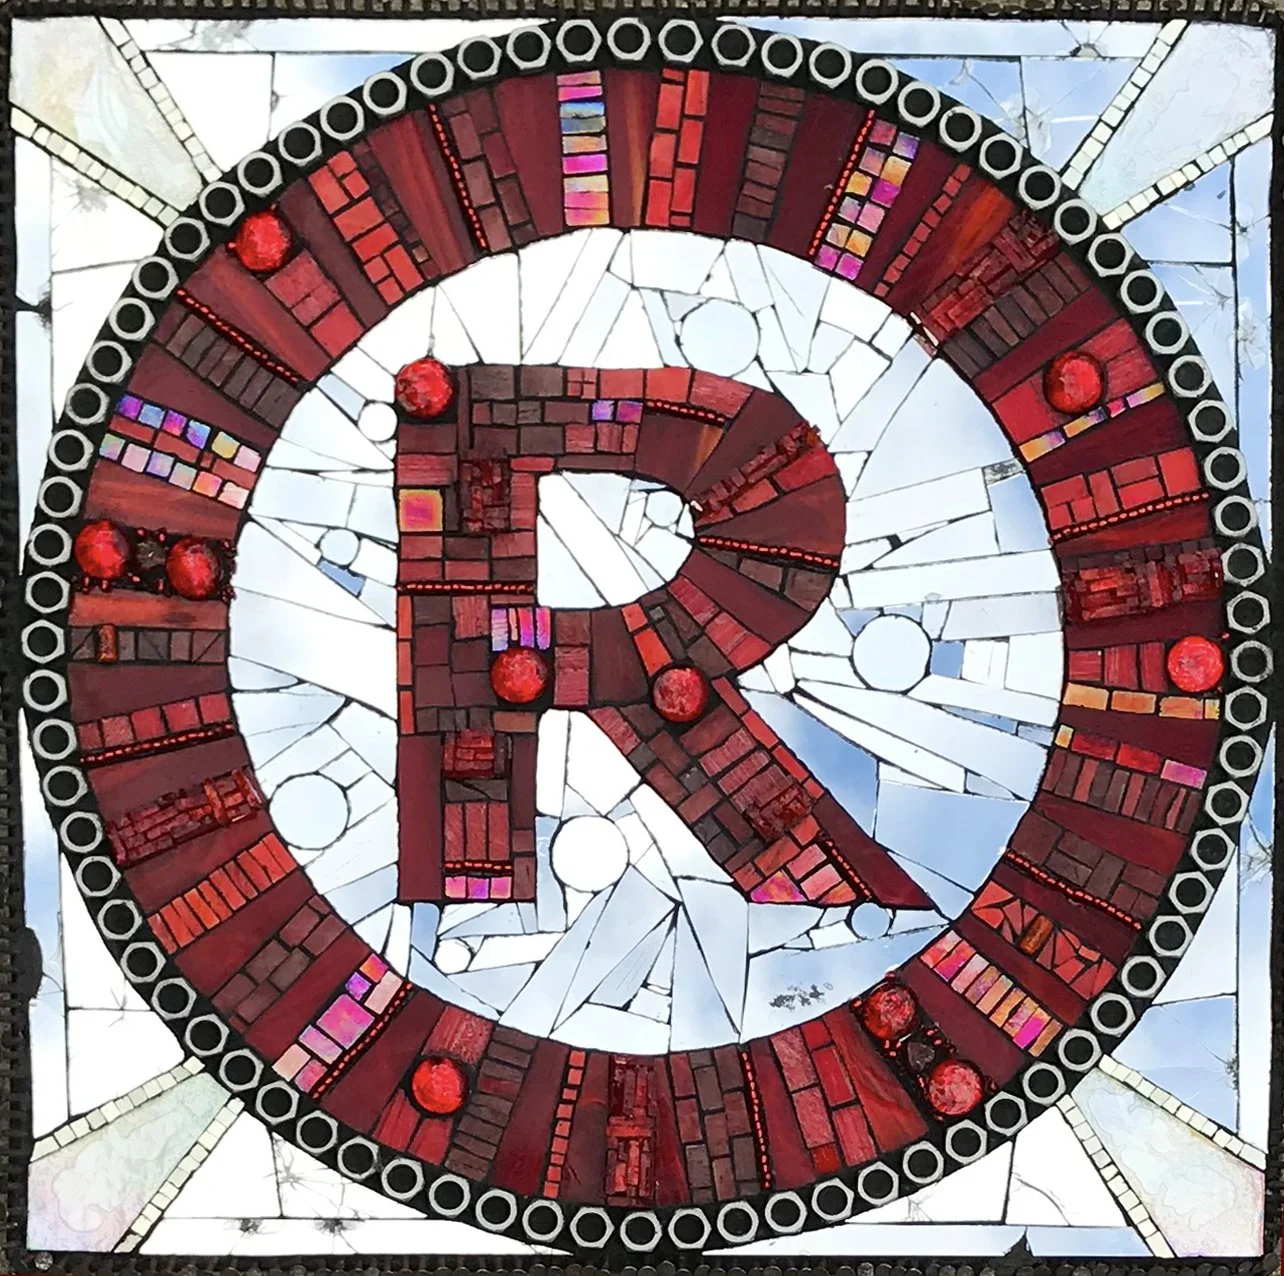
The creation of this mosaic took some twists and turns and ended up totally different in the end, but I still love it.

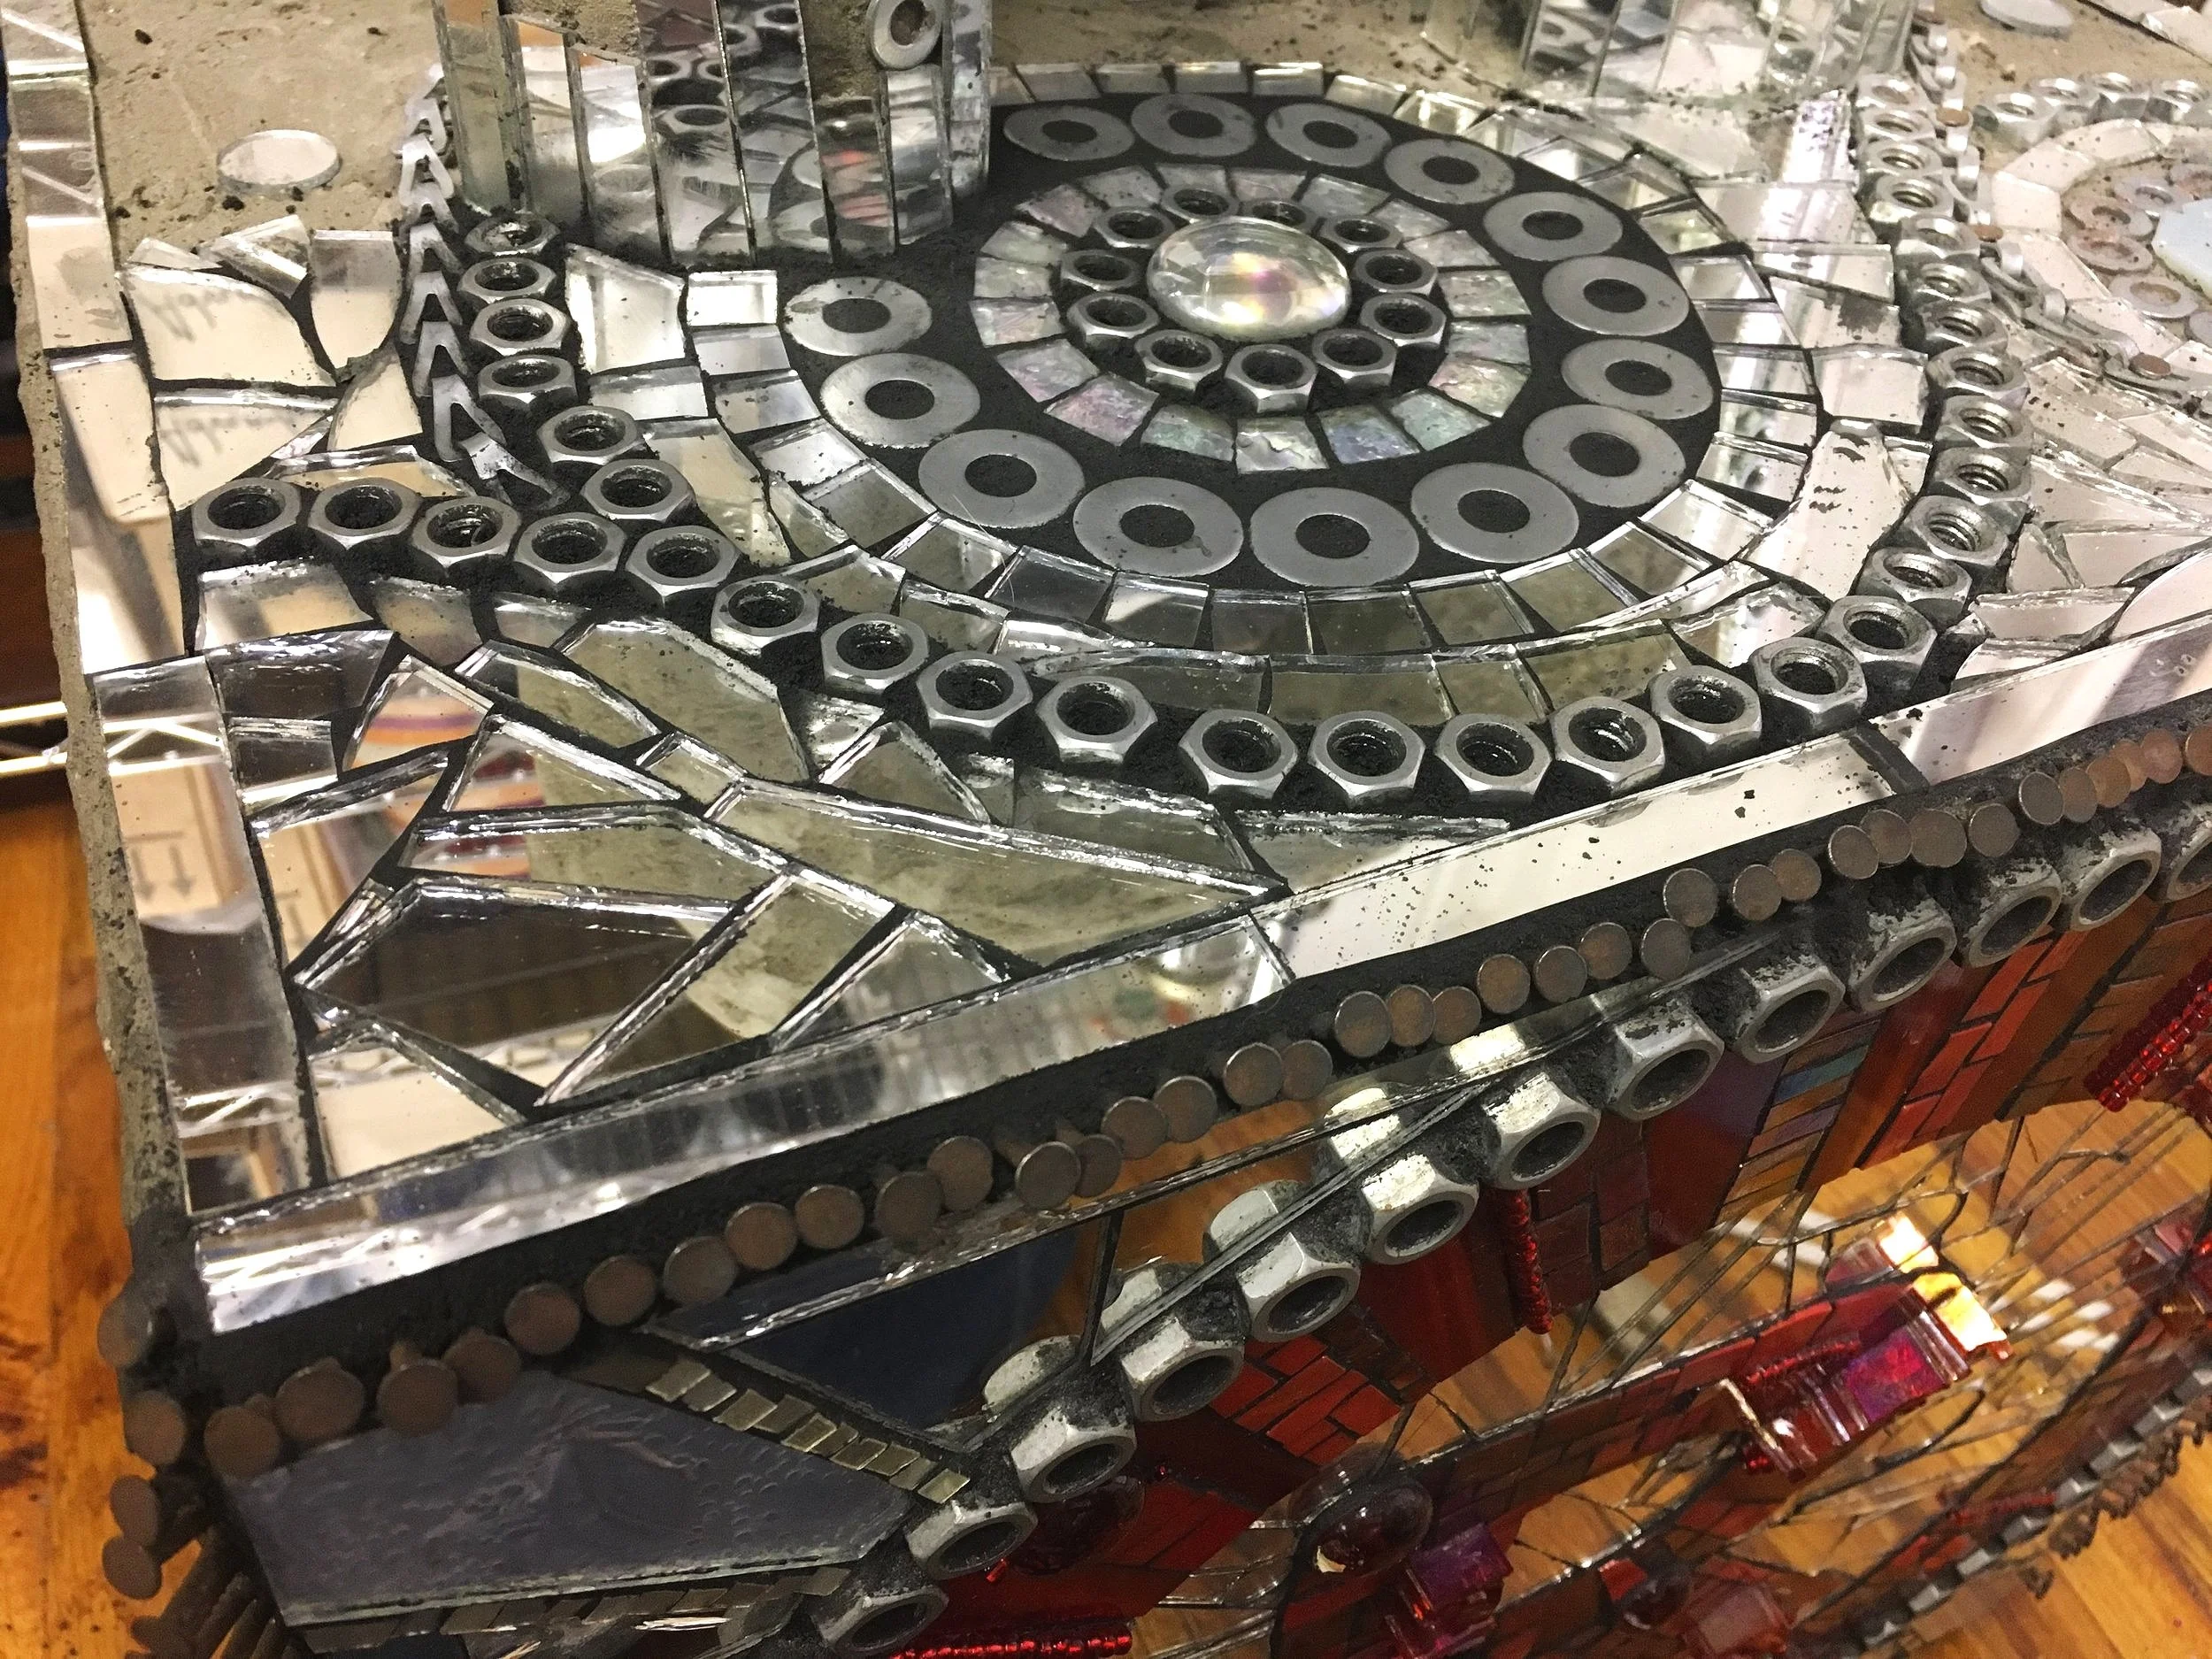
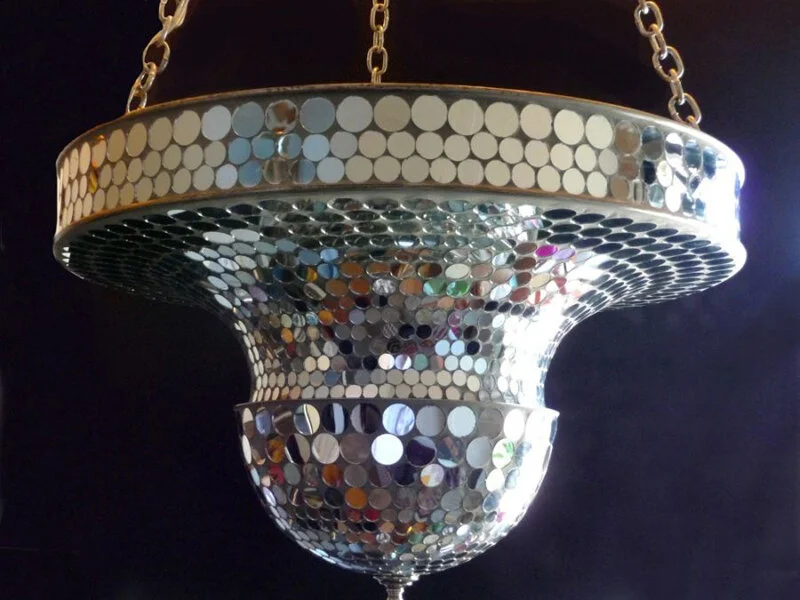
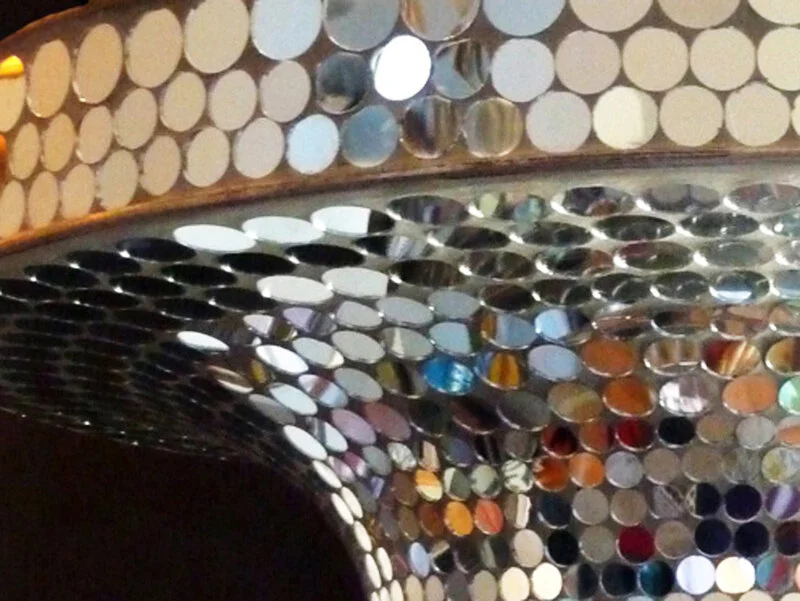
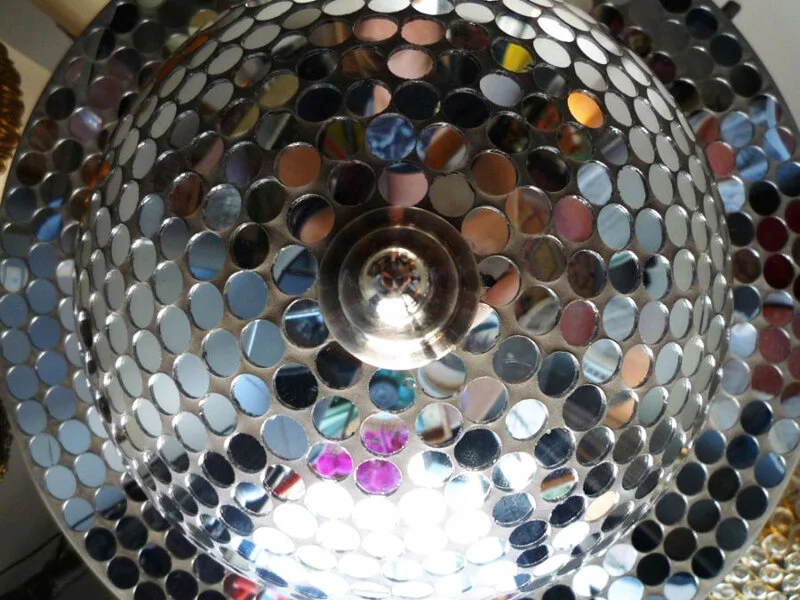
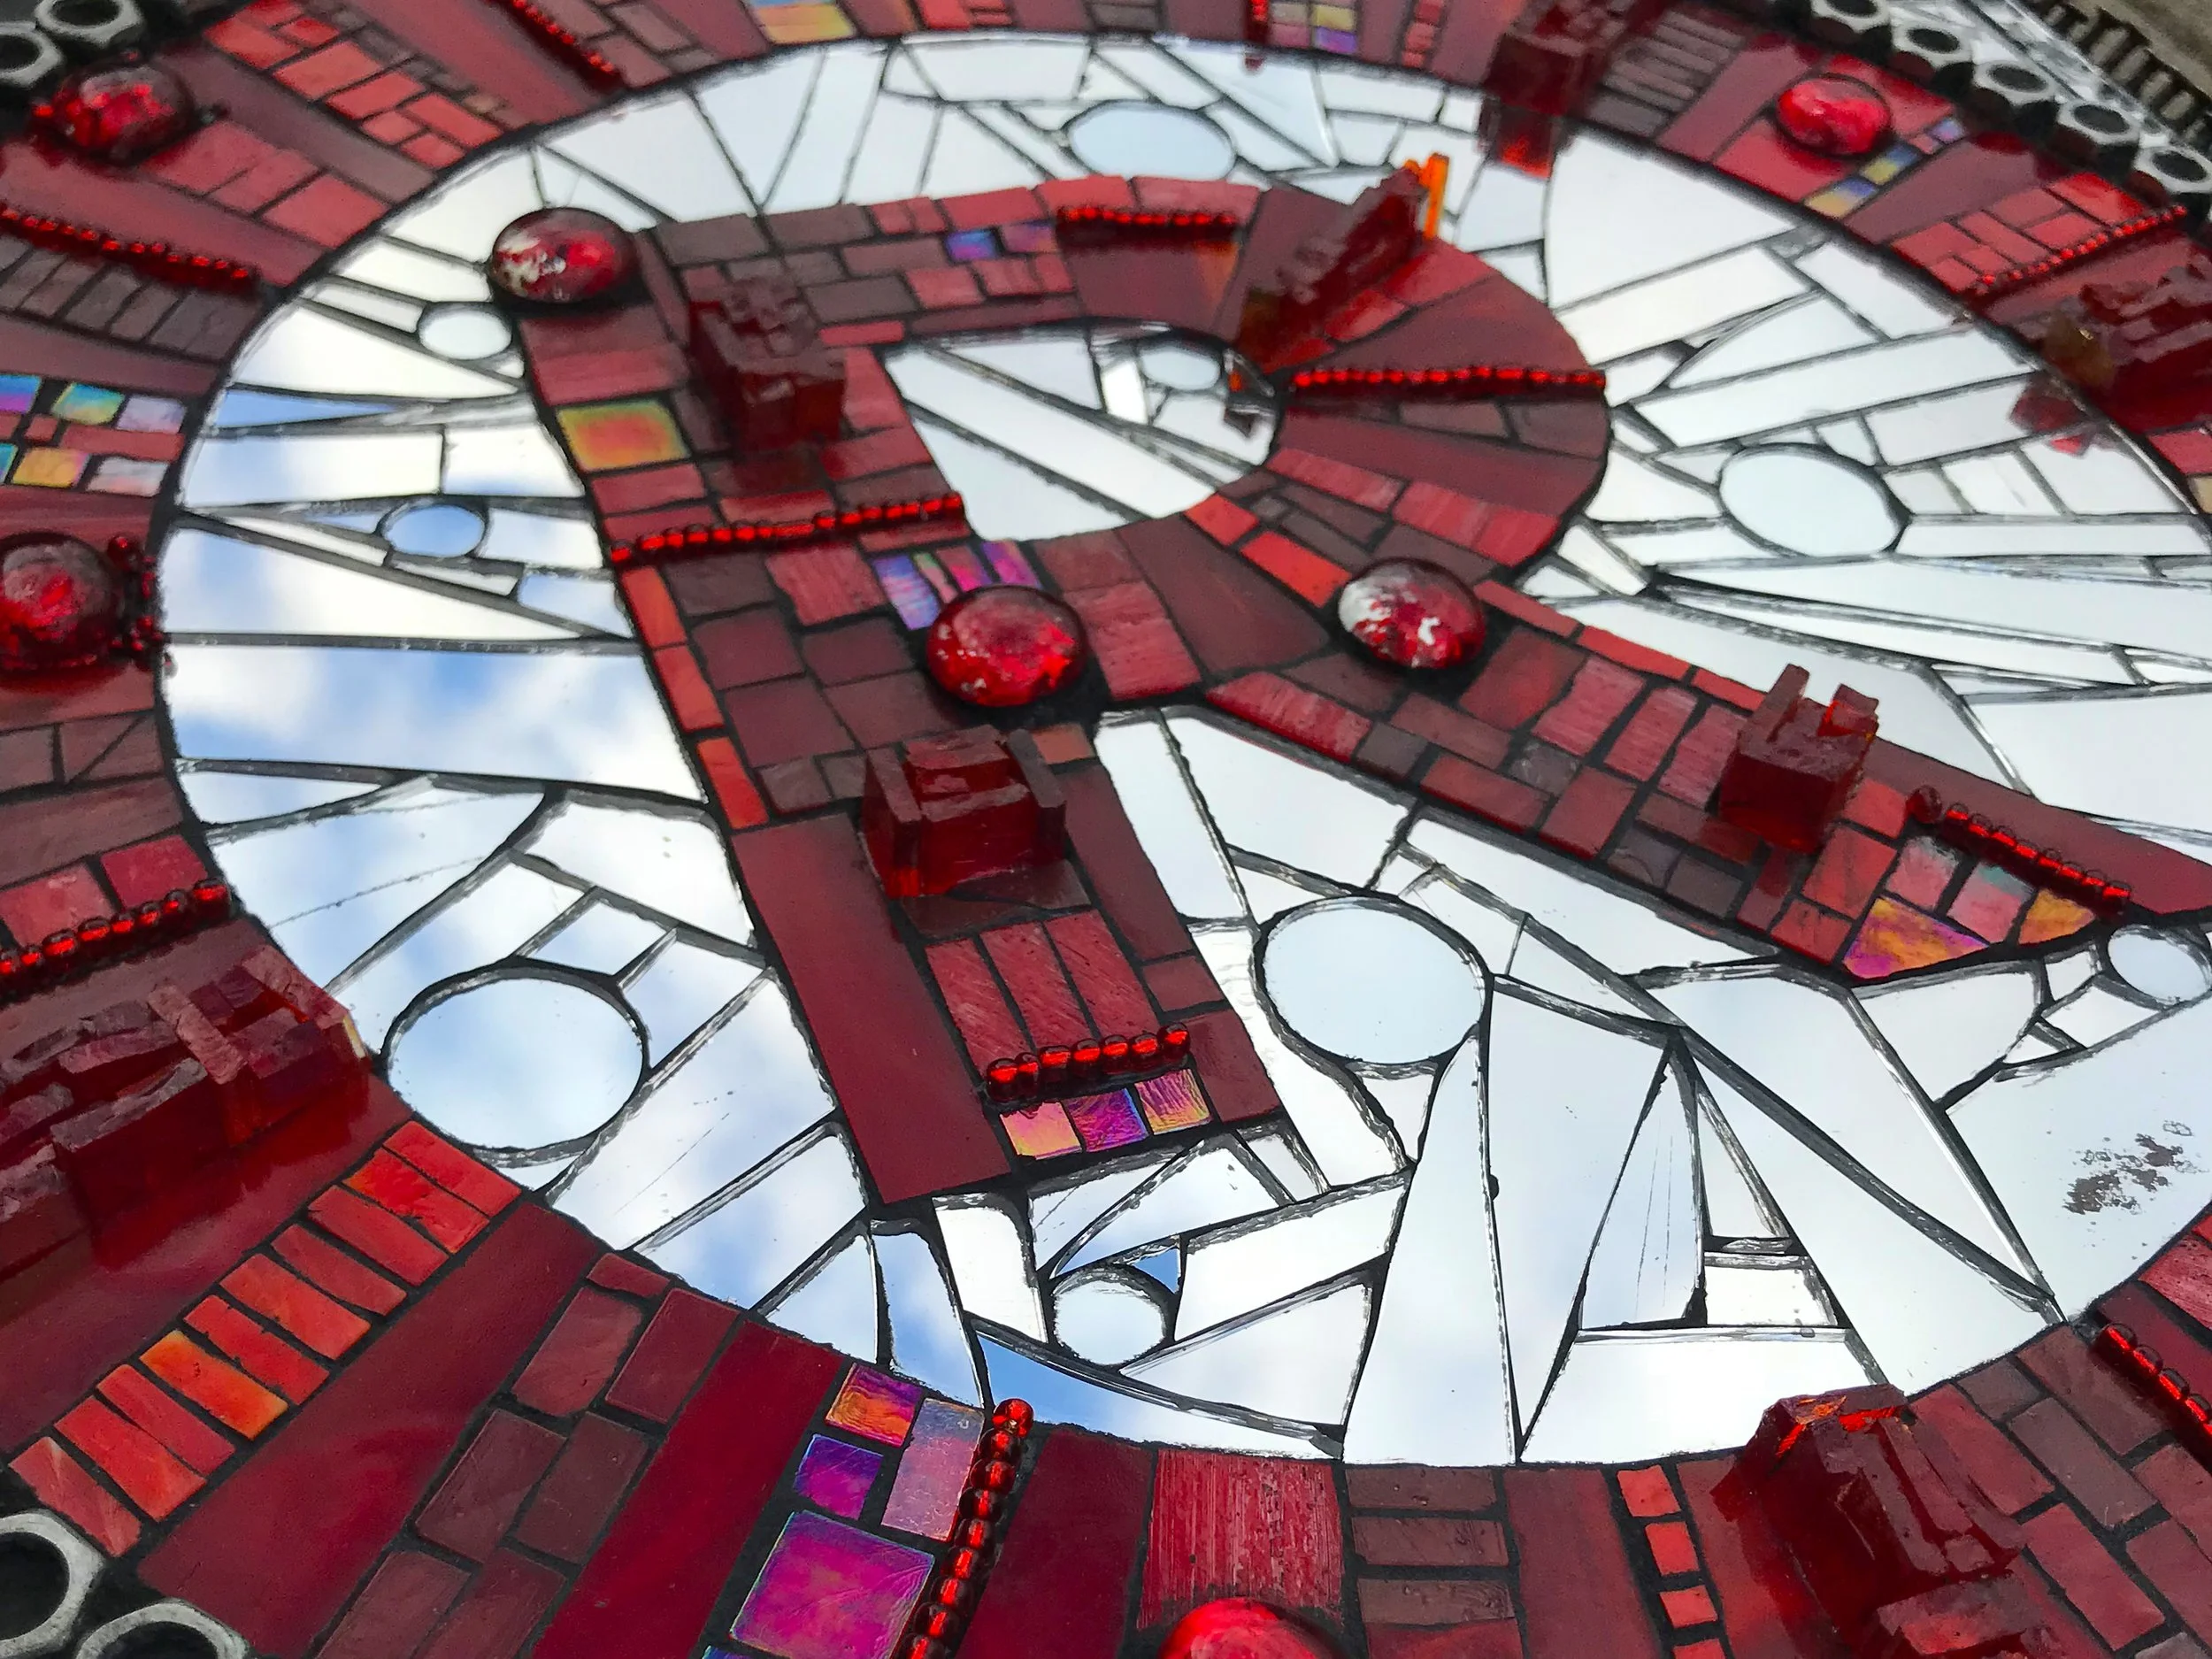
I had an idea for a series of mosaics made of mirror, red glass details, and hardware such as nuts, ball chain, nails, and washers. I started this one and another, then got really busy for about 3-4 years with commissions. Some of these commissions were 13 Red Bull Mirrored Disco Coolers and a few mirrored DecoBall lamps. By the time I had time to get back to my personal artwork, the last thing I wanted to do was mosaic with mirror.

Registered Trademark was originally intended to be a sculptural piece. It was a padlock and was going to hang from barbed wire. Once I decided not to move forward with the series, I cut the front off the structure and finished the edges as a hanging mosaic.


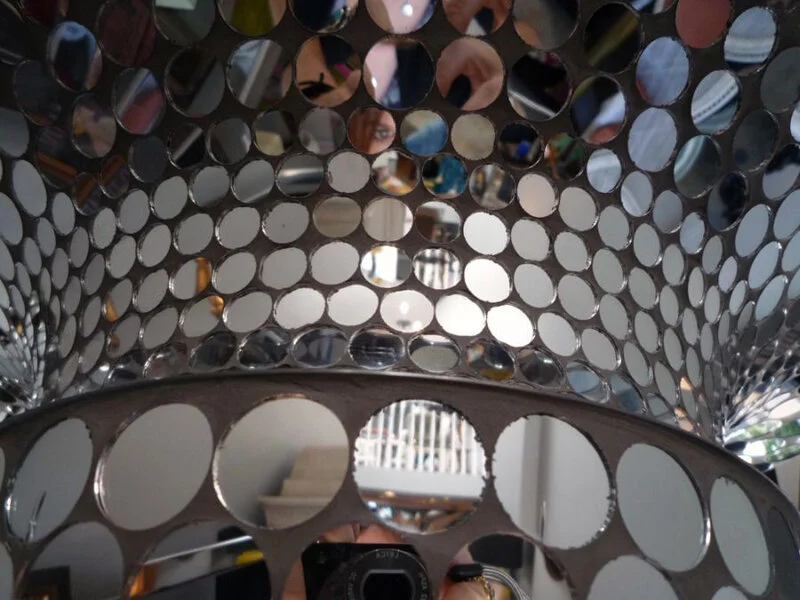
This is a portion of the sculptural mosaic that was done before I decided to cut it apart. Hopefully it shows where I was going with the idea. I’m kind of sad the idea didn’t come to fruition, but as time consuming as mosaics are to create, sometimes you have to make choices on what to follow forward with and what to leave behind.

VIDEO: Alcohol Ink: Experiment #1

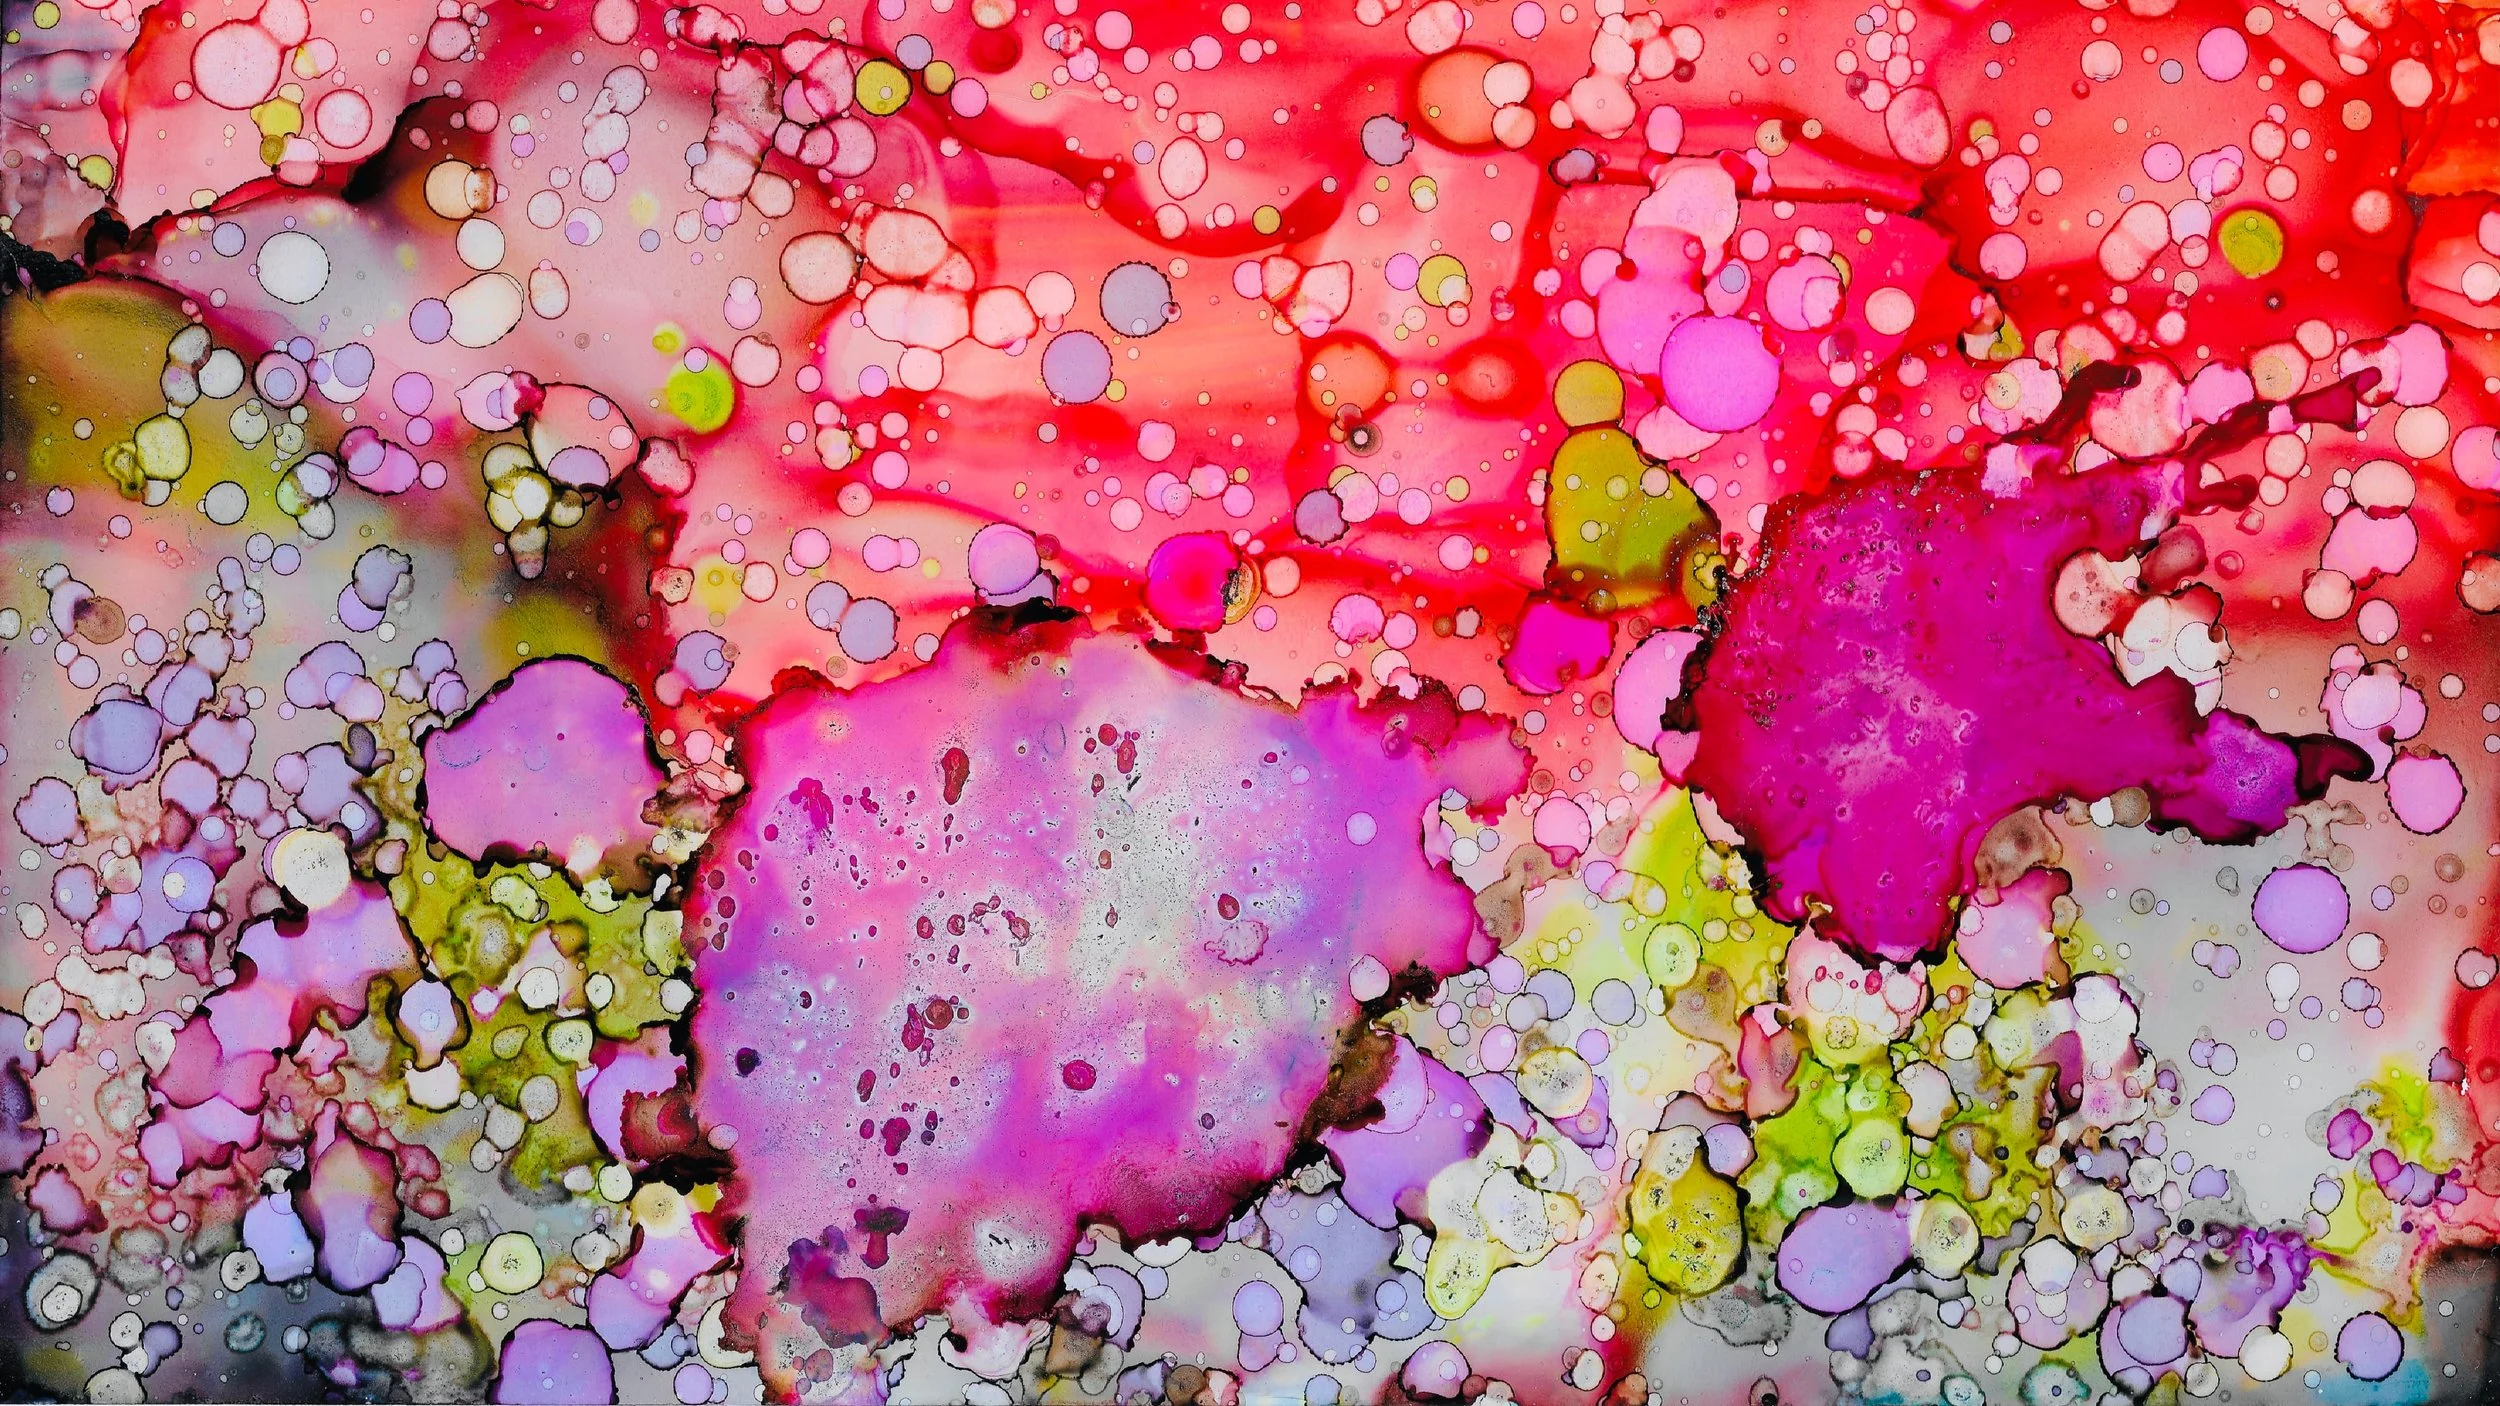
A little trial and mostly error into a new medium to help spark my creativity. Remember that you can’t make beautiful art until you fail many times first!
Video transcript for deaf or hard of hearing:

Hi Art Aficionados! I’ve wanted to try experimenting with alcohol inks for a long time. A couple years ago I made these privacy screens for my apartment. I was looking for brilliant color more than fine art, so I was really happy with the outcome.

I usually show you the progress on successful projects because I’m doing mosaics that I’ve been making forever. Today you get to see the failures, or as I like to call them, educational experiments.

I bought a bunch of inks when a local art store was going out of business, and on their last couple days when they were practically giving art supplies away, I picked up alcohol ink markers. I’m not actually sure how to use them.

For this experiment, I cut 11” x 14” Yupo paper into smaller pieces so that I’m not wasting a lot of time & supplies in practice. Yupo is a cotton based paper that is non-porous so that alcohol inks can flow on top.

To me it feels like this paper is porous and absorbing some of the ink. I don’t know if the problem is the quality of my yupo or if I’m not doing it right.

There are so many ways to work with alcohol inks, but I really like the brilliant colors and circular patterns. I’m attempting to get that going here, but it’s not quite working out the way I wanted.

I’m just going to keep going because even though I’m frustrated that nothing I’m putting down is looking the way I intended, I can’t learn unless I try.

As I come to the end of filling the paper, I do like the saturation, especially the fuschia, so I’m going to pick it up and tilt it to let the ink flow. My plan is to come back to this paper in a few weeks or months when I have a better handle on this and use this saturated color as a background and add to it. The ink reactivates once rubbing alcohol or alcohol ink is added.

I’m going to try the markers again as a background. As I’m doing these voice overs, I’m realizing that since I’m someone that likes to work precisely, the alcohol ink markers may be a better option for detailing the foreground in the future instead of just as a background.

What I tried differently on this one is dropping on pearl mixative. I am not sure if it’s supposed to be used on its own like this, or mixed in as the name implies, but I dropped it on anyway. I don’t love the way I used it here, but the effect is something I will be able to use to help ideas in my head come onto the paper. 

I realize I didn’t show you the inks. I’m using Tim Holtz Ranger inks, which seem to be the most popular and recognized as highest quality by alcohol ink artists.

One last try for today. I’m dropping ink colors on that I want, then using a straw to try to blow the colors around. I was very unhappy with what I had going on here, so I washed it over with rubbing alcohol and I’m going to try one last thing: I’m going to sprinkle ink on by flicking a paint brush. This isn’t exactly what I want, but at least I can see that the tiny circles that look like those images of micrograph cells ARE what I’m looking for. I just want it more saturated and precise.

I am someone that needs to do things to learn, so I’m glad I pushed through this frustration of ignorance. Now I will do what my sister wisely does every time she is about to embark on a new endeavor… I will watch a million YouTube videos. There is no short supply of alcohol ink videos and tutorials, and now that I have played around a little, I will be able to soak in their techniques better.

Thank you for watching my trial and mostly error. Remember you can’t make beautiful art until you fail many times first.

Lava Pool Mosaic Floor Insert

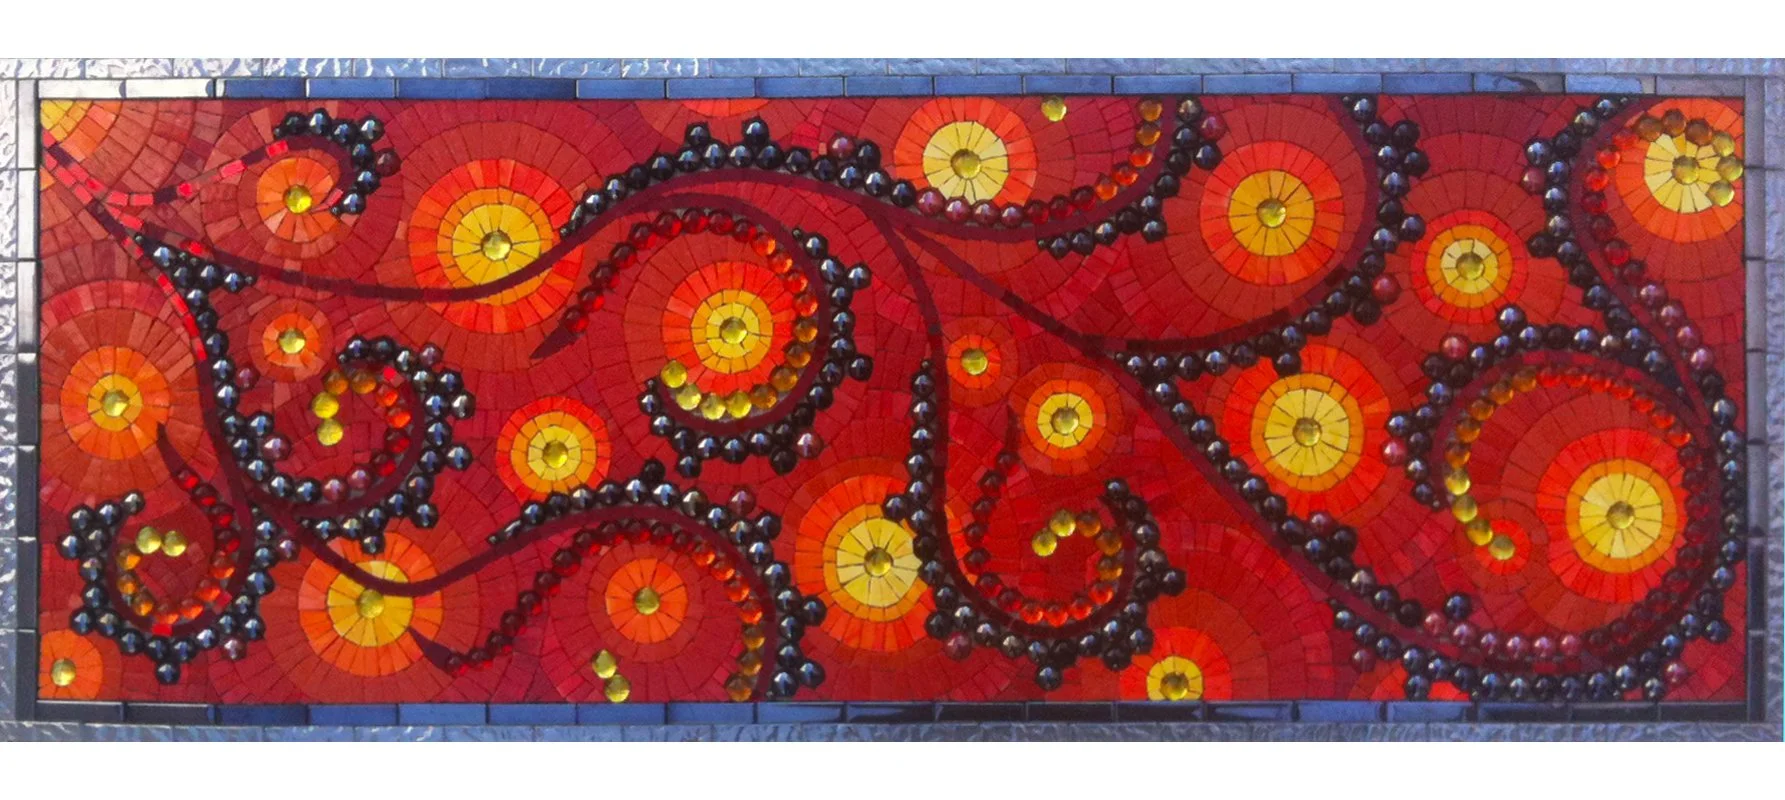
A lava mosaic floor insert I made for a kid’s bathroom in Eagle Rock, CA.

The clients I made the sunburst bathroom mosaic for asked me to make a special little piece for their son’s bathroom. They wanted a lava theme and I was excited to make some frothy, stylized lava flows.

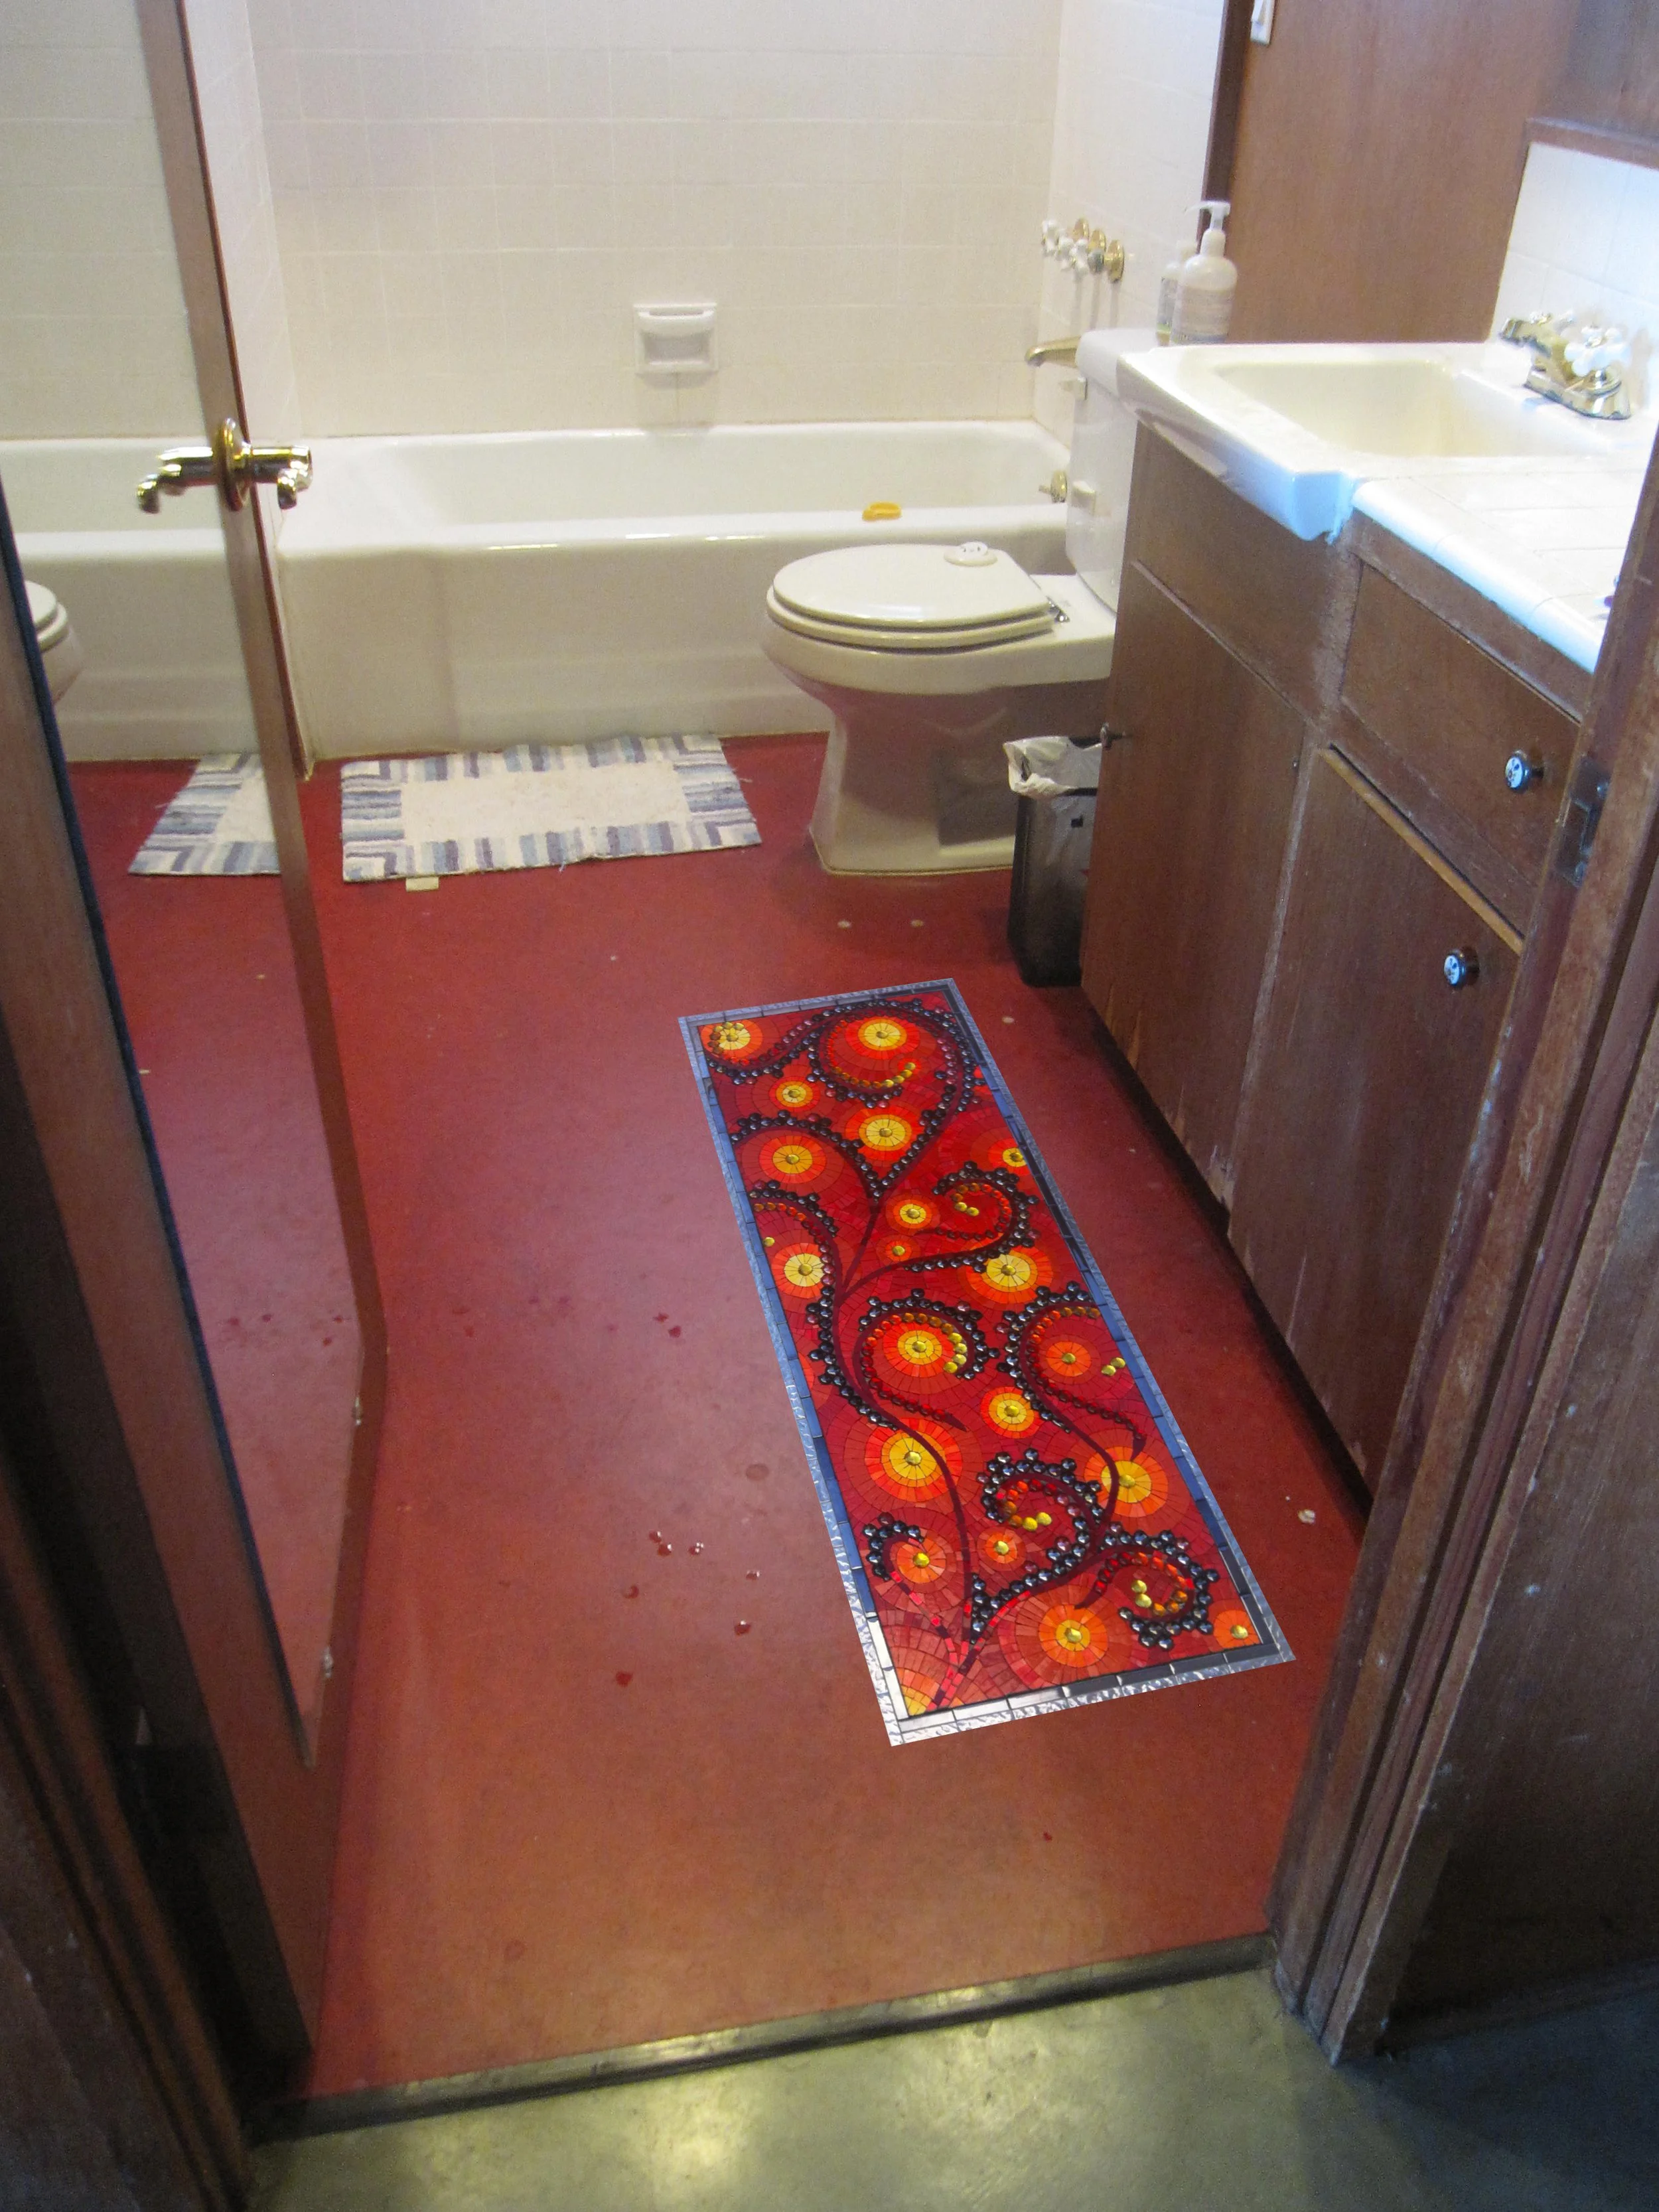
I don’t have installed pictures of the mosaic. It’s been a few years, but if my memory serves, the bathroom was still being renovated when I delivered the mosaic, then the clients were living out of state for a bit. I made a mockup in the unrenovated bathroom to give you a feel for where and how the mosaic is placed.


TBT! Mirror Feather Mosaic Cabinet Collab

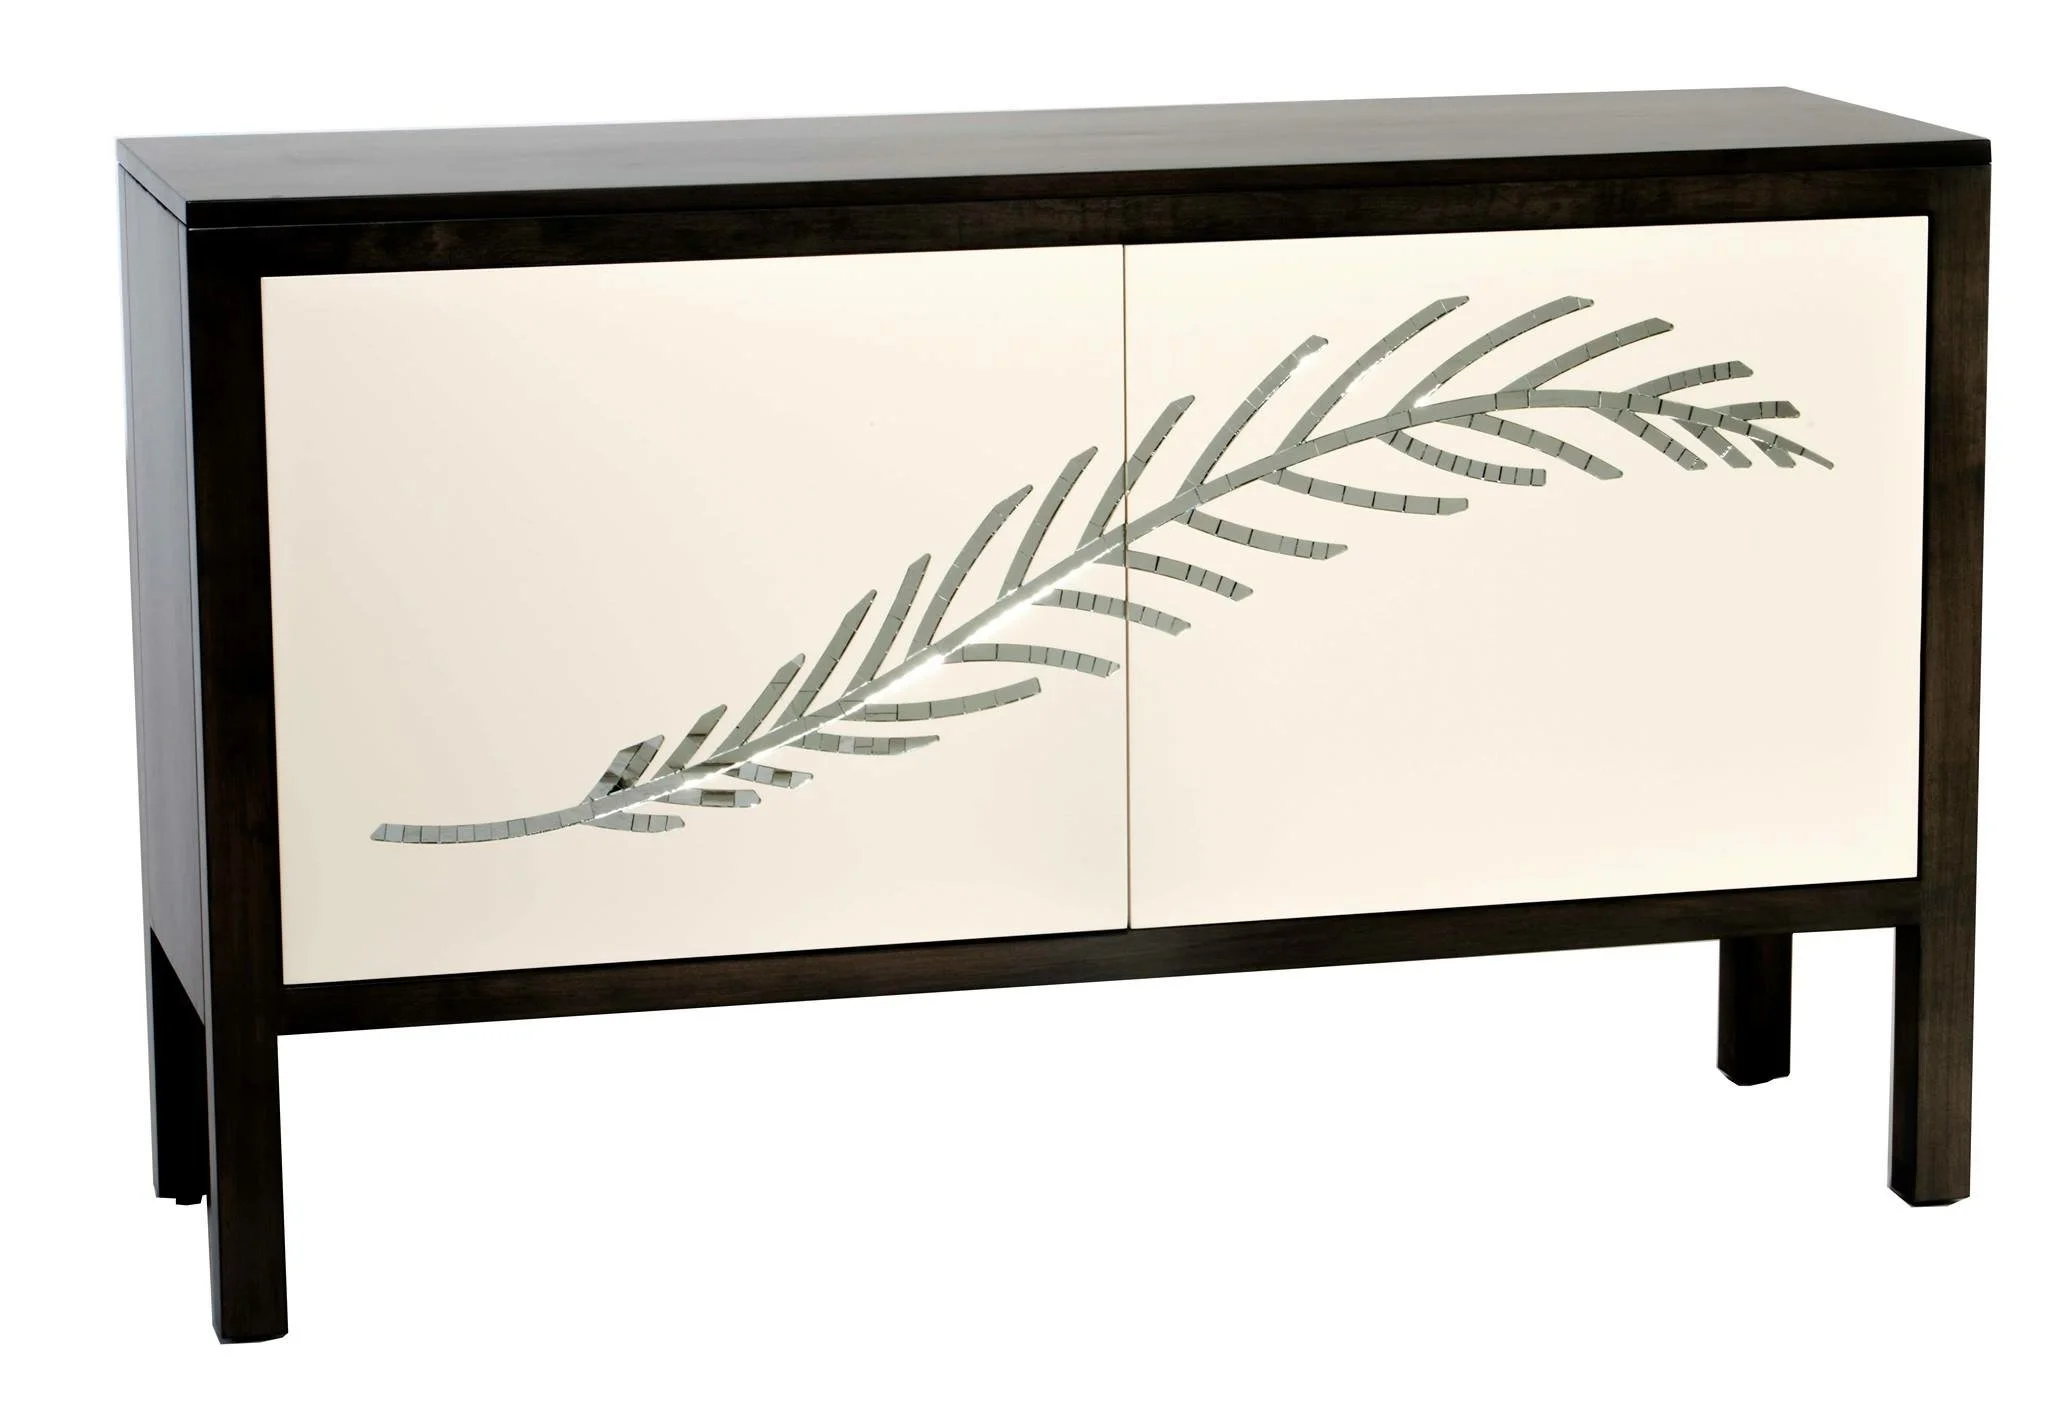
Here’s a gorgeous collaboration I had the opportunity to work on with John Strauss Furniture a few years ago. John created this beautiful cabinet to house this beautiful inset mosaic mirror feather that is inset within the doors. It was so fun to collaborate with John & Carisa on this and so many other furniture/mosaic works!

VIDEO: Aluminum Foundry Visit & Making a Mosaic Pendant

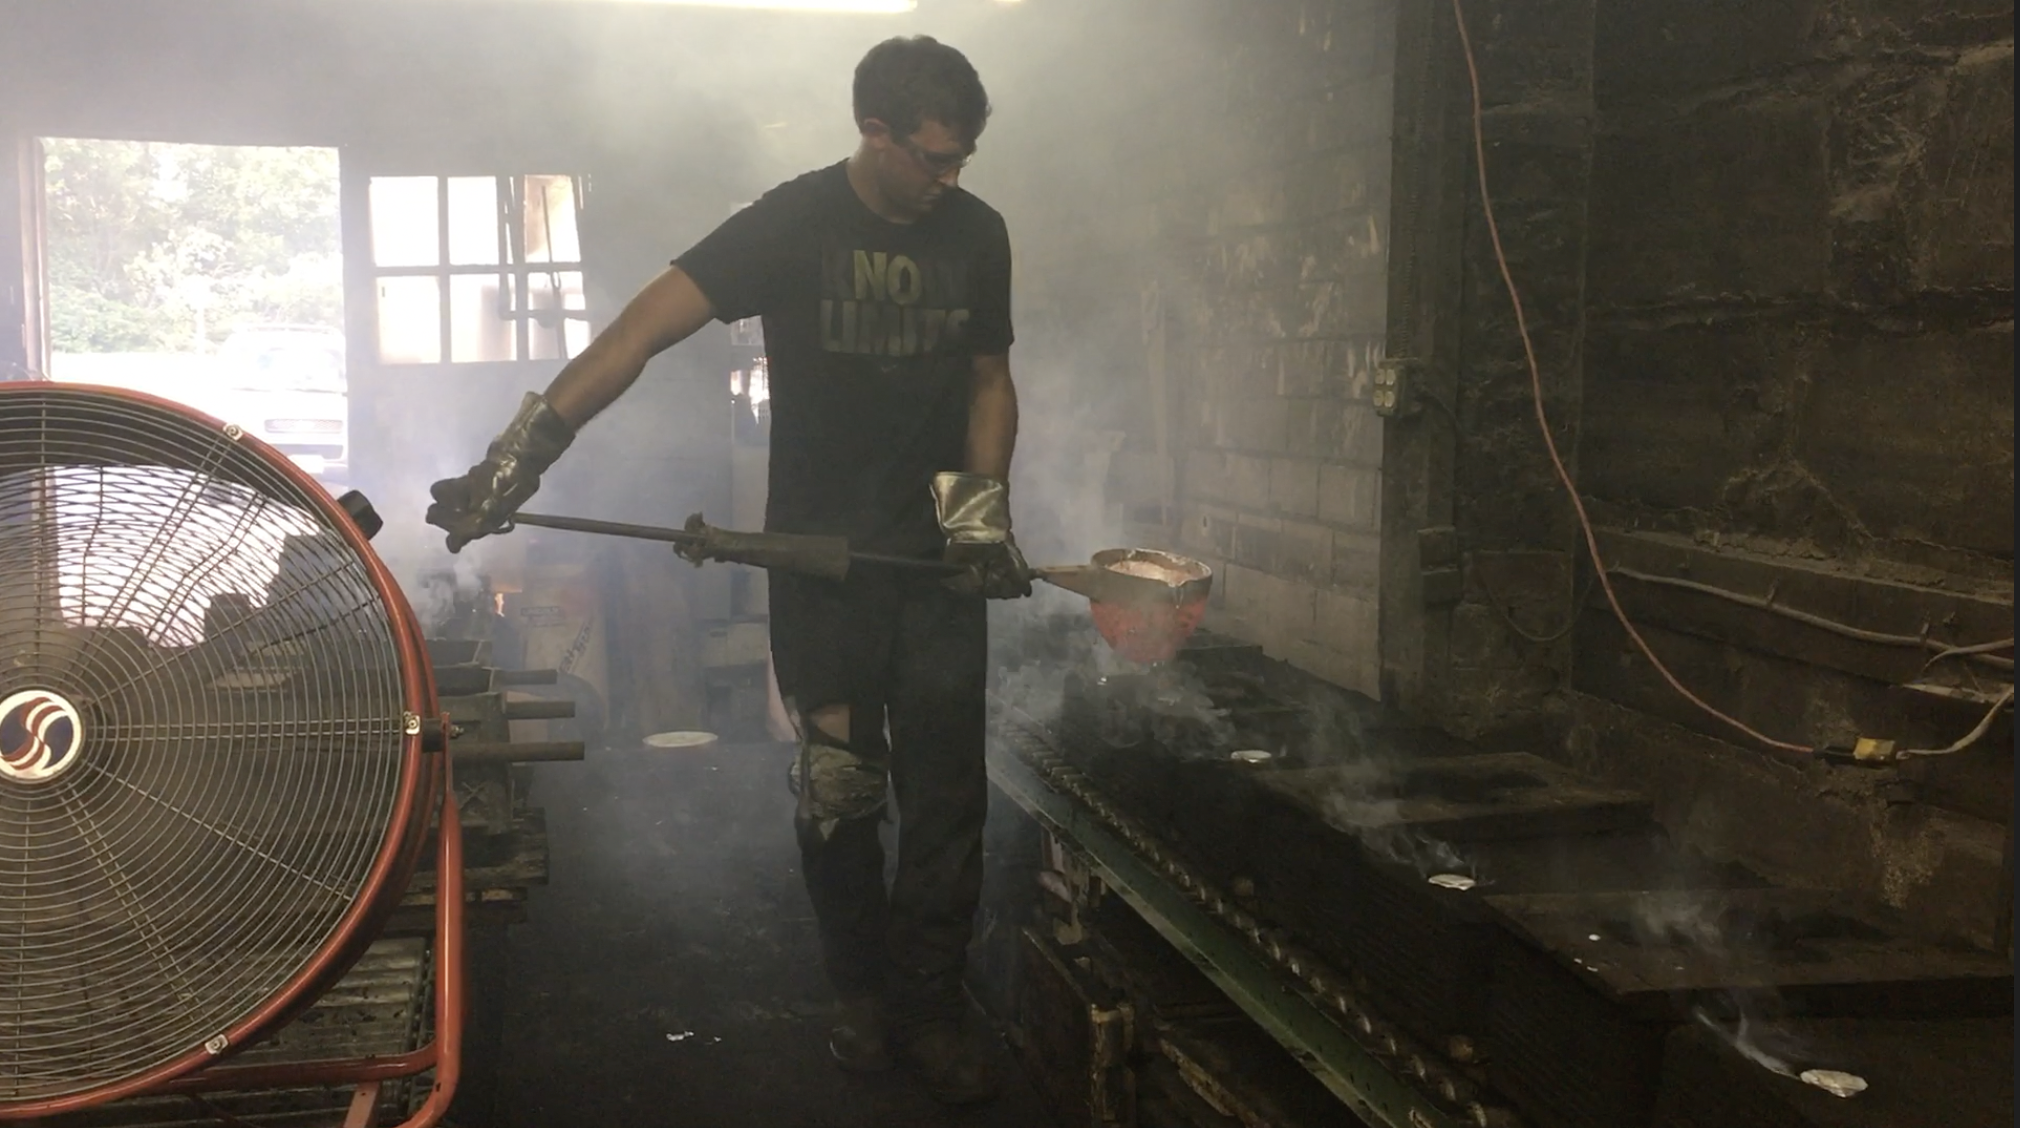
When I was having bases made for mezuzot and pendants I got the chance to see an aluminum factory in action.

Video transcript for deaf or hard of hearing:

Hi Mosaic Fans! This week I’m going to show you a bit about making mosaic jewelry and décor. I have made a few pieces over the years like these pendants and mezuzot, but want to make more this year.

The first decorative pieces I made were two mezuzot for an orthodox Jewish client. He sends me pieces of his broken wedding plate and I use bits of them to incorporate into mosaic art as a gift for his wife on their anniversary. It’s so sweet and makes my heart melt.

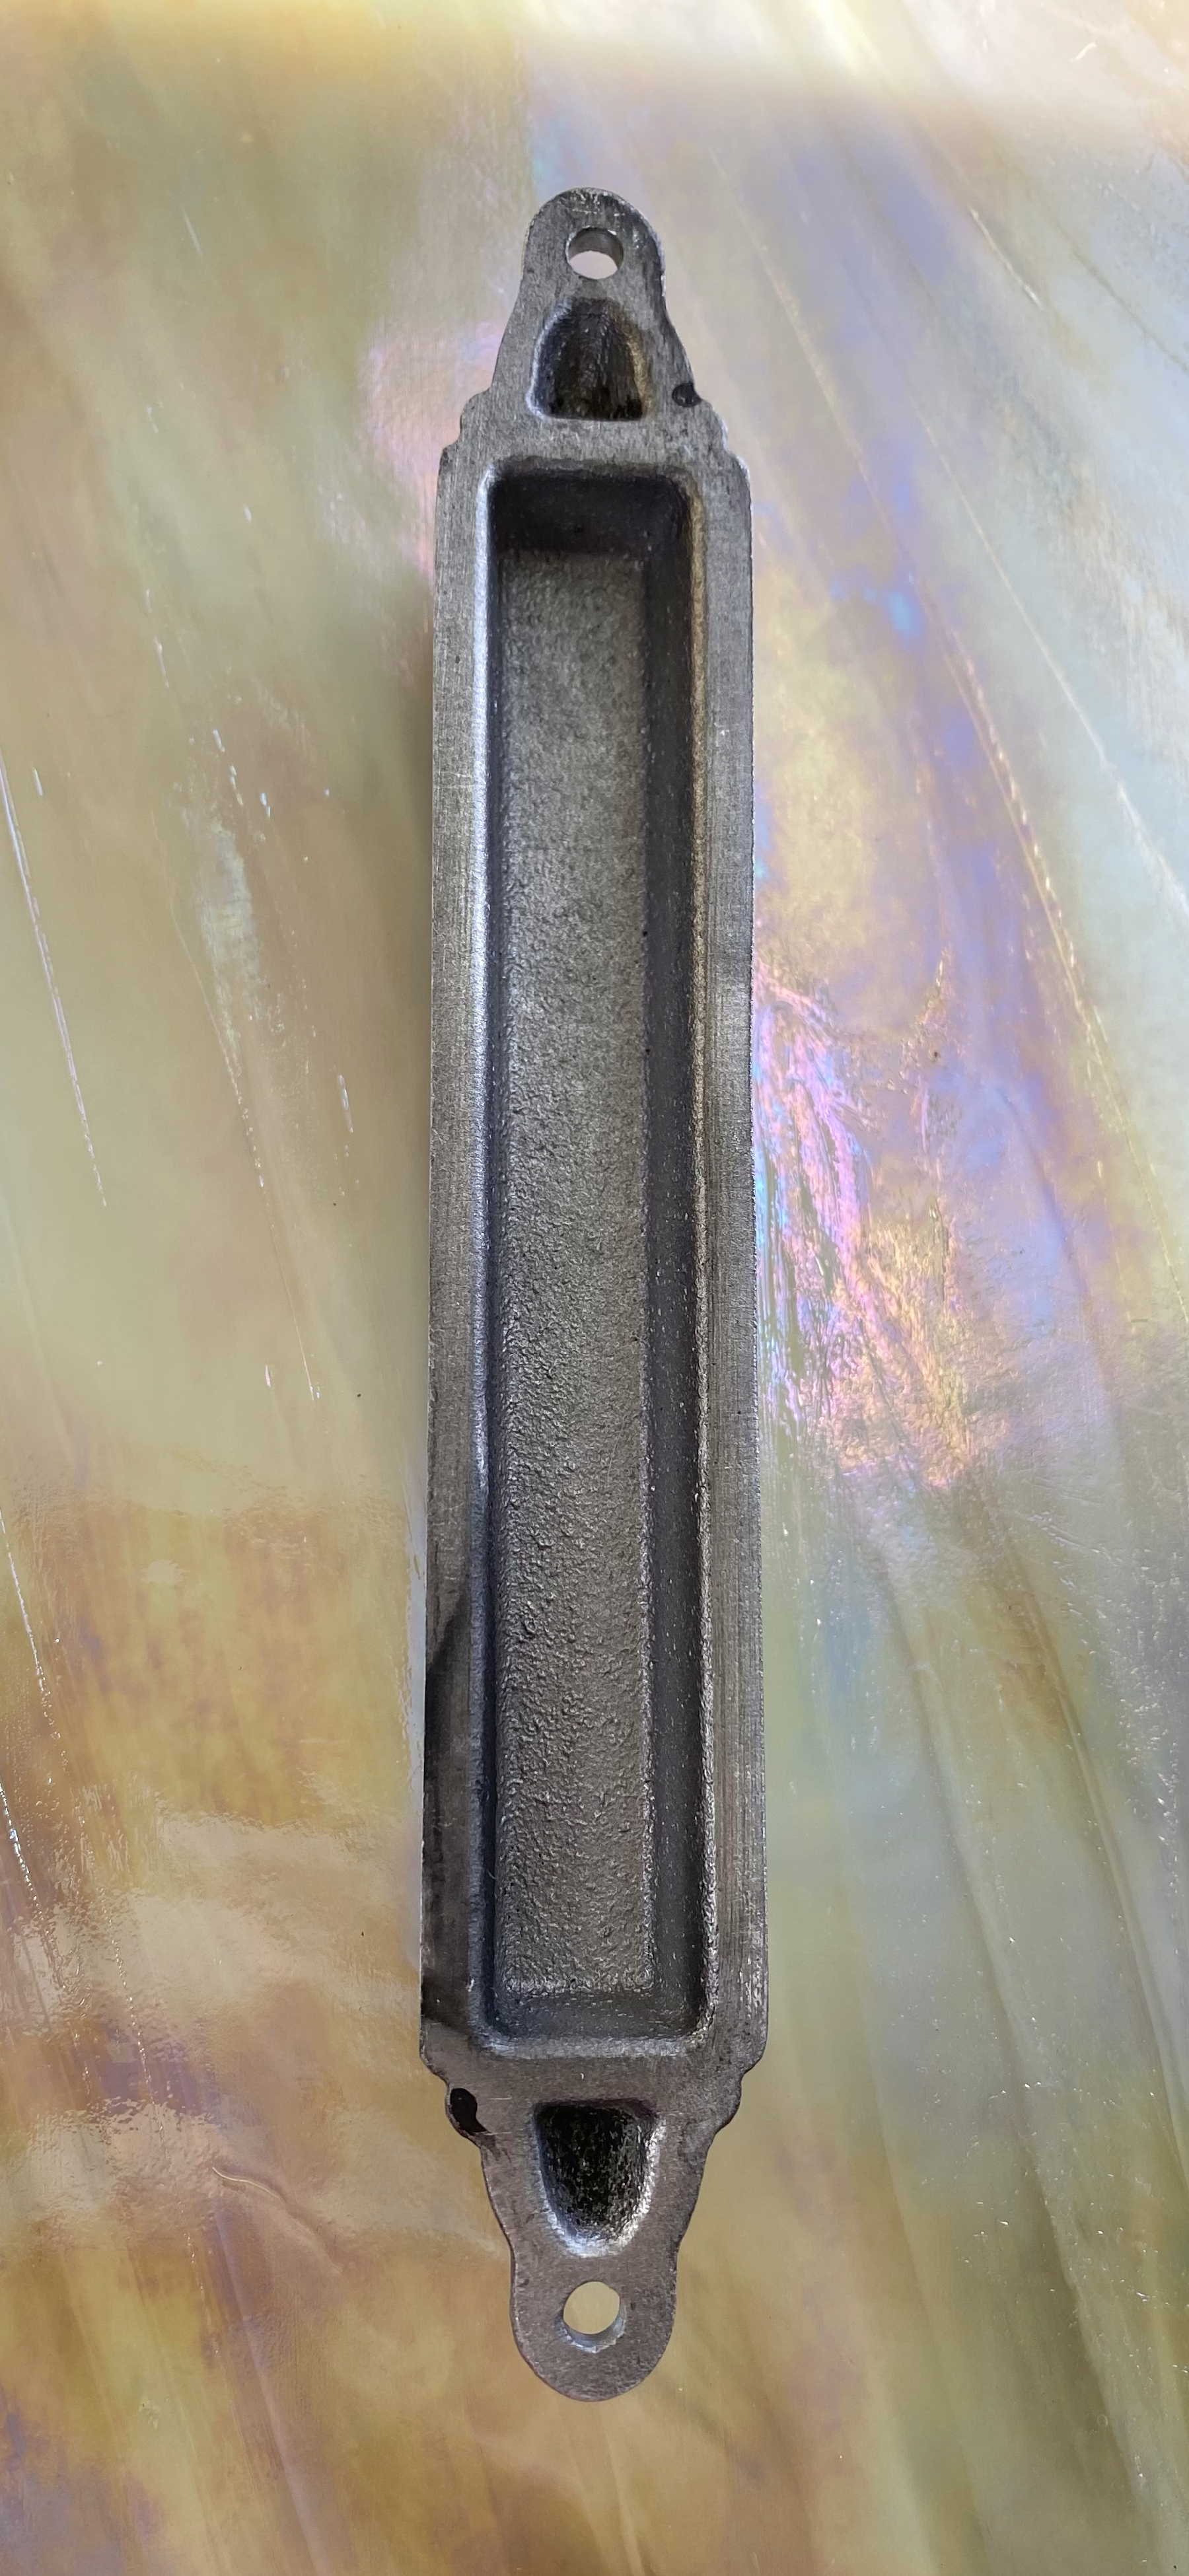
To make a base for a mezuzah, I had a friend of mine make a mold and he introduced me to a man that runs a local aluminum foundry.

I made some sketches and a CAD design because the mold had to follow my exact specifications and have space to hold a prayer roll. After getting help to making the commission, I had a fancier mold made for future mezuzot.

Right now I’m also in the process of having molds made for these jewelry pendants because my supplier has discontinued them.

Here’s the exciting part… the footage I took at the aluminum foundry about 4 years ago when I first went to see the process. Basically, they put the mold in a box, pack the box really tight with sand, then take the mold out. Then they pour the molten aluminum into a hole in the box, and when it cools you have aluminum in the shape of your mold.

There are a lot of details that I’ve been told but don’t feel I understand well enough to explain. I do suggest visiting a foundry to see how it works if you ever have the chance. It’s fascinating.

Once they have the aluminum item, they will polish it or grind it, whatever is required to achieve the effect for that particular piece on a variety of equipment like this.

The foundry owner used two scrap pieces and his belt grinder create different textures for me to take home and sample which grit was better for the antique look I wanted.

These two were 180 grit and 36 grit.

The choice was very obvious with testing. After antiquing with black paint, the finer 180 grit just looked dirty, so the 36 grit will be my choice as it allows for little dark streaks while the aluminum is still shiny.

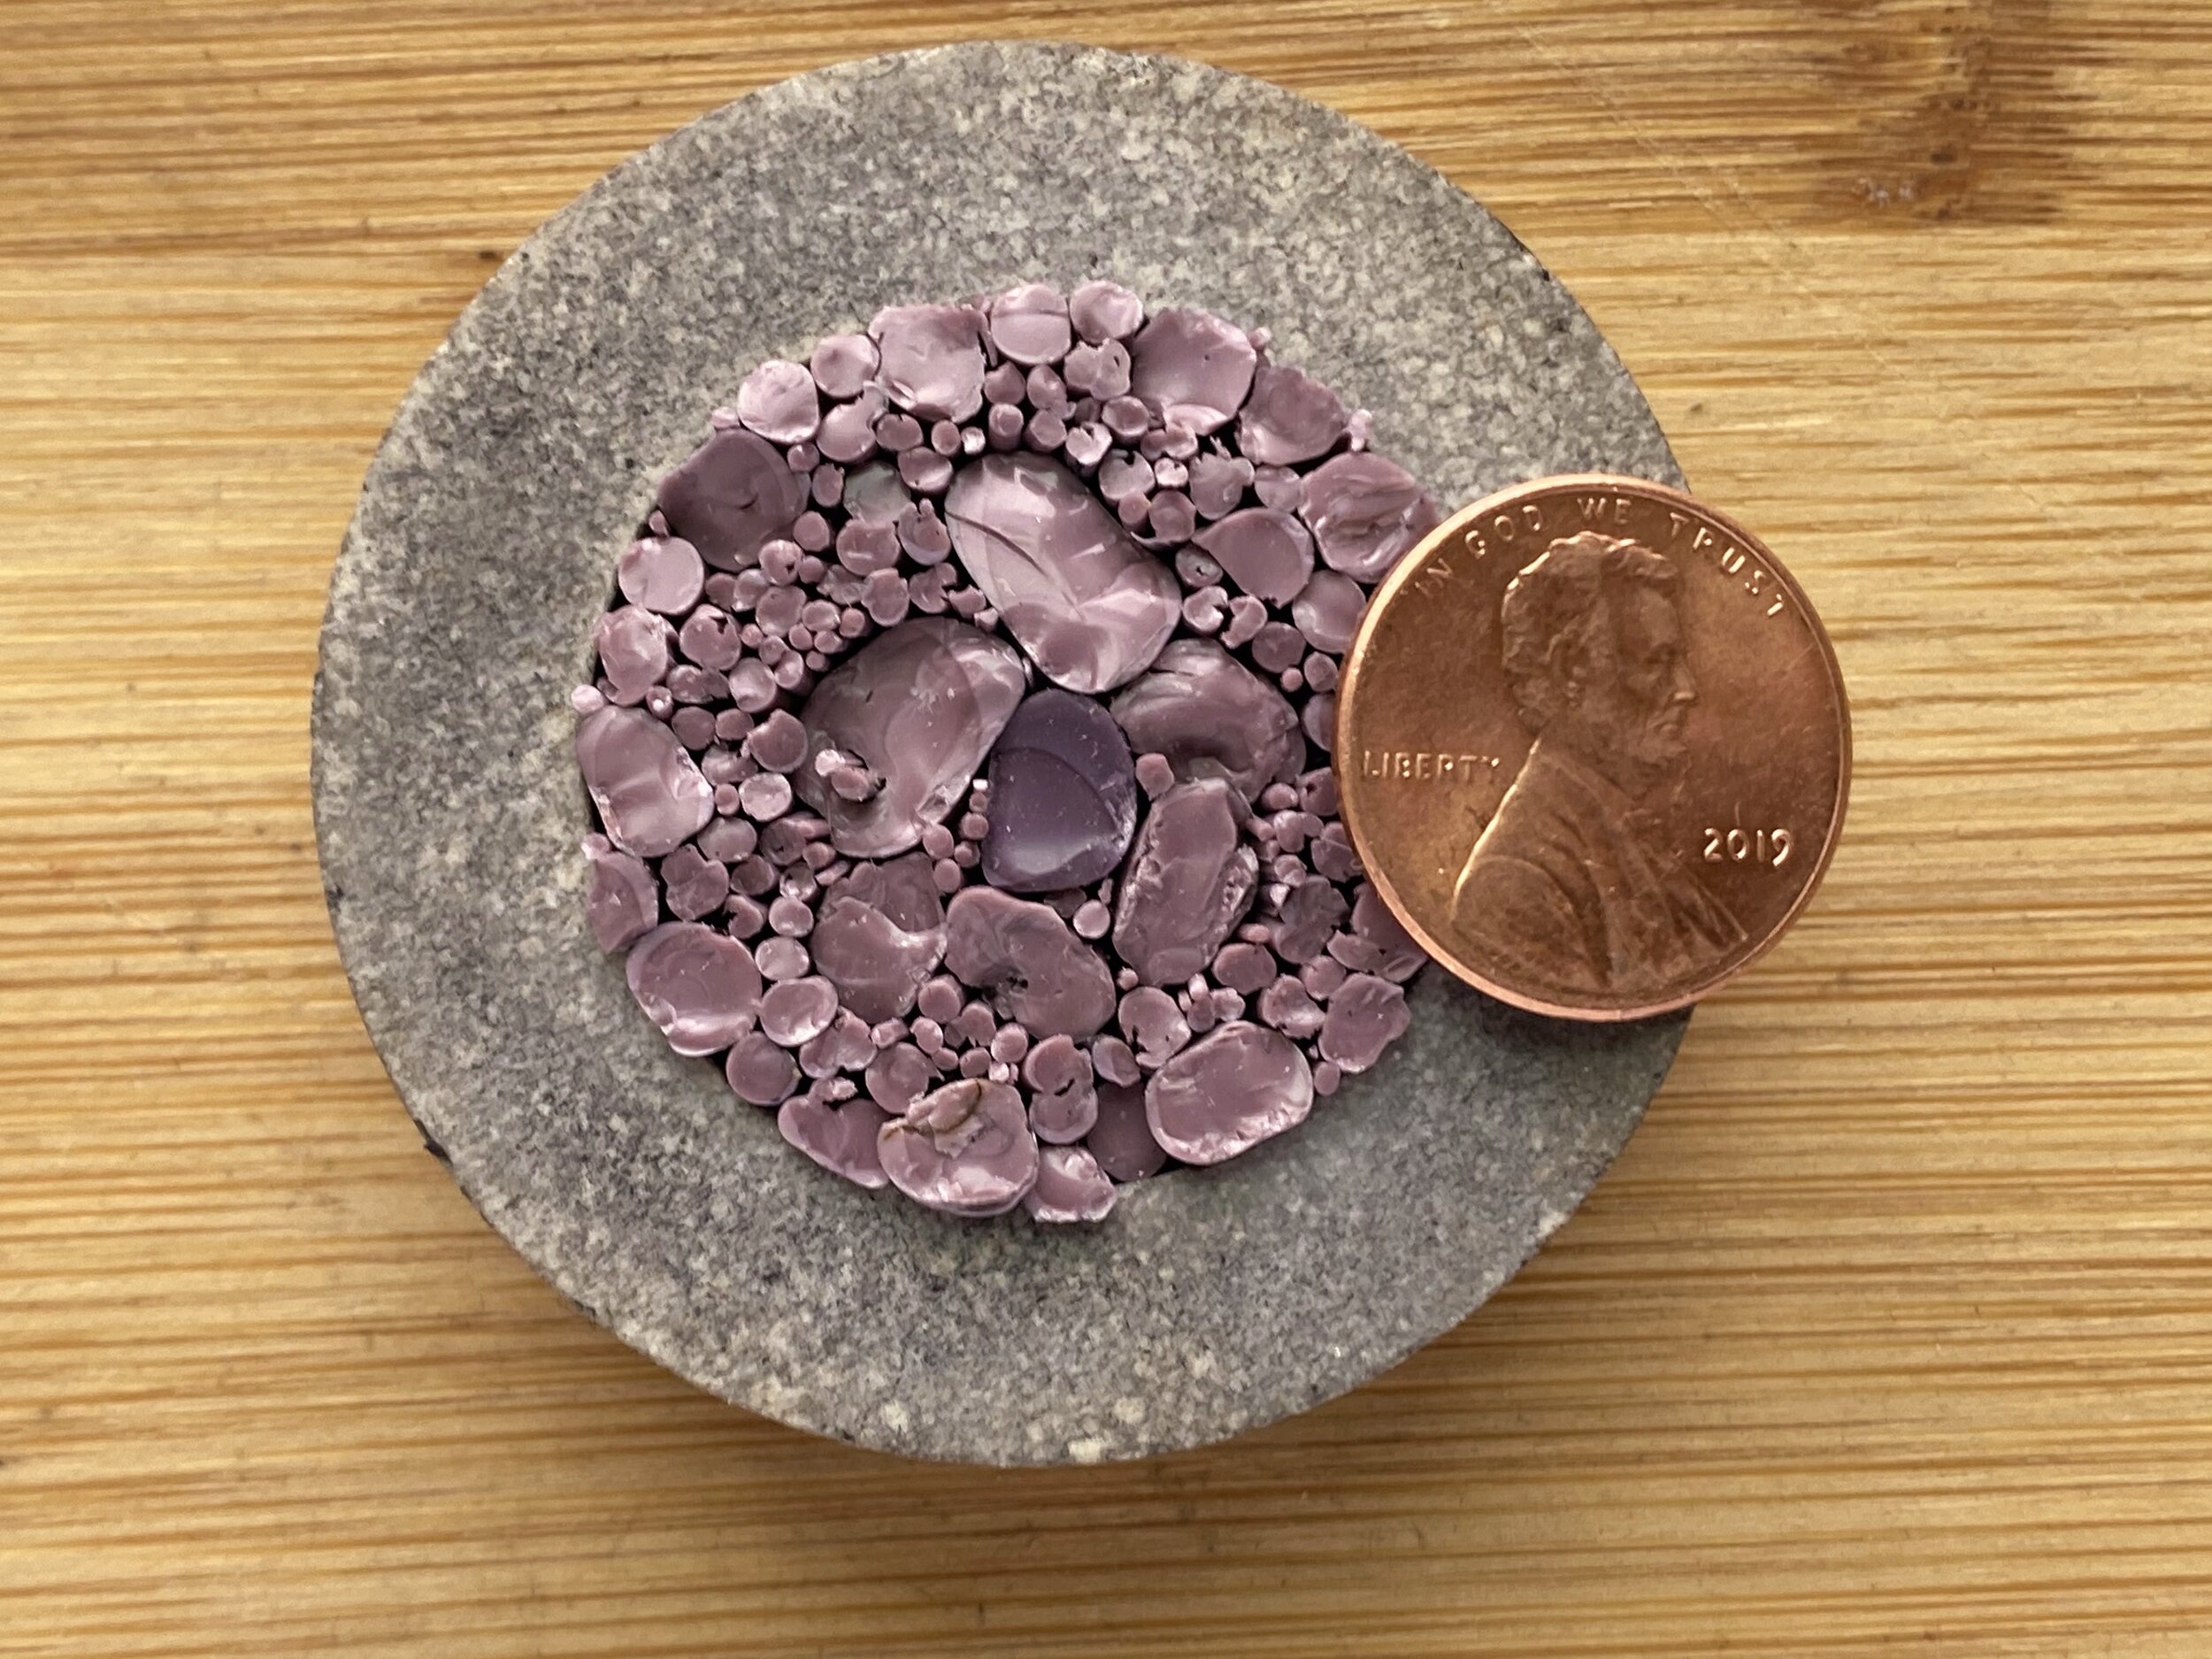
Next I’m going to show you the making of a mosaic necklace pendant. I used Apoxie Sculpt as the adhesive. I am still waiting on my new molds and haven’t pulled any new glass, so I just want to make a beaded mosaic with one of the pendants I already have to feel like I’m moving forward with things.

This one is very simple, but I’m really happy with the colors. As you know, I love the copper and turquoise combo. Hopefully someone else will like this one too.

As an update, the aluminum pendants I had poured didn’t work out well. They have to have an angle to the pour so that they’ll release, and I didn’t find that appealing, along with the weight and imperfections. I found pendants on Etsy that are working out much better.

As of this recording, this pendant is available at my Etsy shop. Thank you for watching!

3D Spiral Mosaics

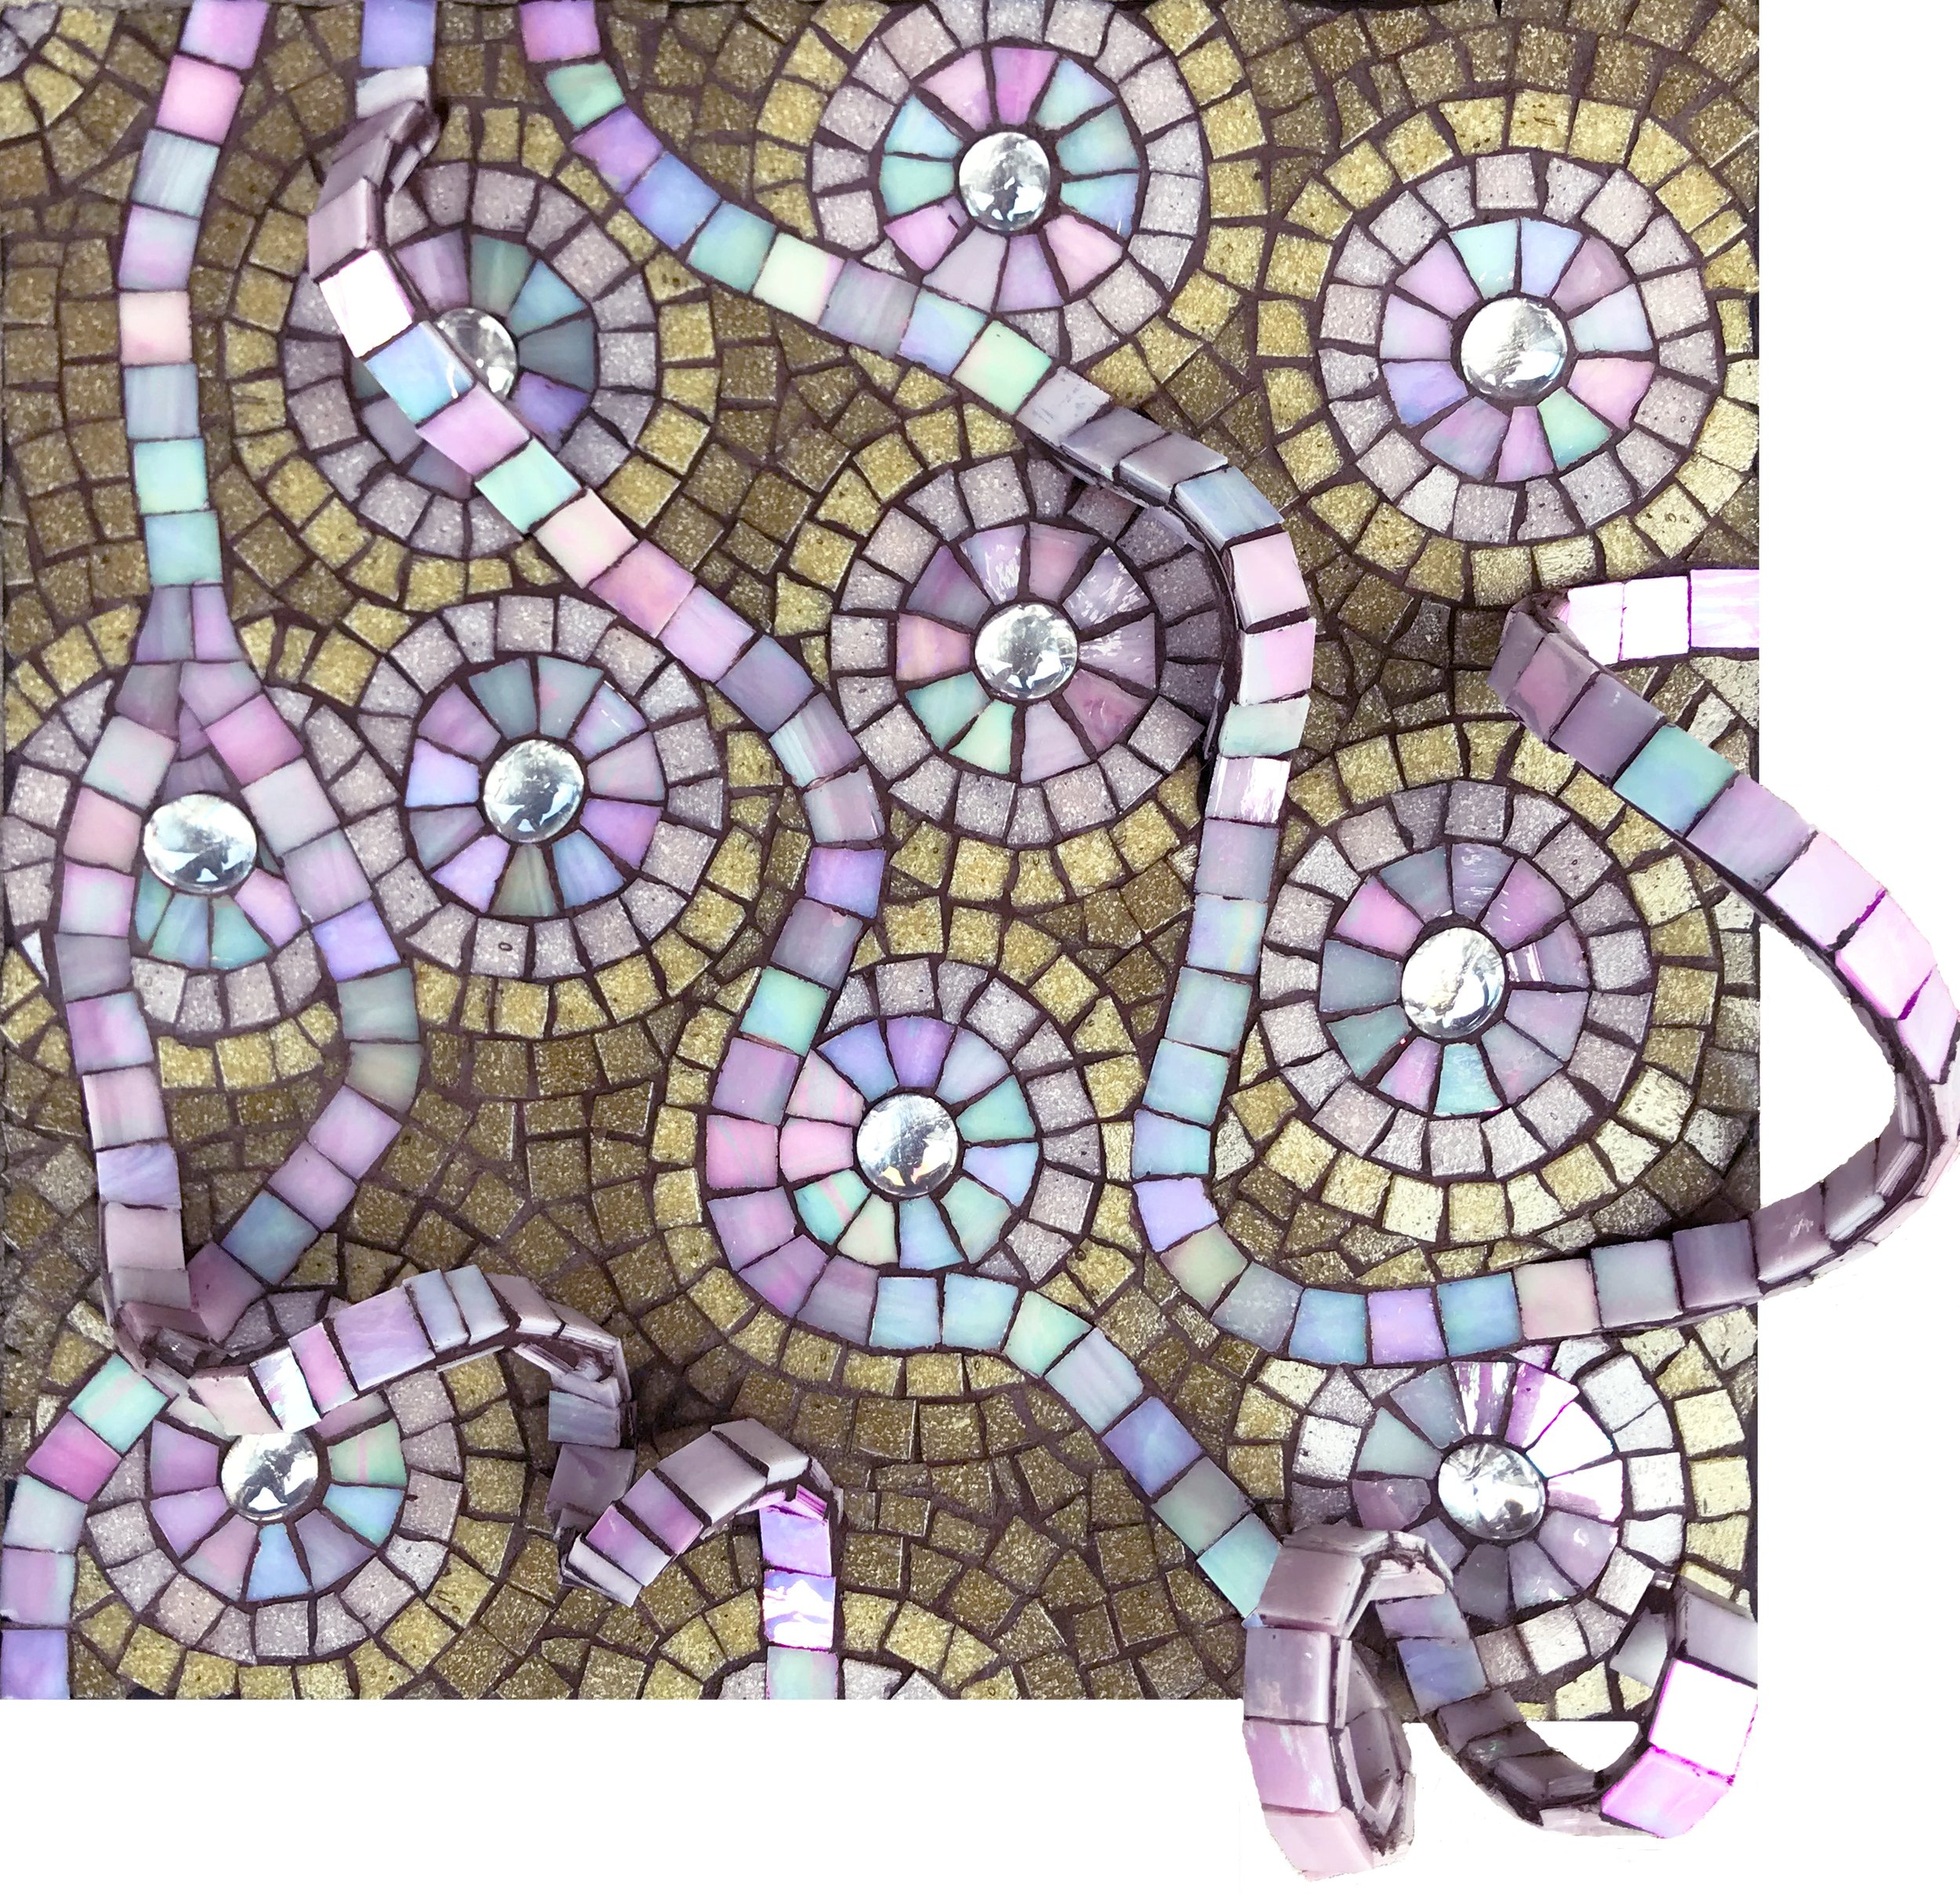
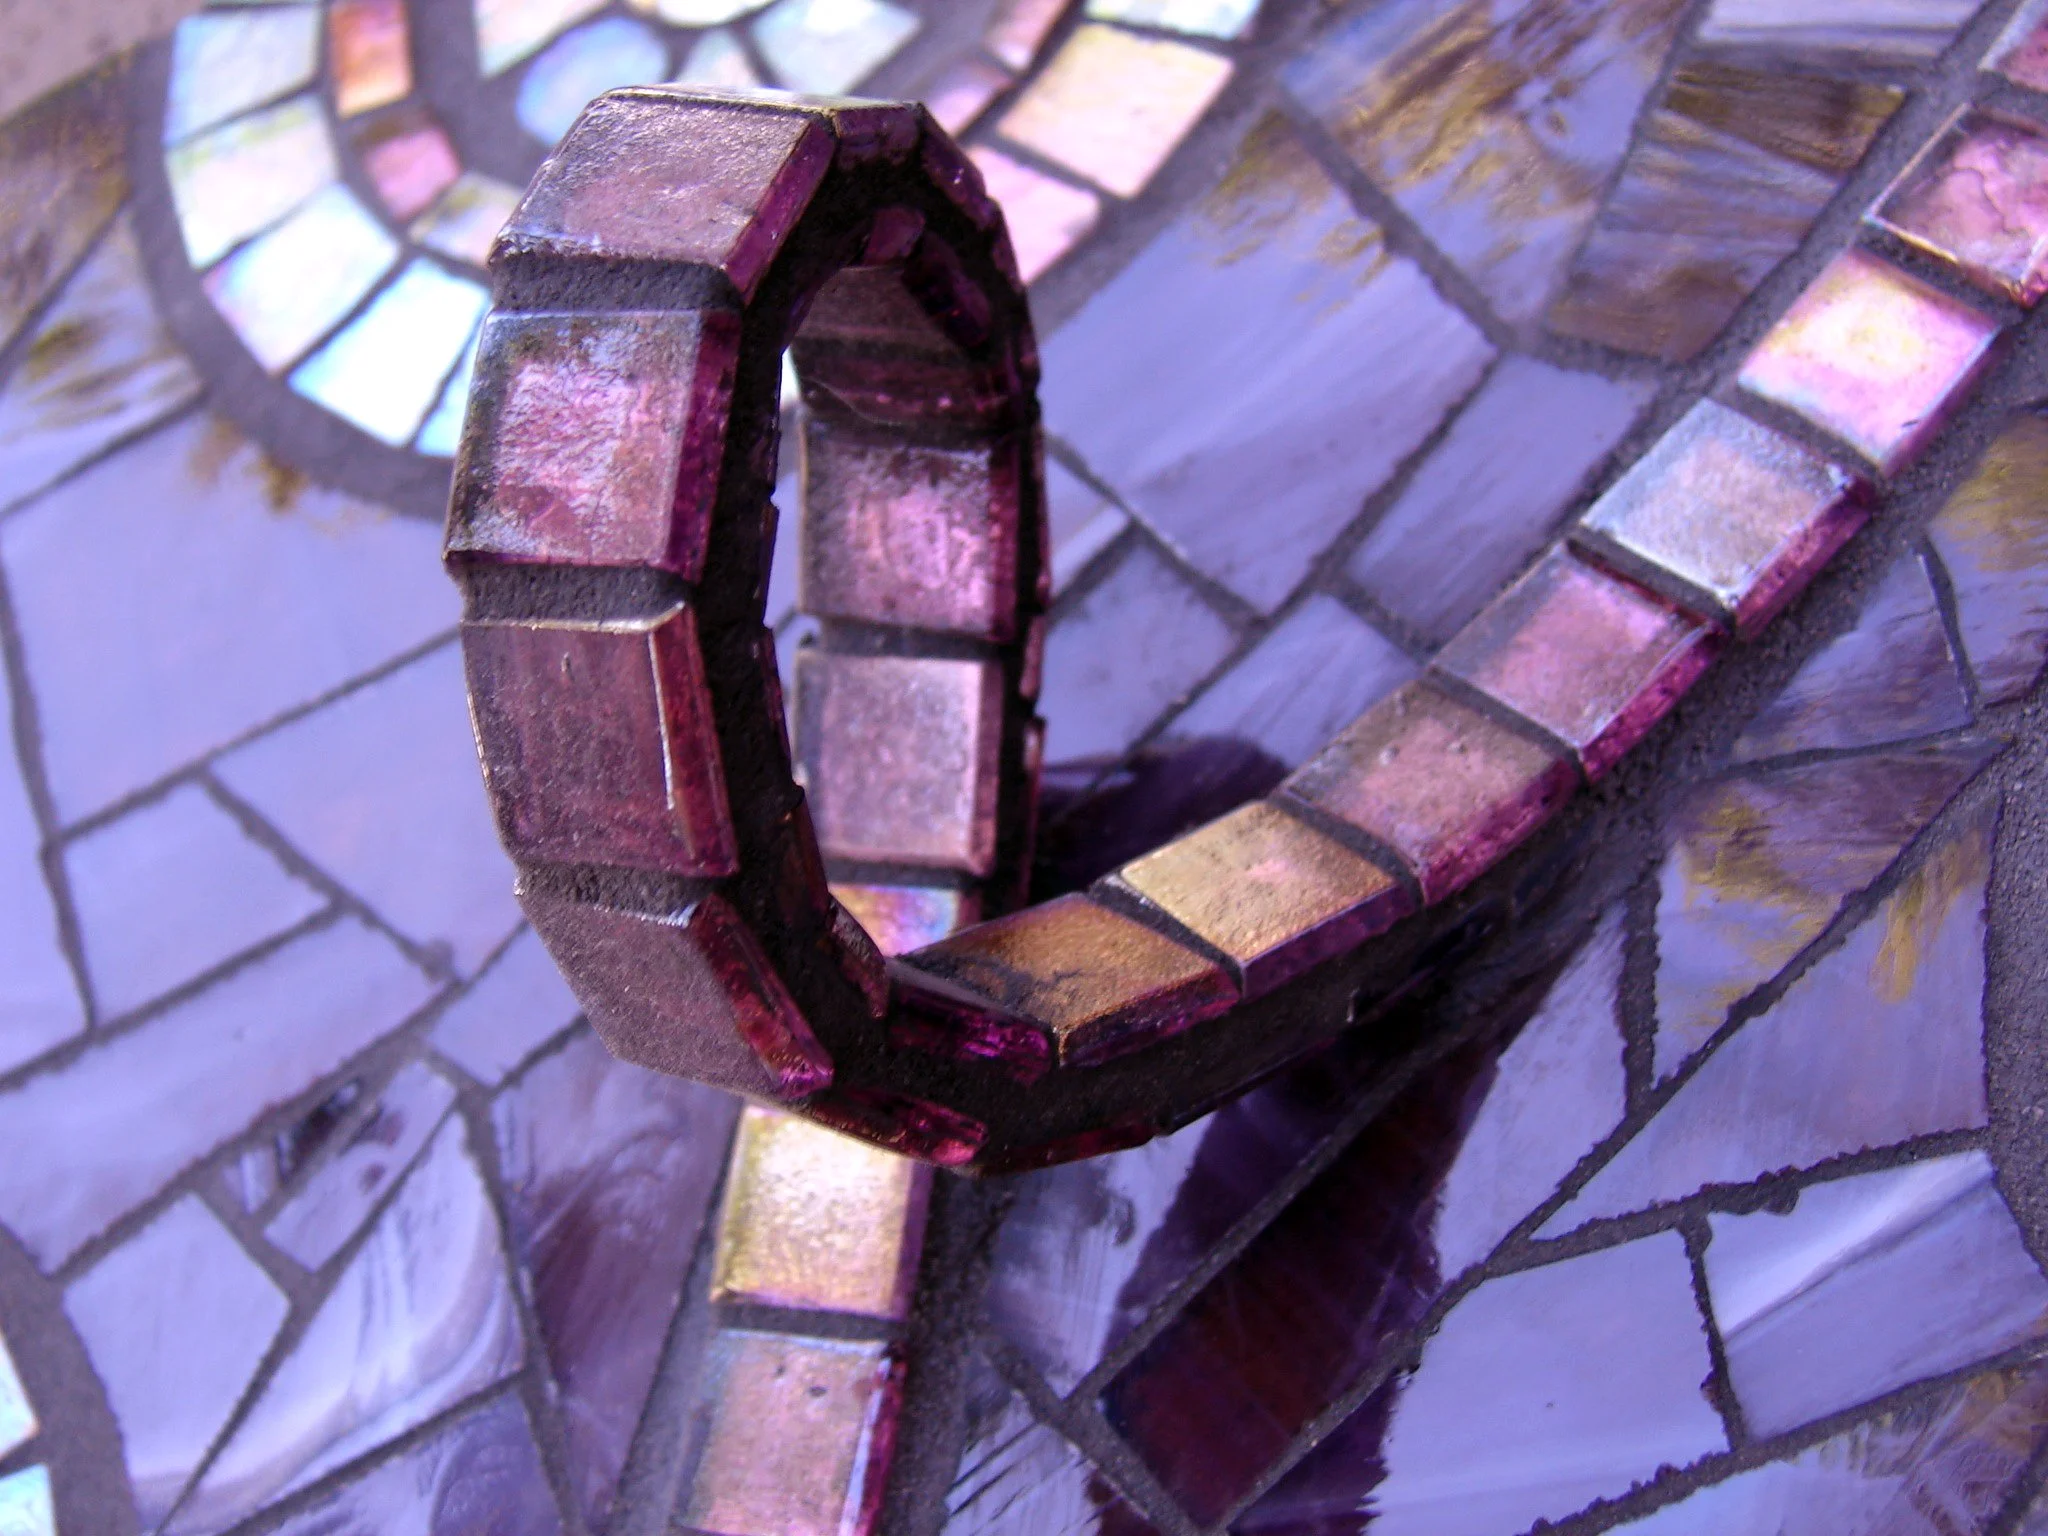
I don’t have progress pictures of making my 3D spiral mosaics because I made them in the early 2000s and my technology made it hard to take good pictures in my studio. You’ll see this during the one progress pic I’m including in this post. I’ll have to rely on descriptions of the process.

I had the idea of making mosaics with more depth, that leapt out of the 2D realm, and couldn’t let it go because I hadn’t seen anything like that before. I remember that my first successful 3D spiral mosaic was the seventh attempt. I was relatively new to mosaics and had to do a lot of trial and error to make it work.

I used iridescent pink stained glass tiles for this first one because it’s what I had on hand. I learned later that molded glass tiles such as Sicis Iridium work better because the smooth edges make for cleaner grout lines along the spirals.


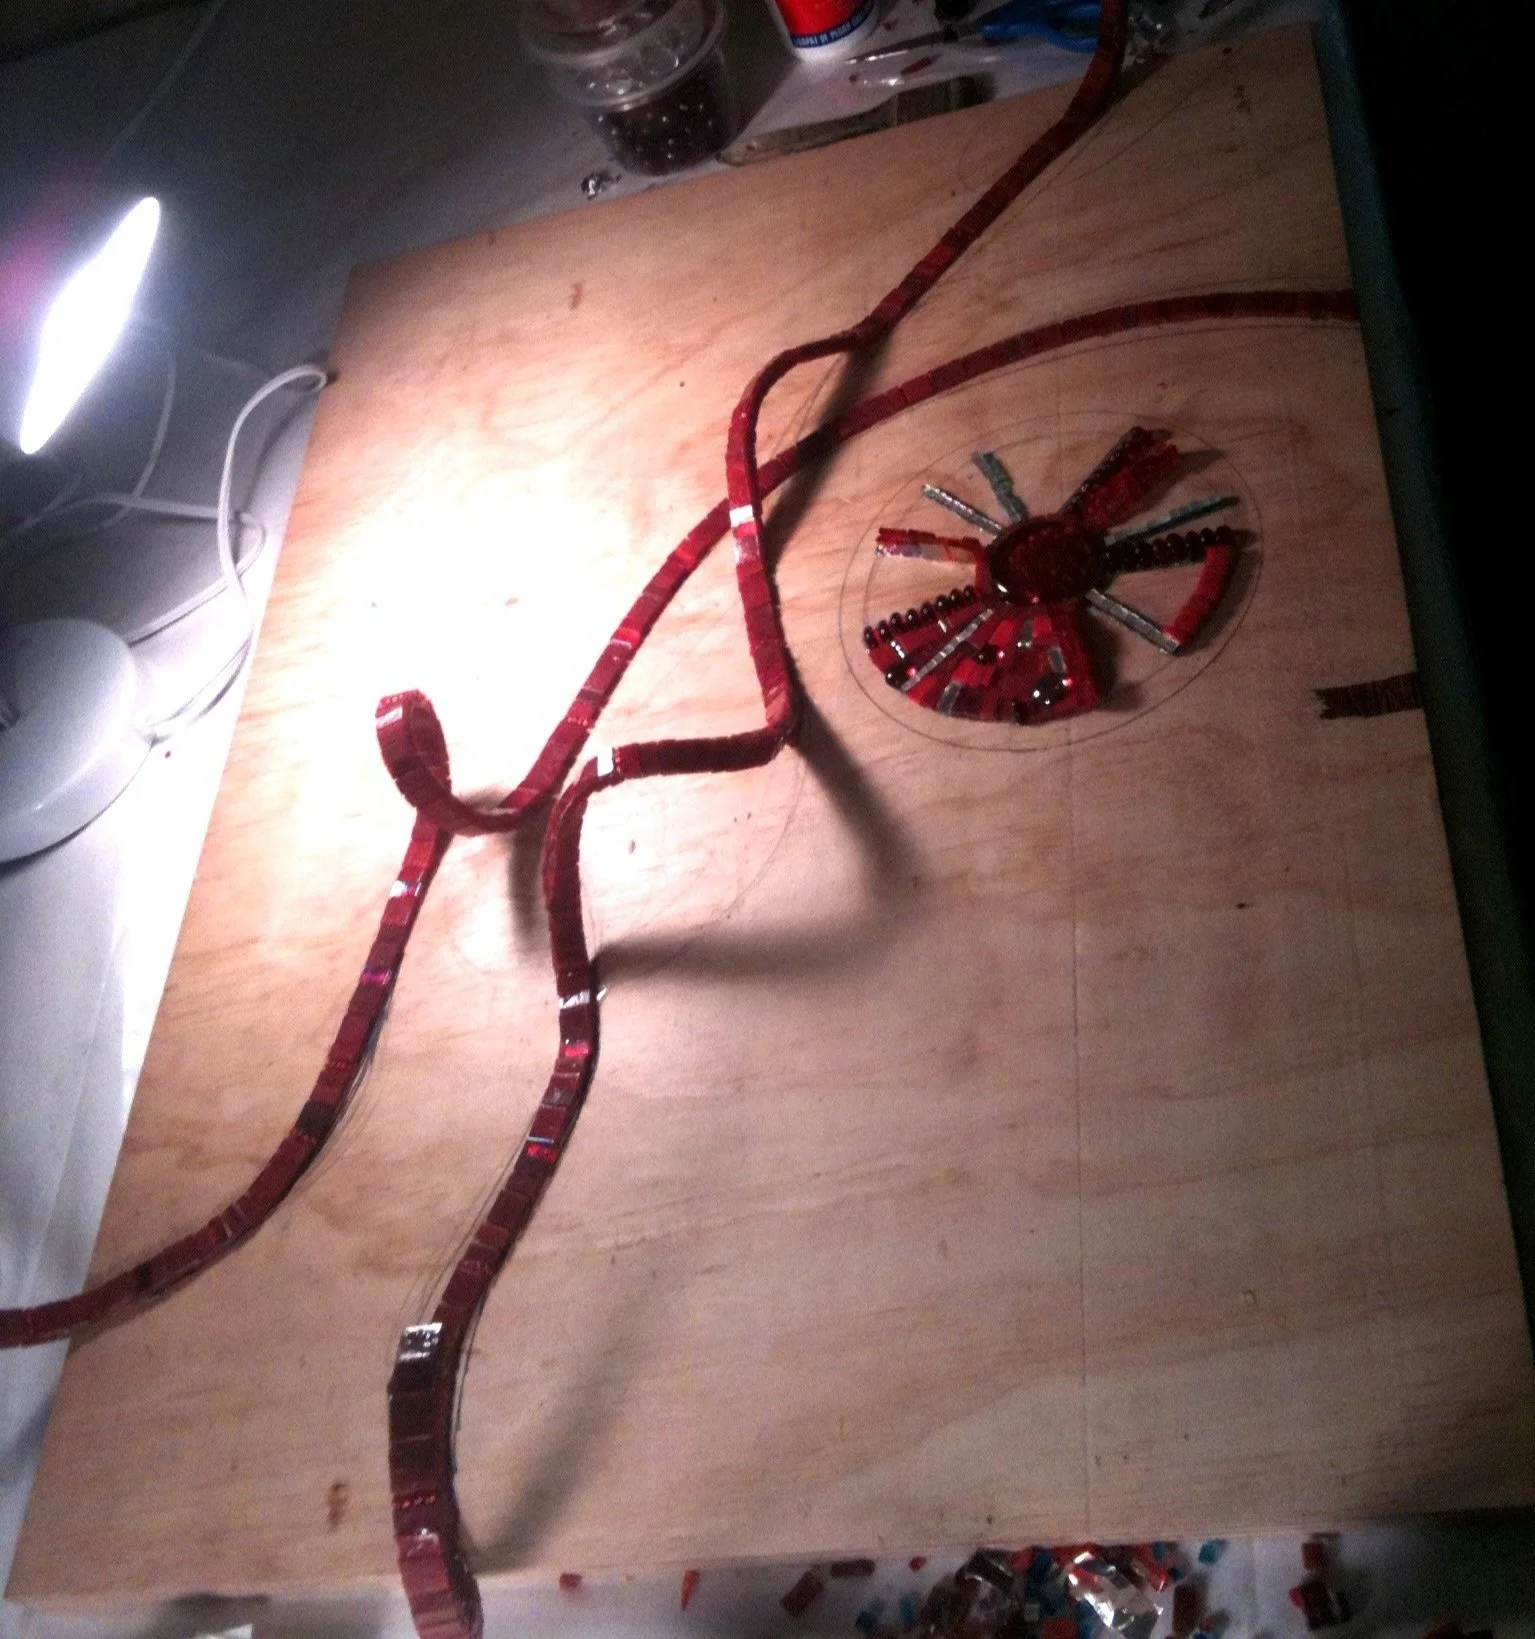
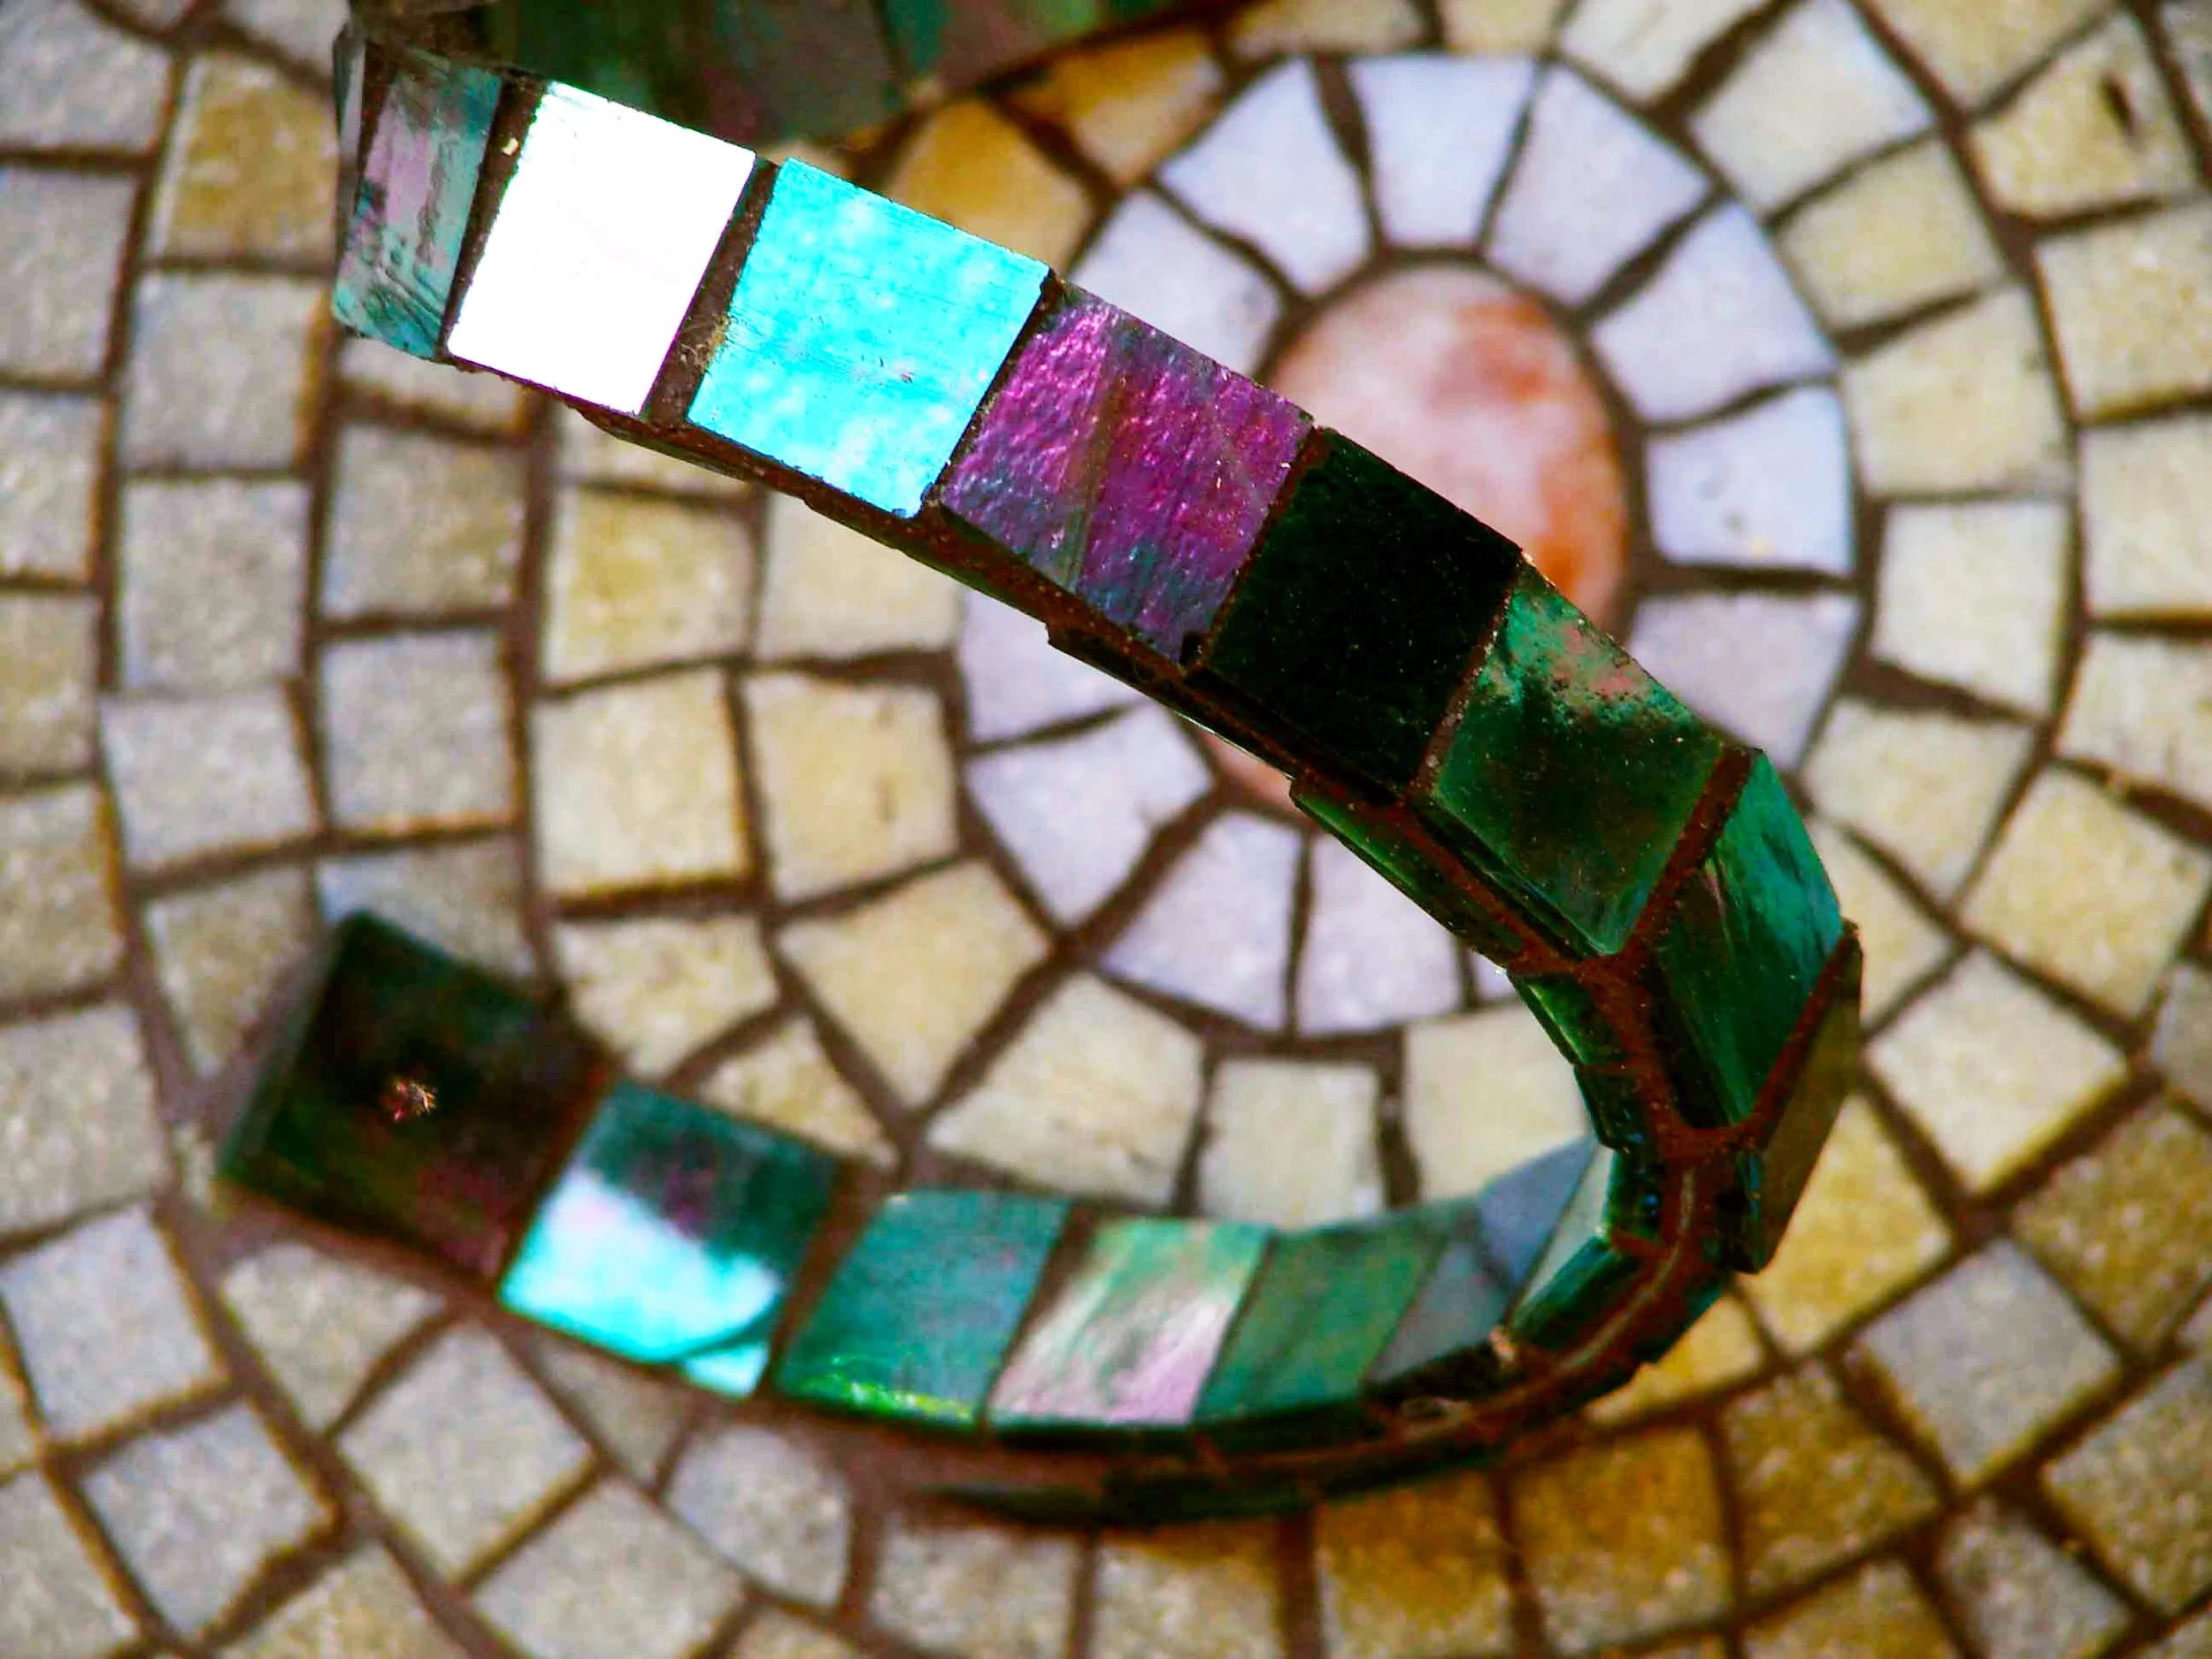
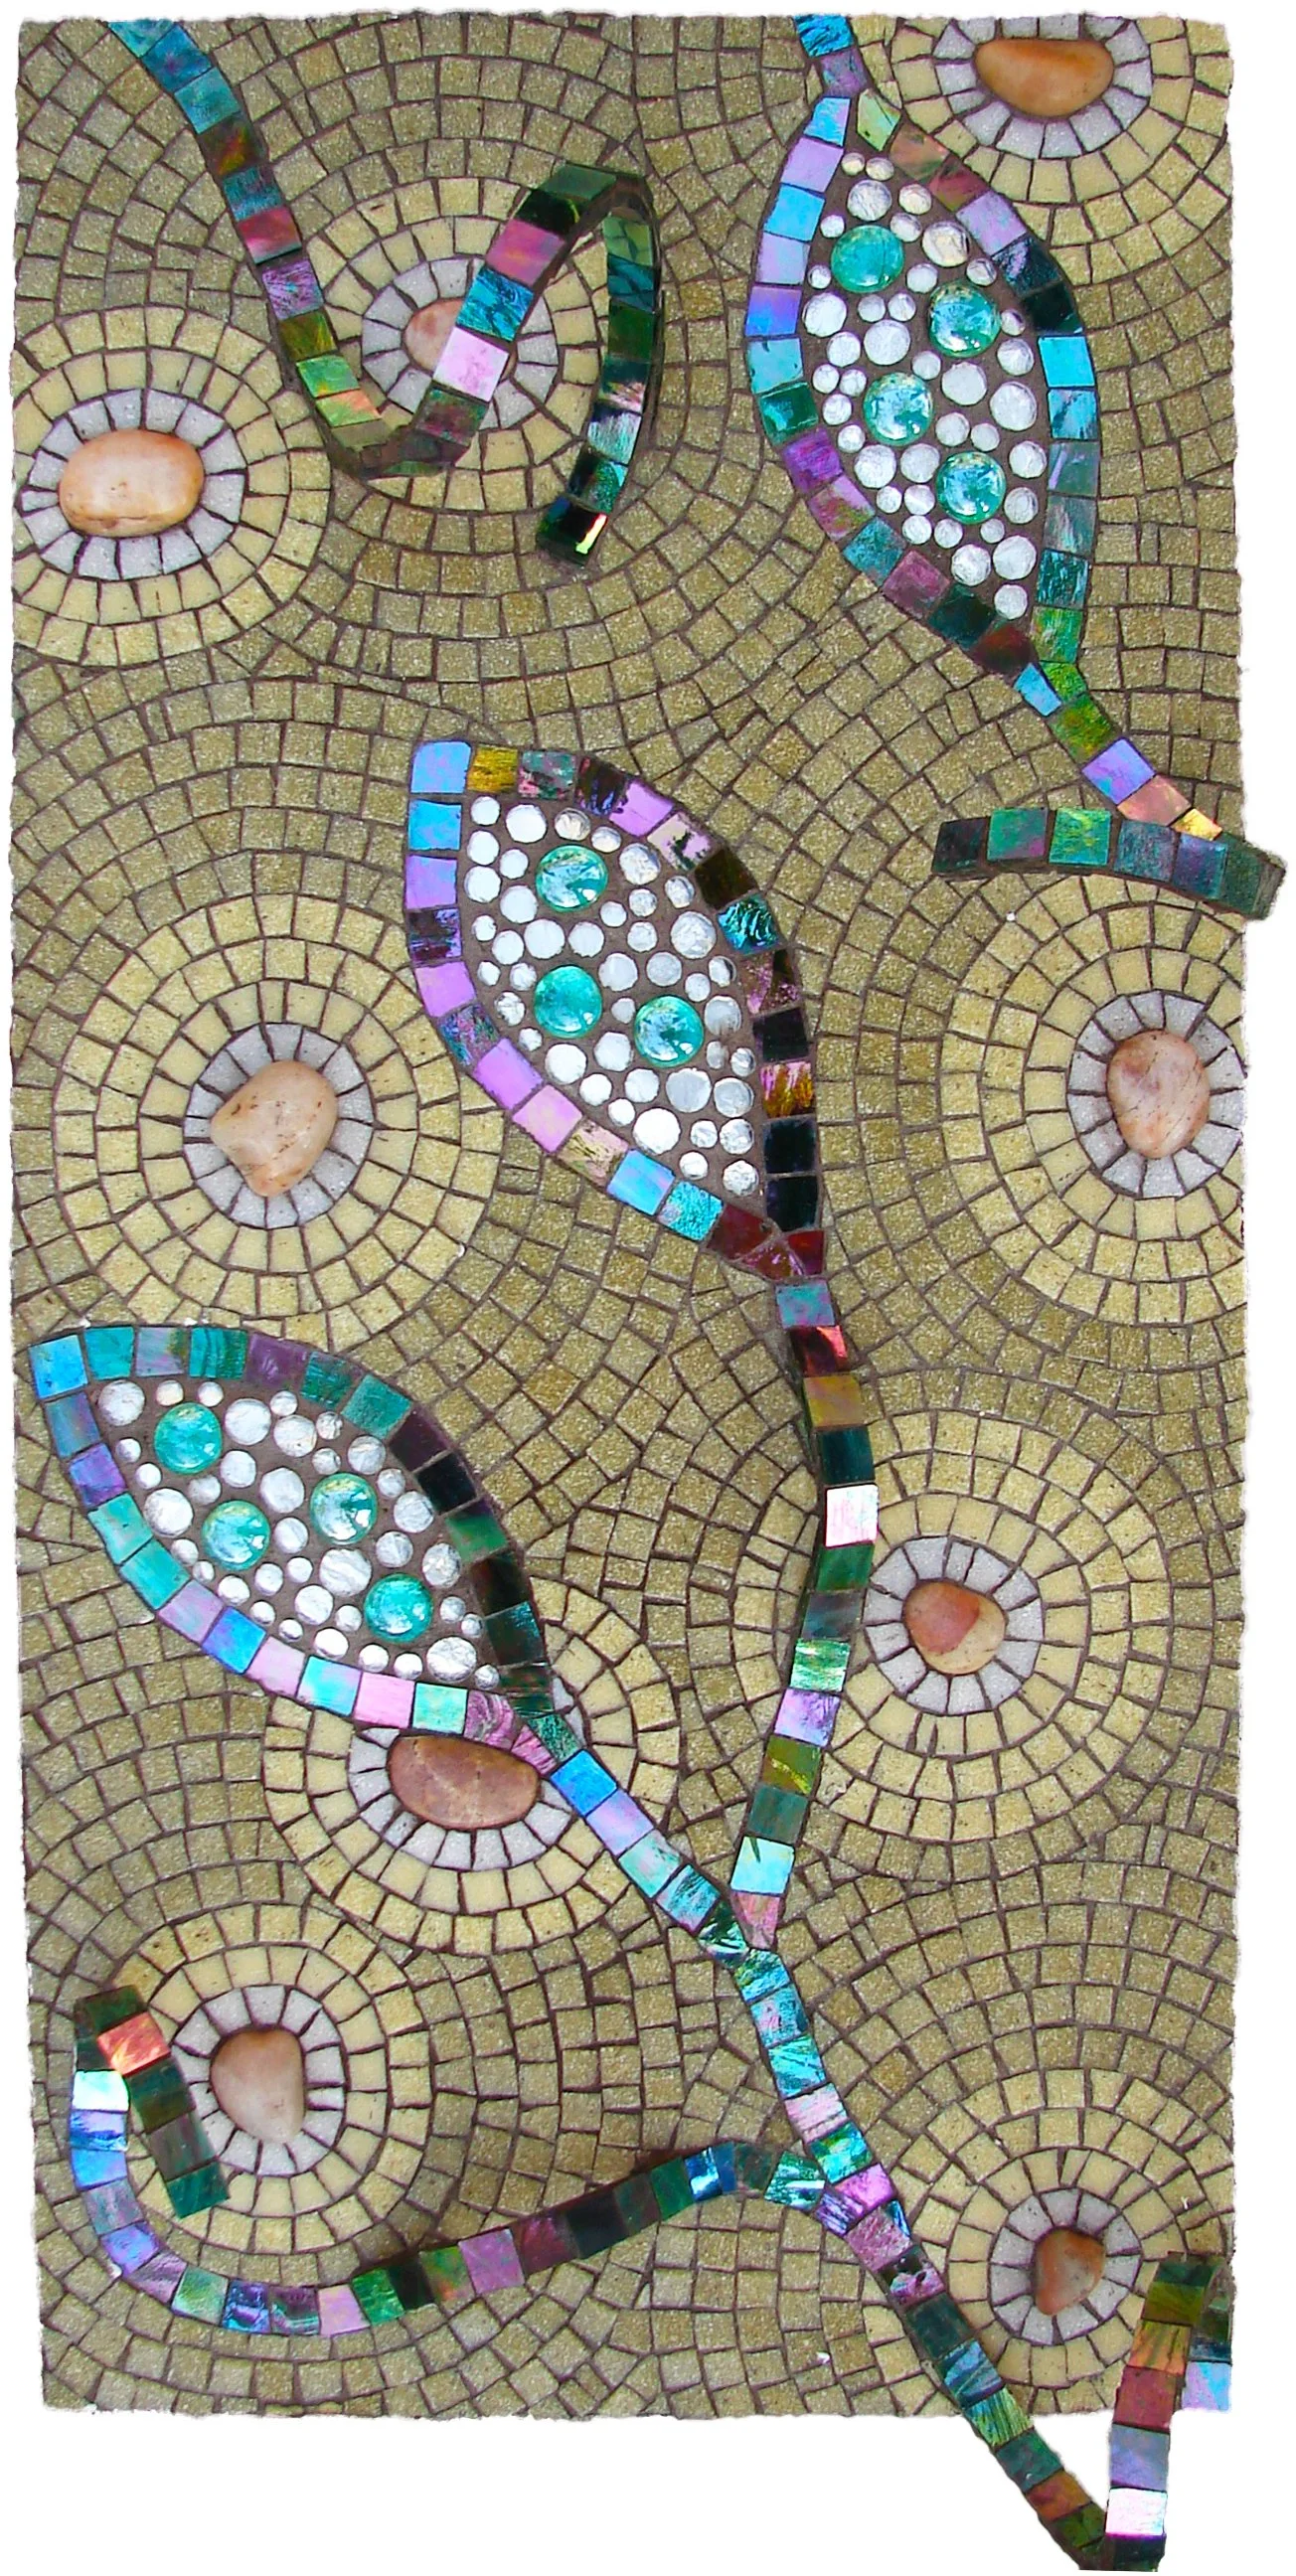
I don’t have pictures of the metal structure underneath, but this is a picture of Ruby Aspirations in progress so that you can see the spirals isolated. The metal structure that finally worked were these metal strips I found at an art supply store. I think they are for building models. They are just flexible enough to bend when I warm them a bit, but strong enough to hold the shape and not warp enough for the tiles to pop off. I started by cutting the strips in half with metal cutters. I then warped them into shape and used a metal punch tool and hammer to puncture holes where the tack nails would hold the metal on the plywood. I used Household Goop and the tack nails to hold the strips in place in their spiral shape. Then I used a hammer to flatten the ends of the metal so that the transition from wood to metal would be as smooth as possible. I again used Household Goop to adhere the glass tiles onto the metal strips. There is some flexibility to the metal even when they are held in place, so I needed to use a very strong adhesive with flexibility. Please note that you should always wear an organic vapor respirator when working with toxic adhesives such as Household Goop or E9000. Finally, I finished the rest of the mosaic as I would any mosaic.

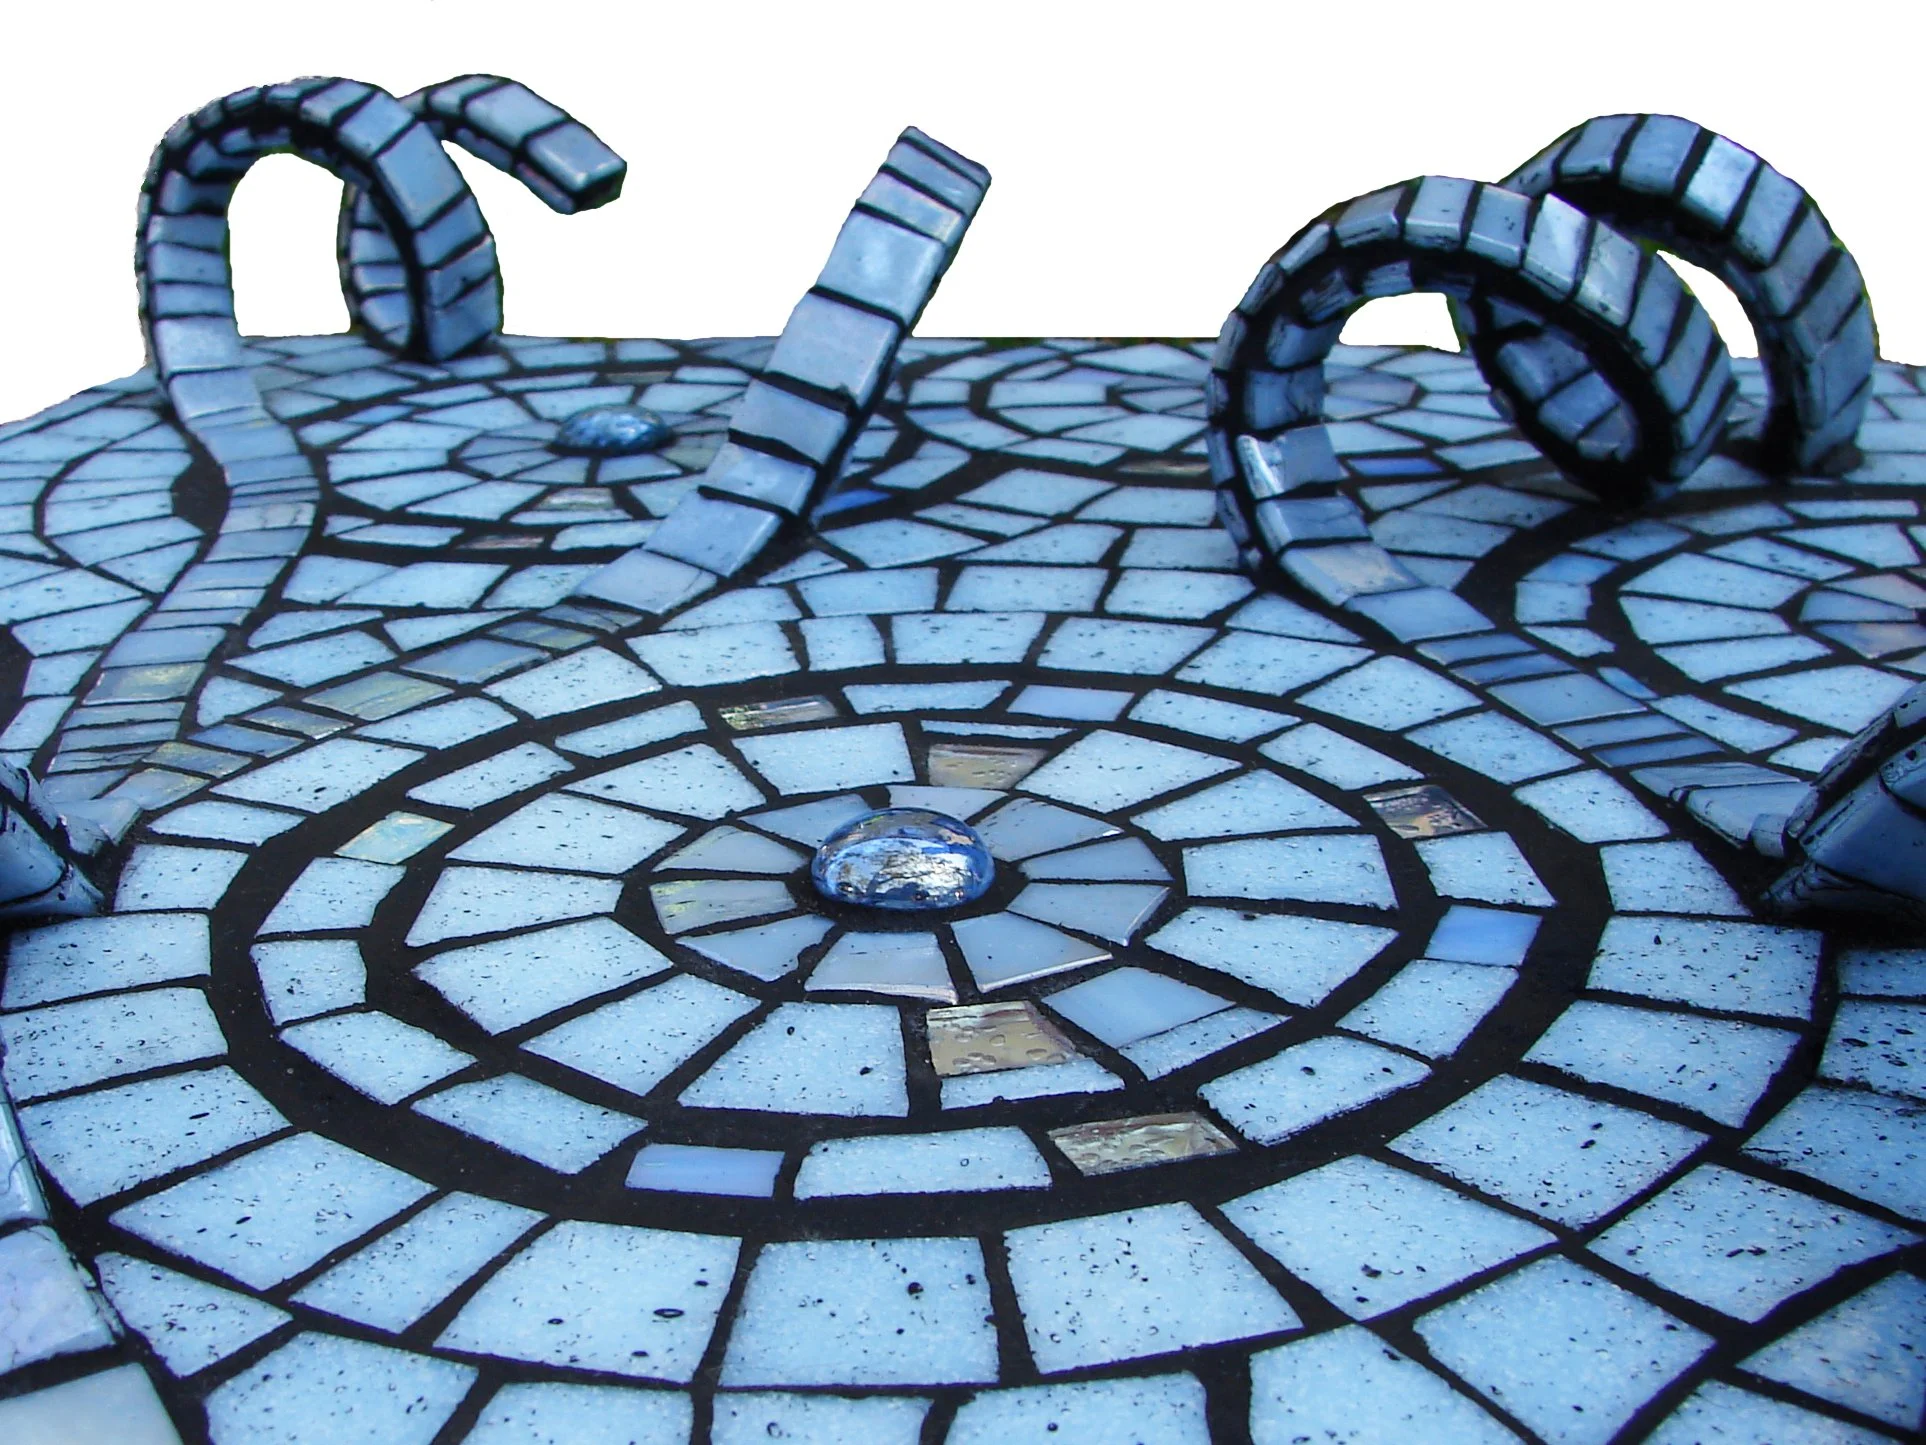
For Blue Aspirations, I decided on a monotone look. I used a porous vitreous glass with a matte feel in the background to differentiate between the background and the super shiny glass of the spirals and accents.

For Pods, I chose my favorite organic, earthy glass tiles for the background, and shiny stained glass to have the pod spirals grow out of the earth. I also used mortar to slightly raise the pods to give them dimension also. This is one of my favorite mosaics I’ve made, but I’ve noticed it’s not a fan favorite! That happens with art!!


Don’t miss the recent Redfin article I was featured in!

I'm so excited that Redfin featured my mosaic backsplash in their article about ideas to add color into your home with mosaic & stained glass! ❤️

Your home is a space where you can decorate as freely and creatively as you wish. Whether that’s designing with pops of color throughout each room or taking a more minimalist approach, your options are endless. But a timeless and unique way to bring color into your home whether you’re living in Seattle, WA to Toronto, CA is with mosaics and stained glass.

To help you get started, I, along with other artists shared our advice for decorating your home with mosaics and stained glass art. Check out what we had to say so you can brighten your home today!

Brighten Your Space! 12 Mosaic and Stained Glass Ideas to Add Color to Your Home

Check Out My Mosaic Patreon Account

Thumbnail.jpg

Dyanne Williams Mosaics is on Patreon! I’ve post two videos a month, usually time lapse of art creation or a voice over commentary on my process. This week I went back it time to one of my first large architectural installations to show everything from the design stage, the work in progress, to the final installation in Hawaii. Become a subscriber for less than the price of a cup of coffee a month, and you will not only get access to this video, but all my videos!

New Mosaic Mezuzot!!

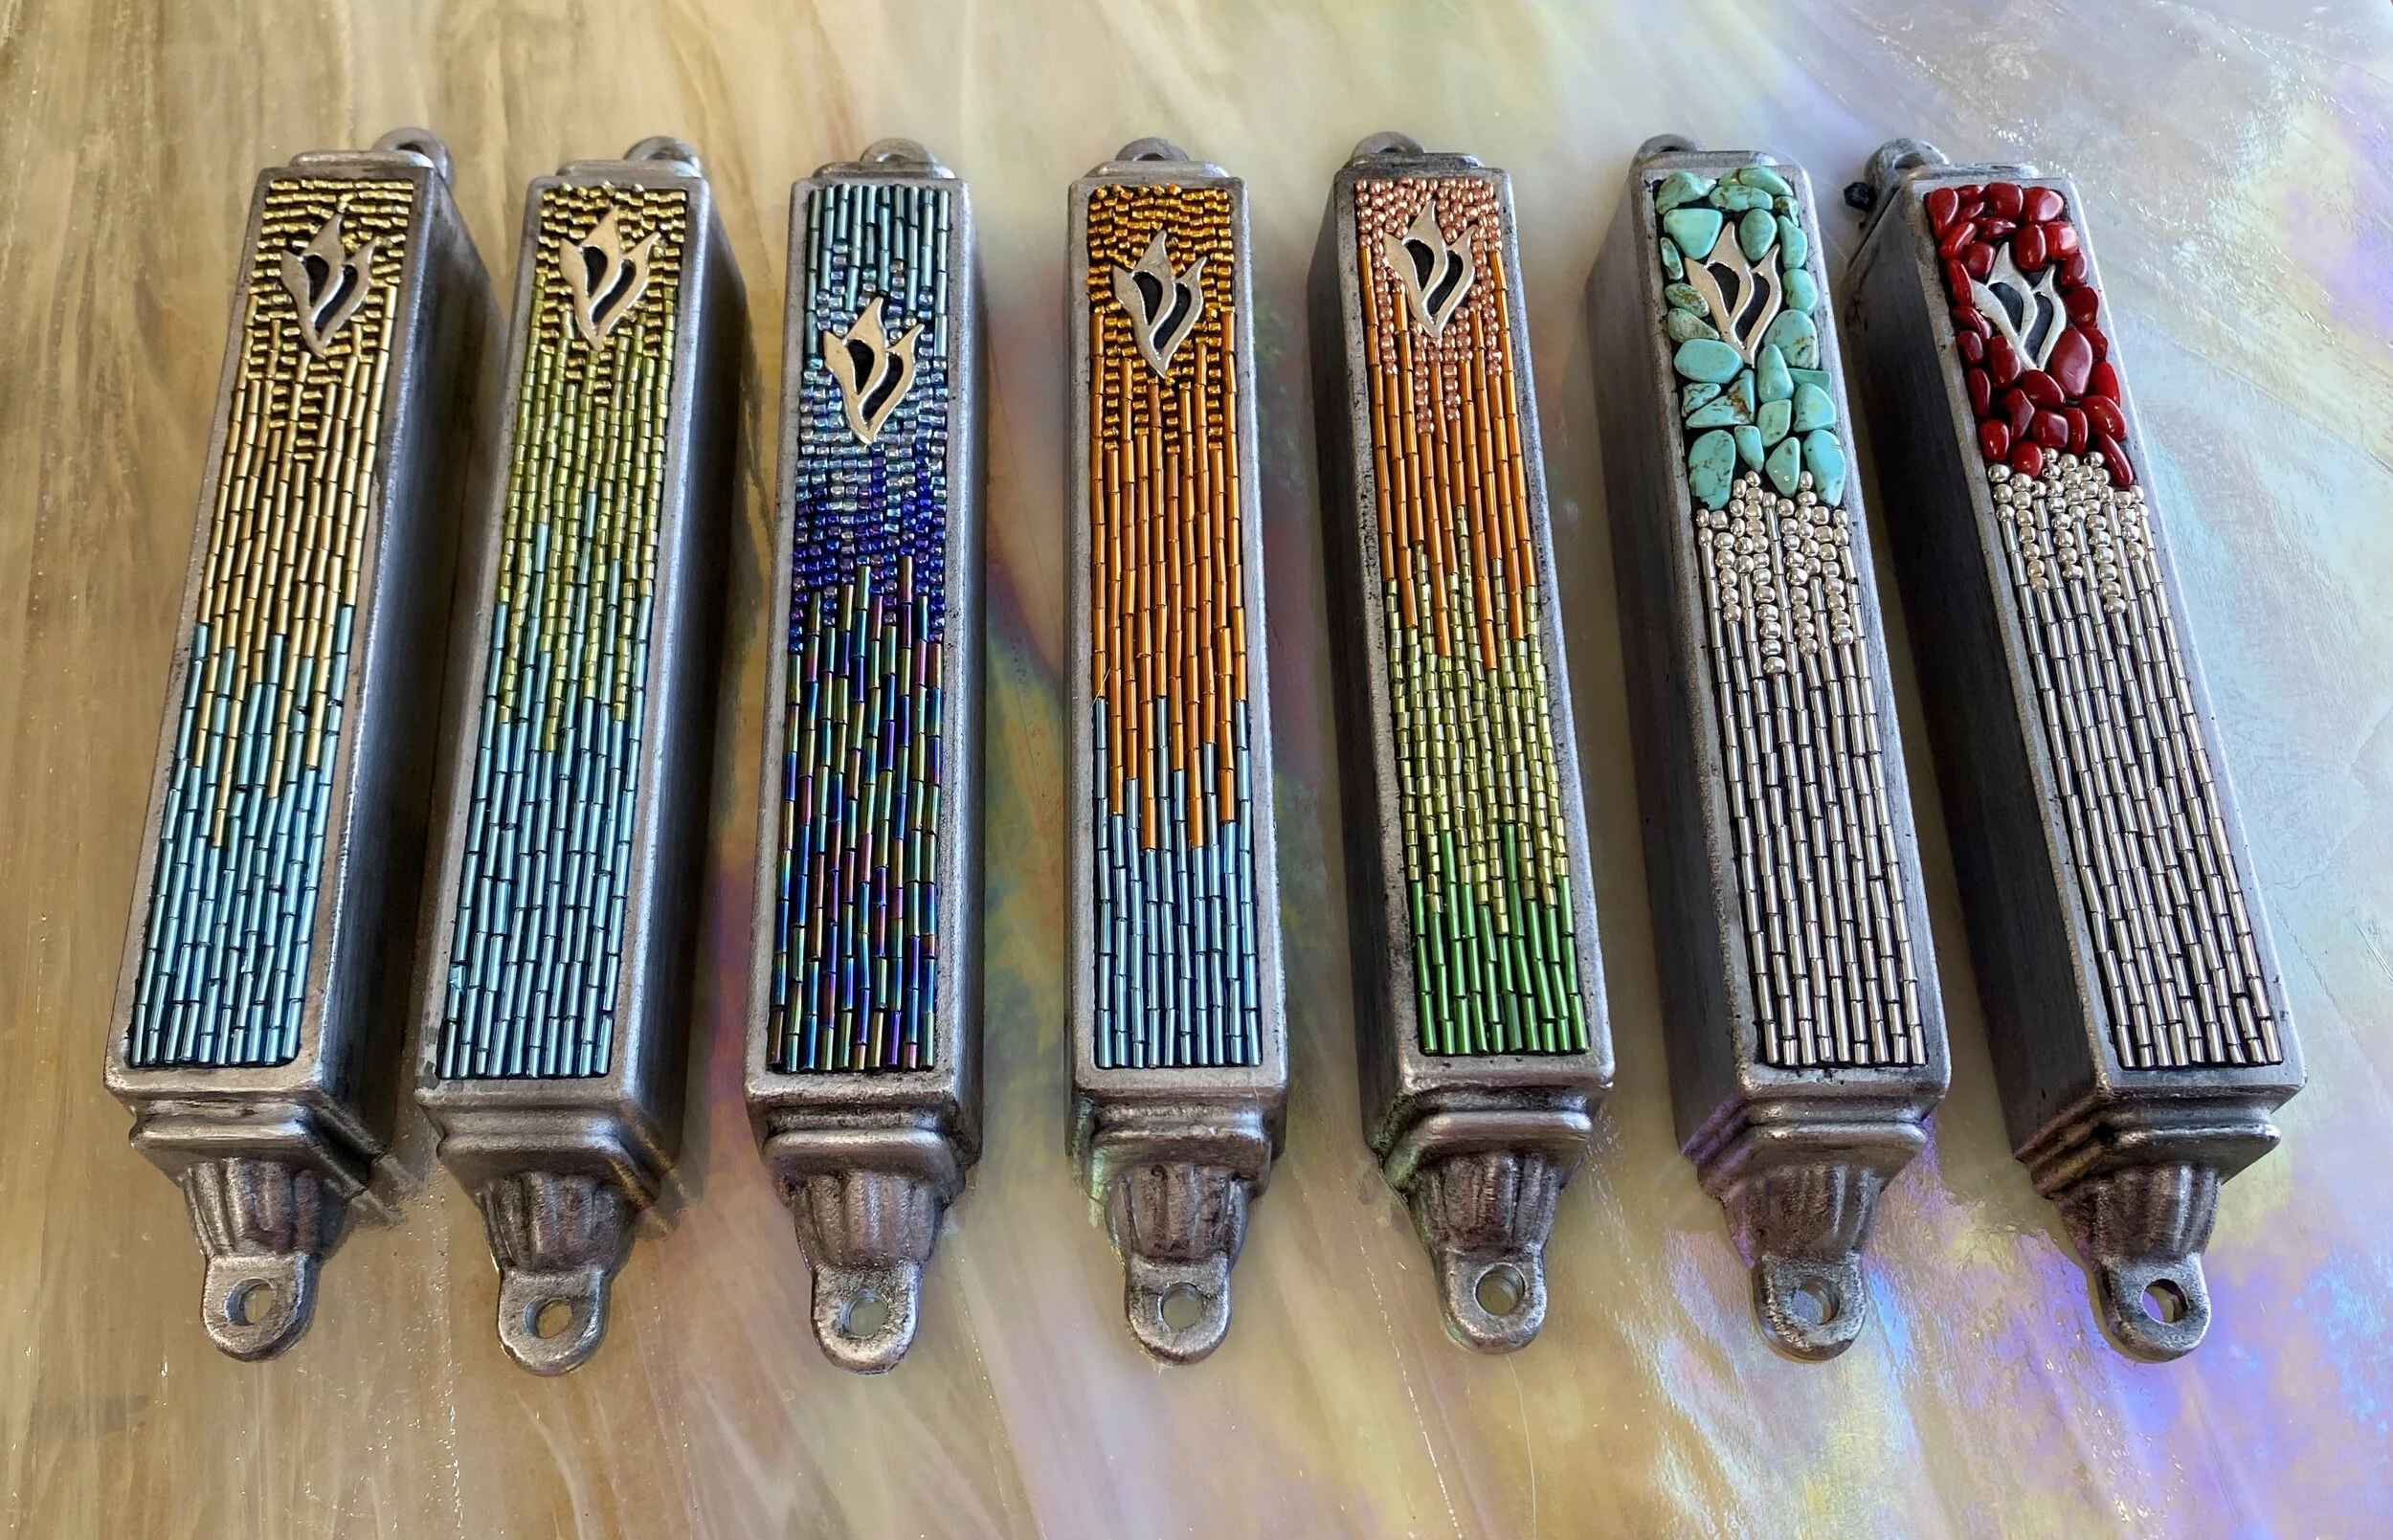
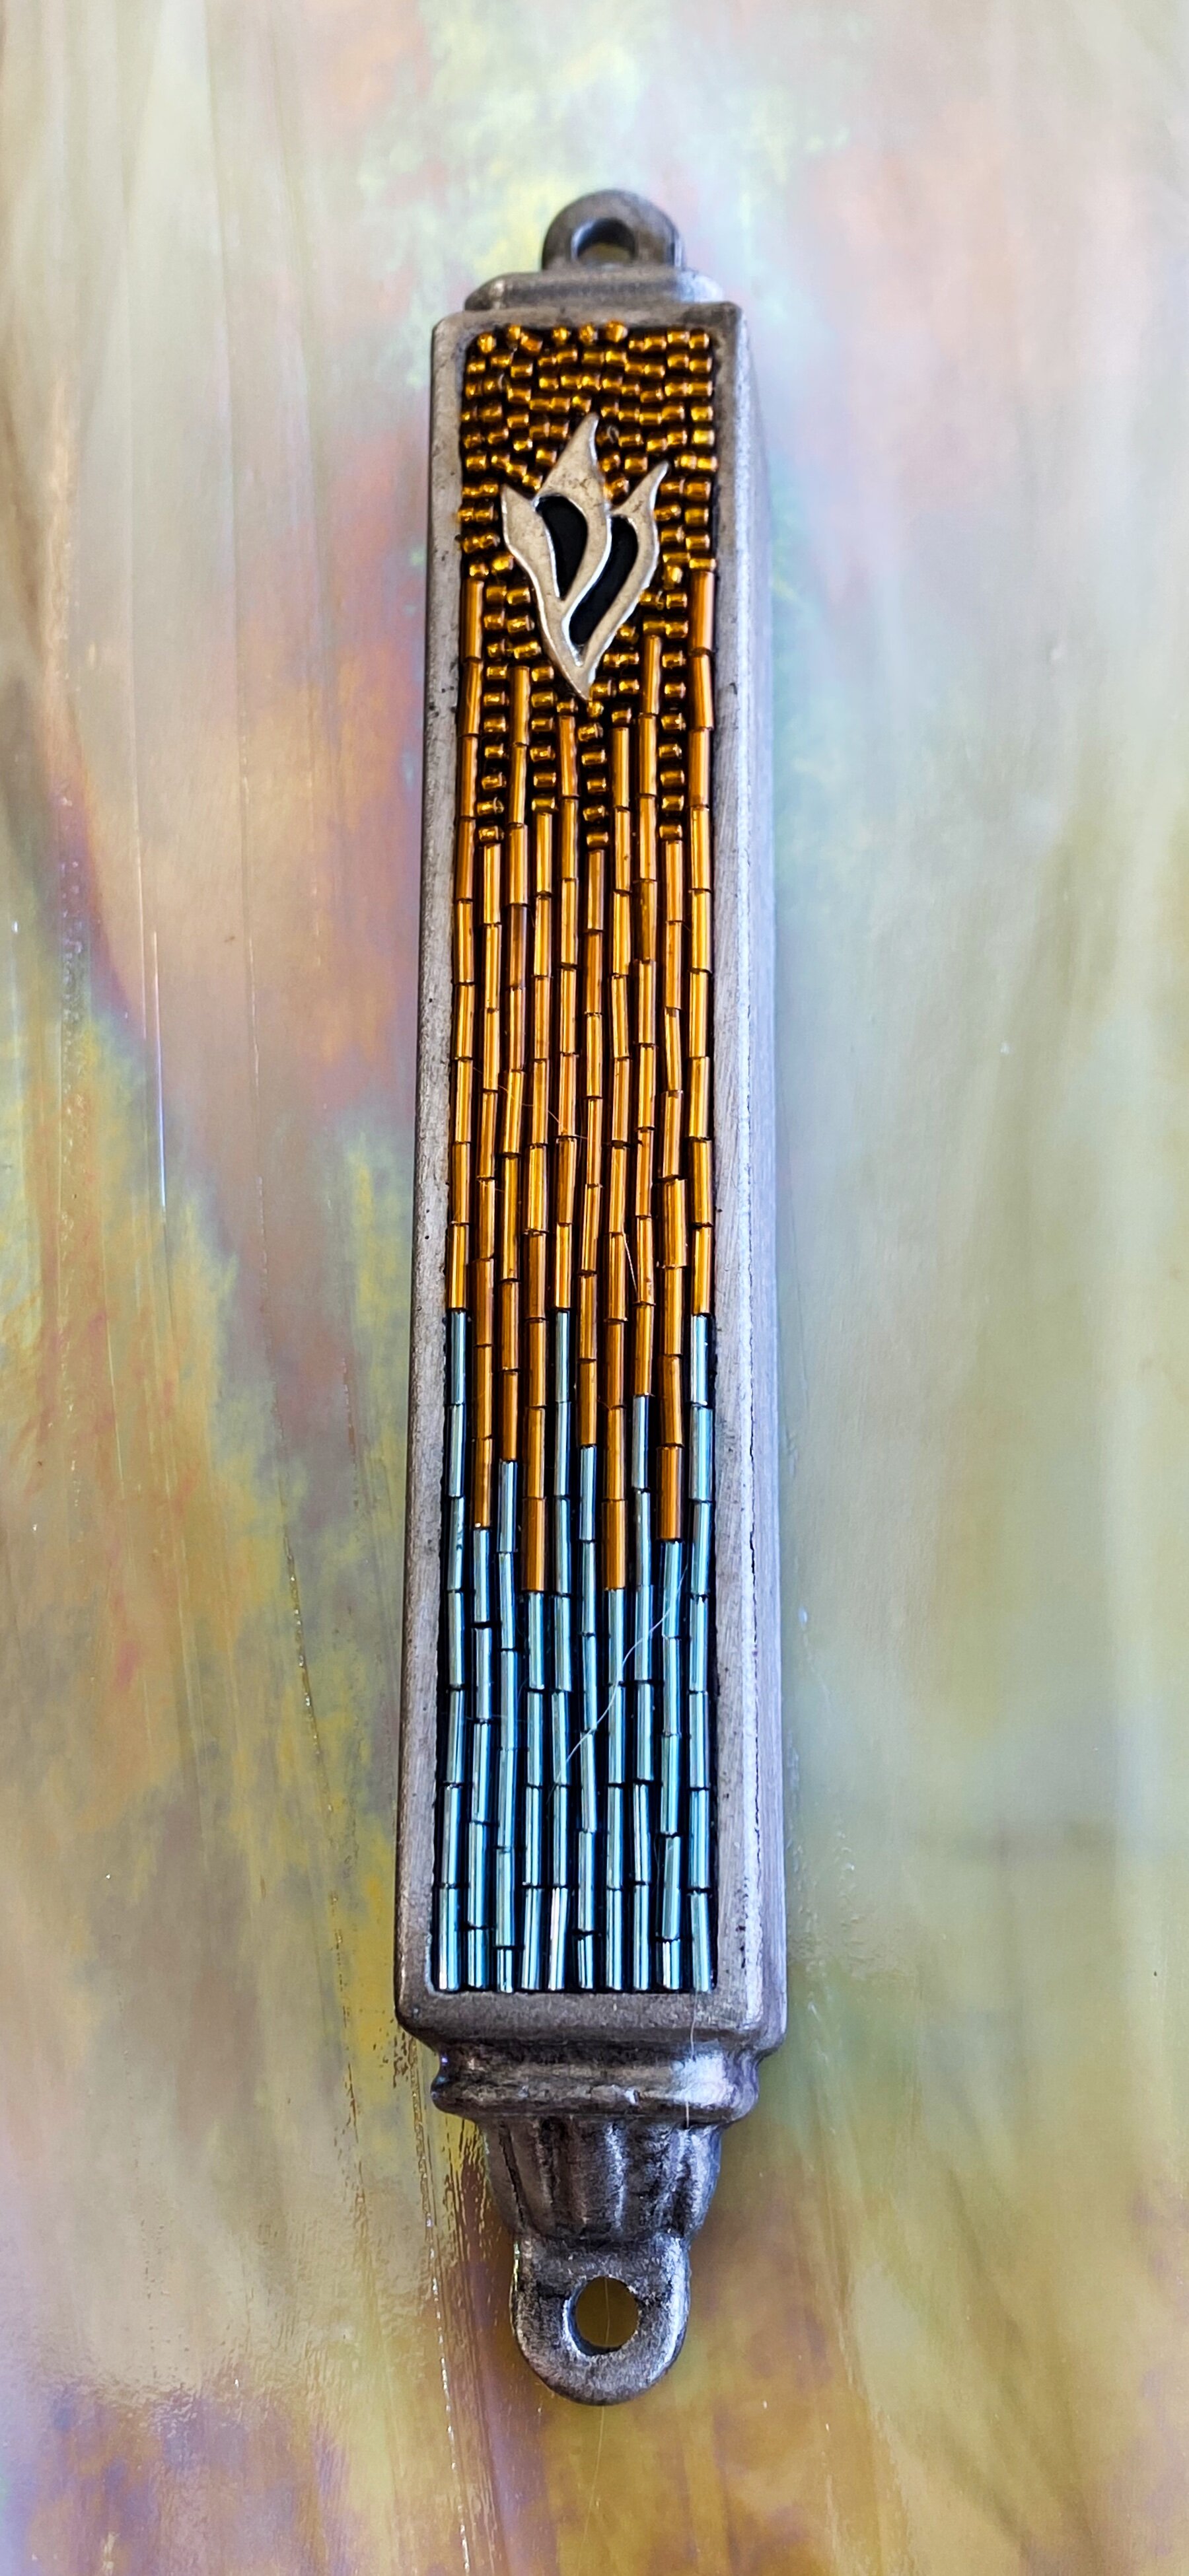
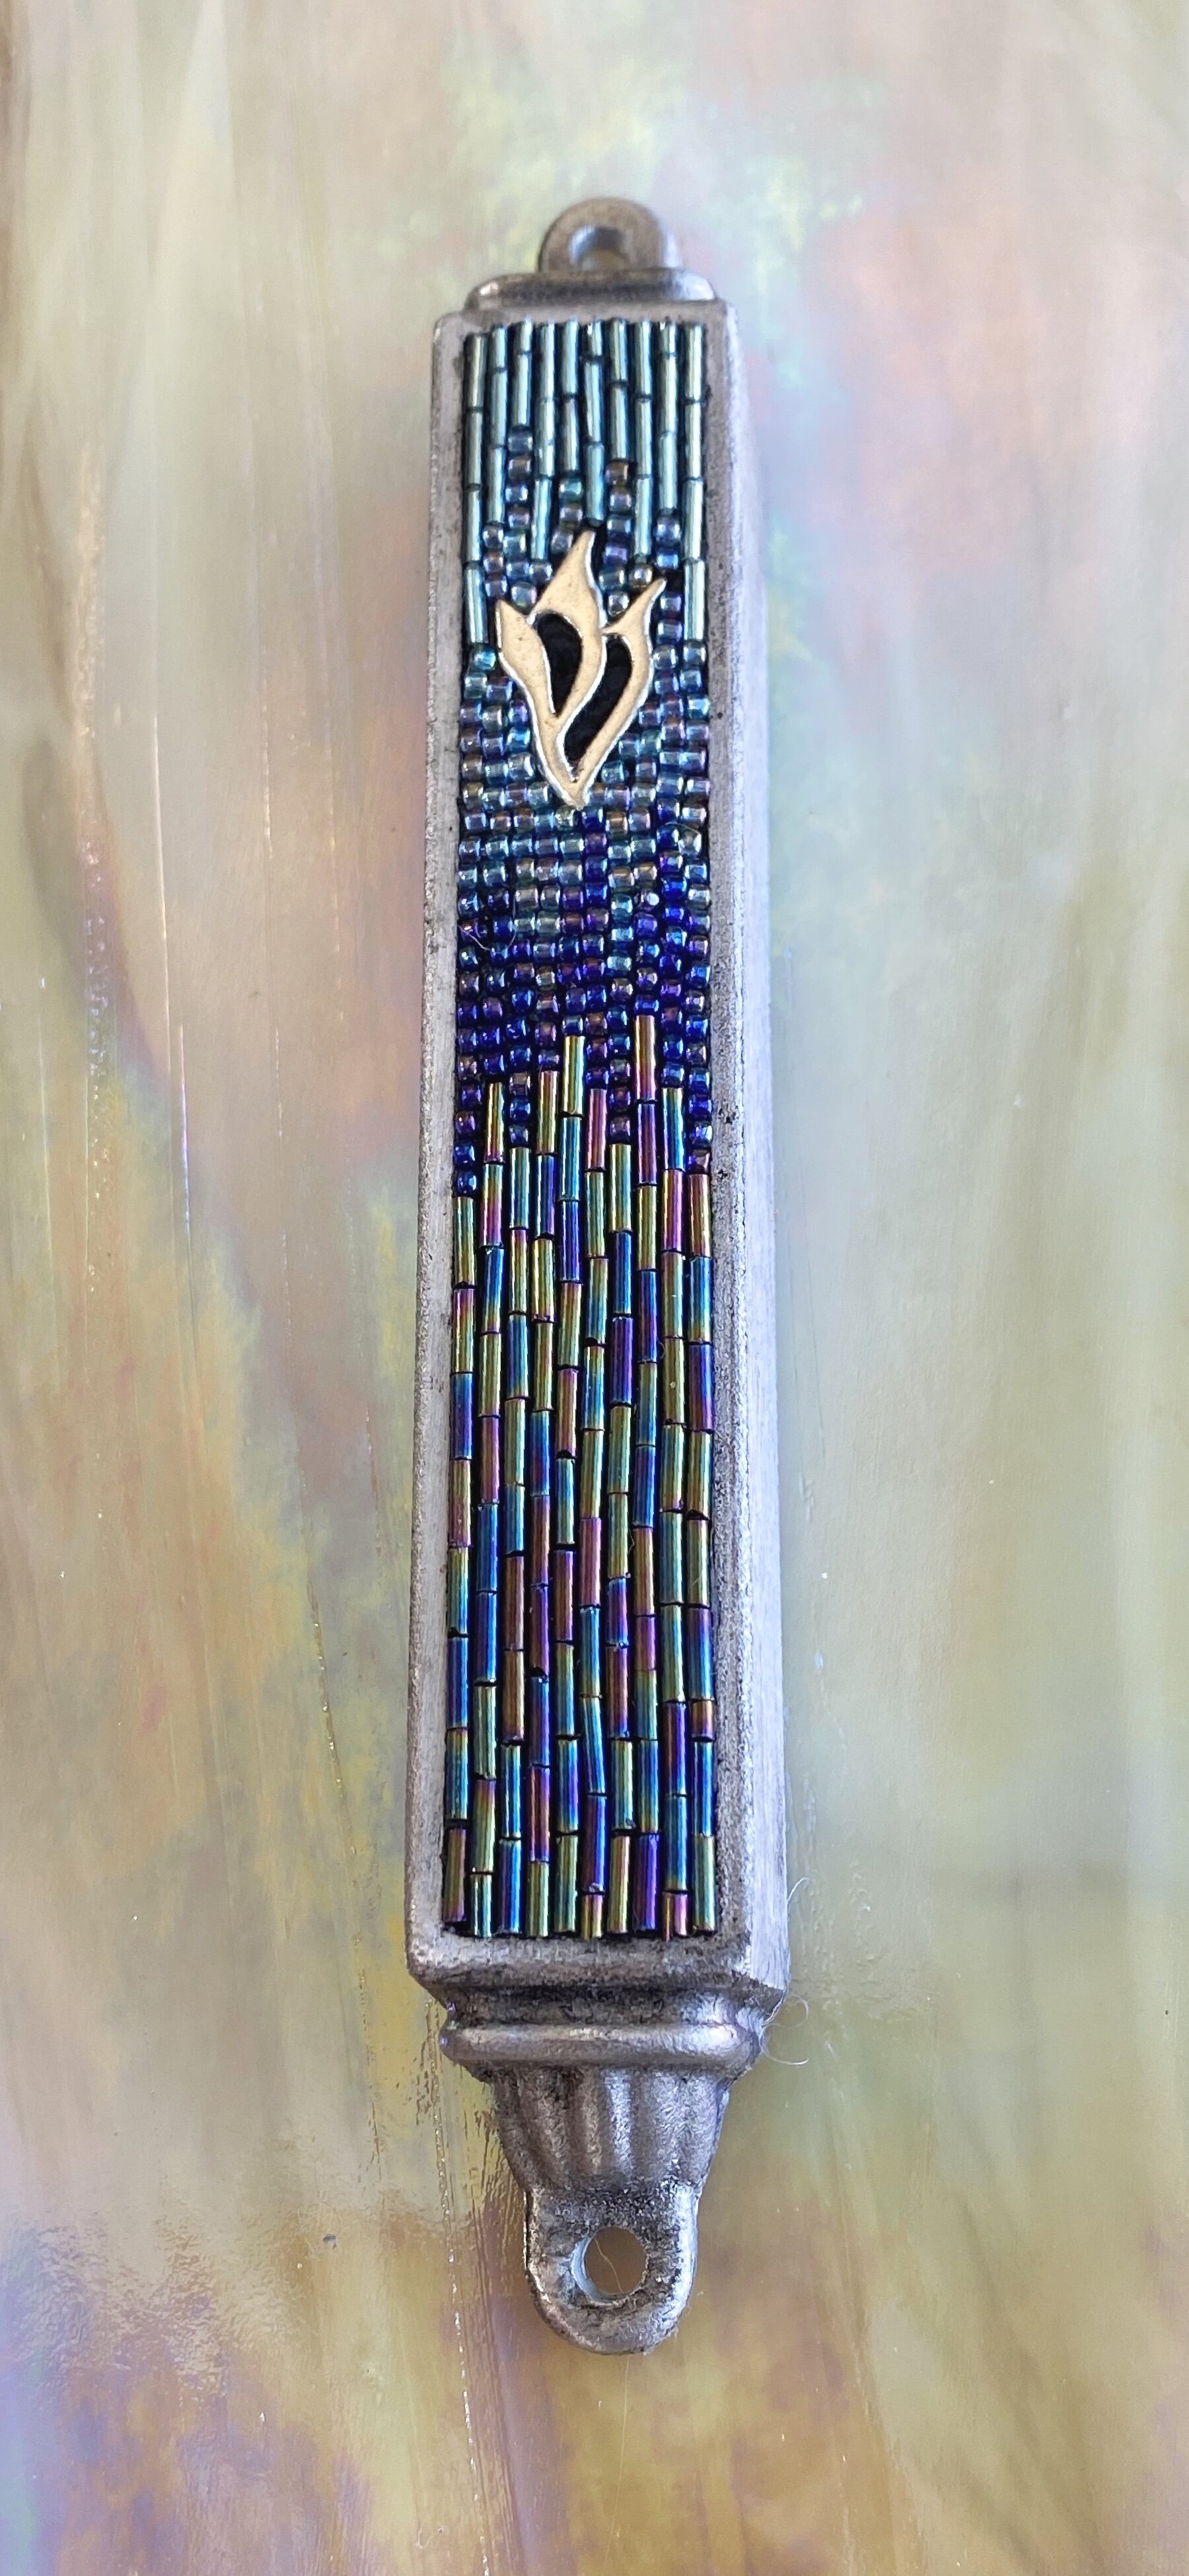
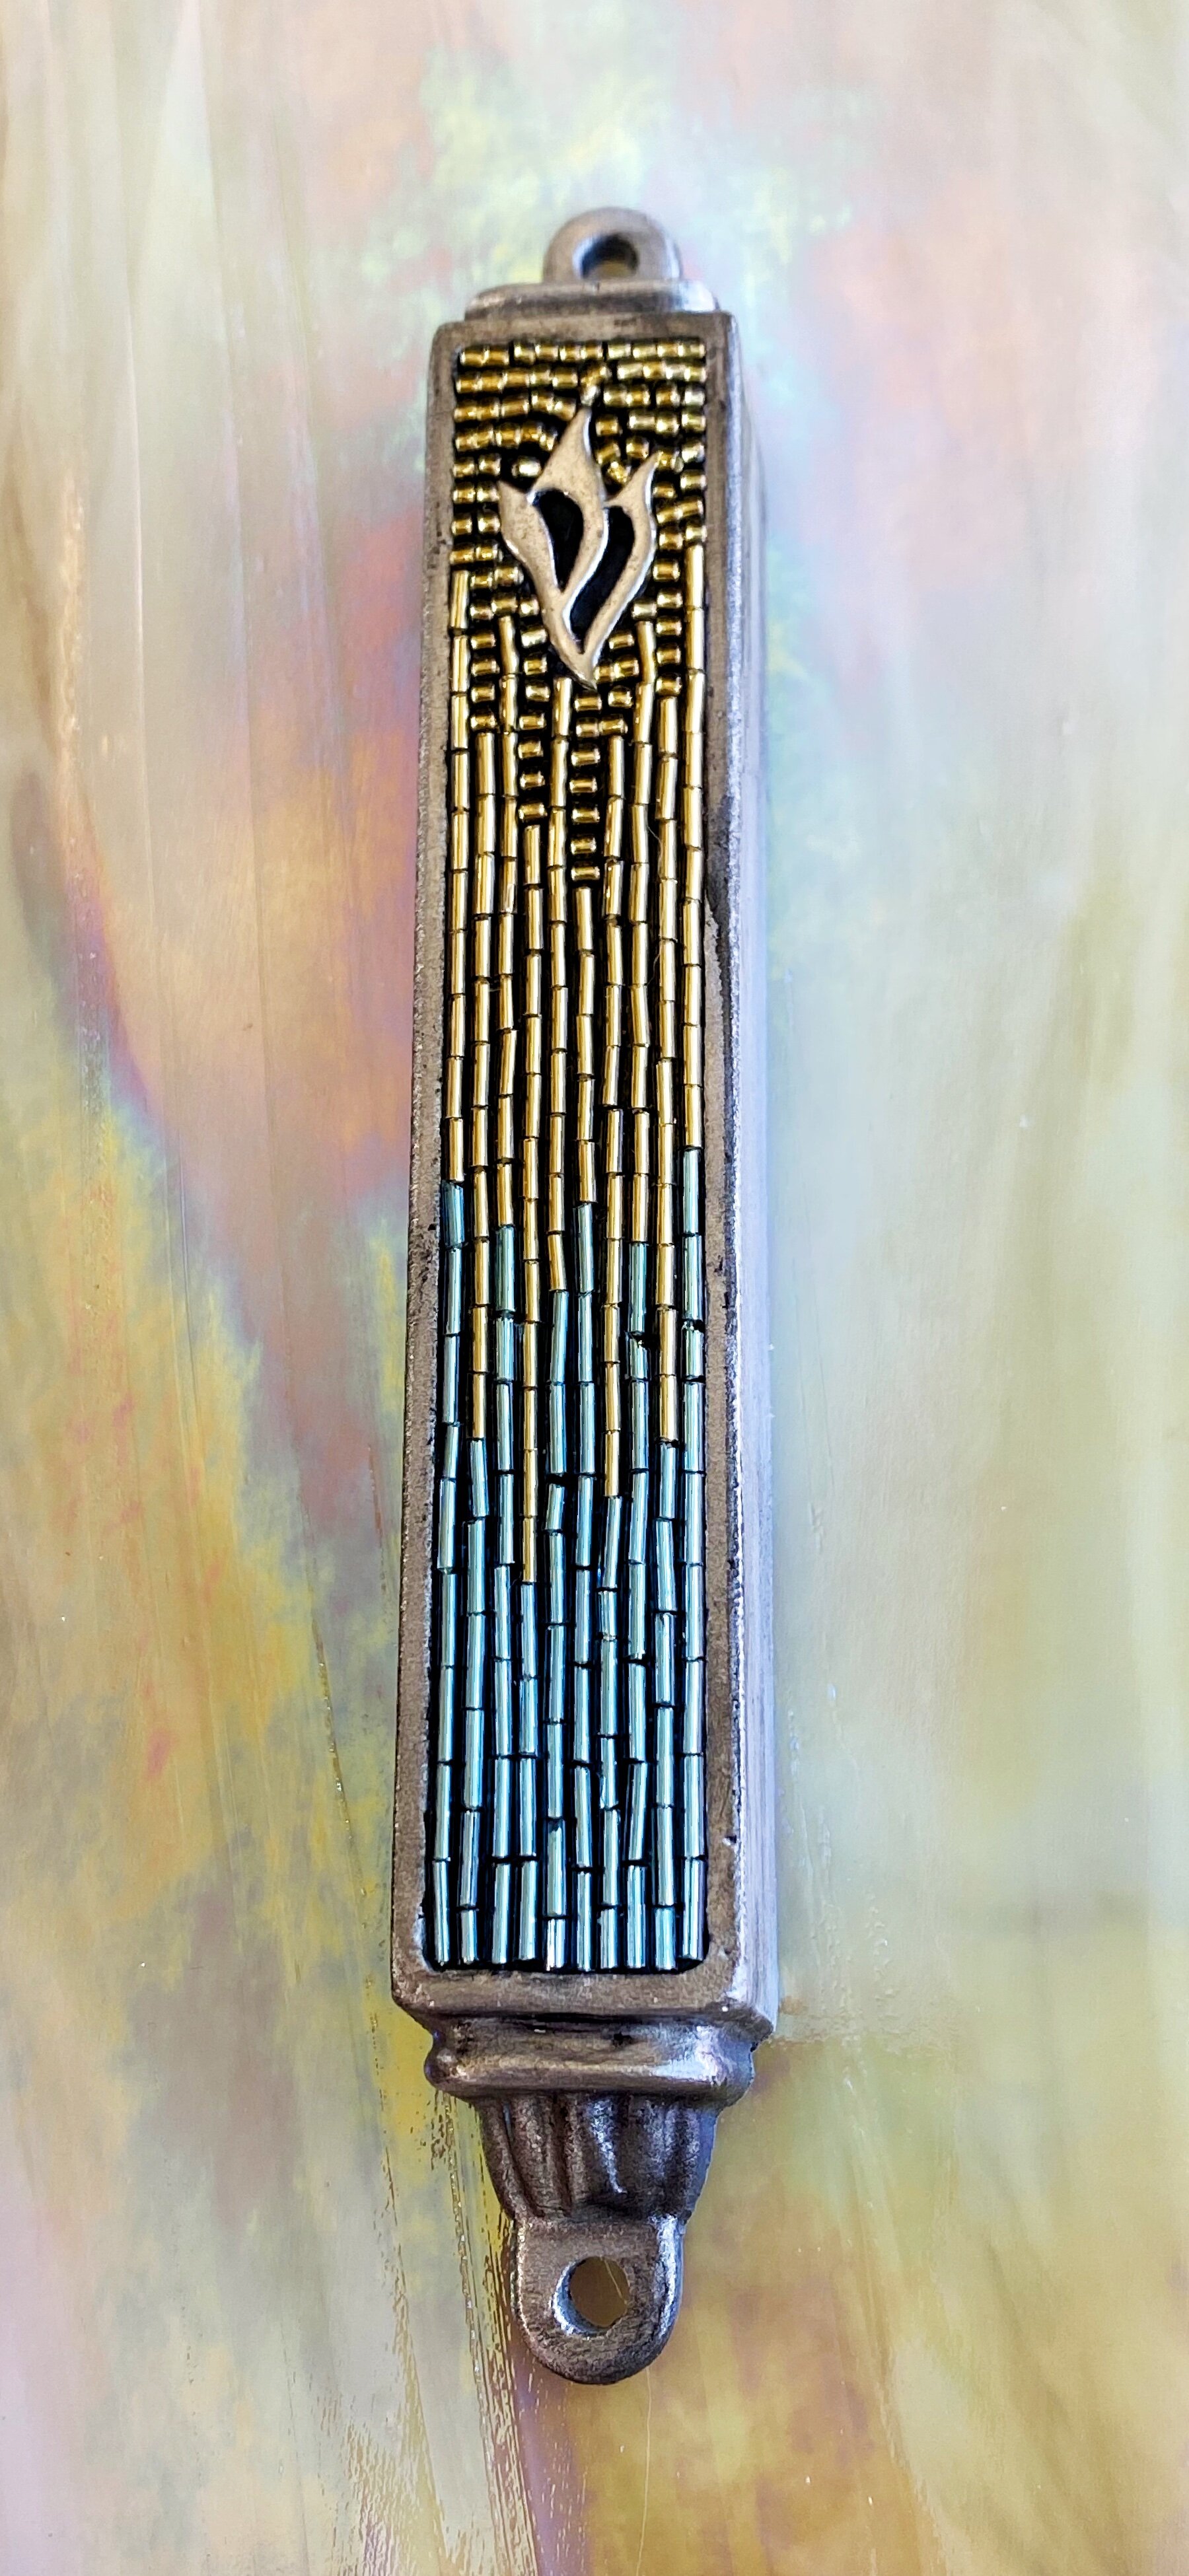
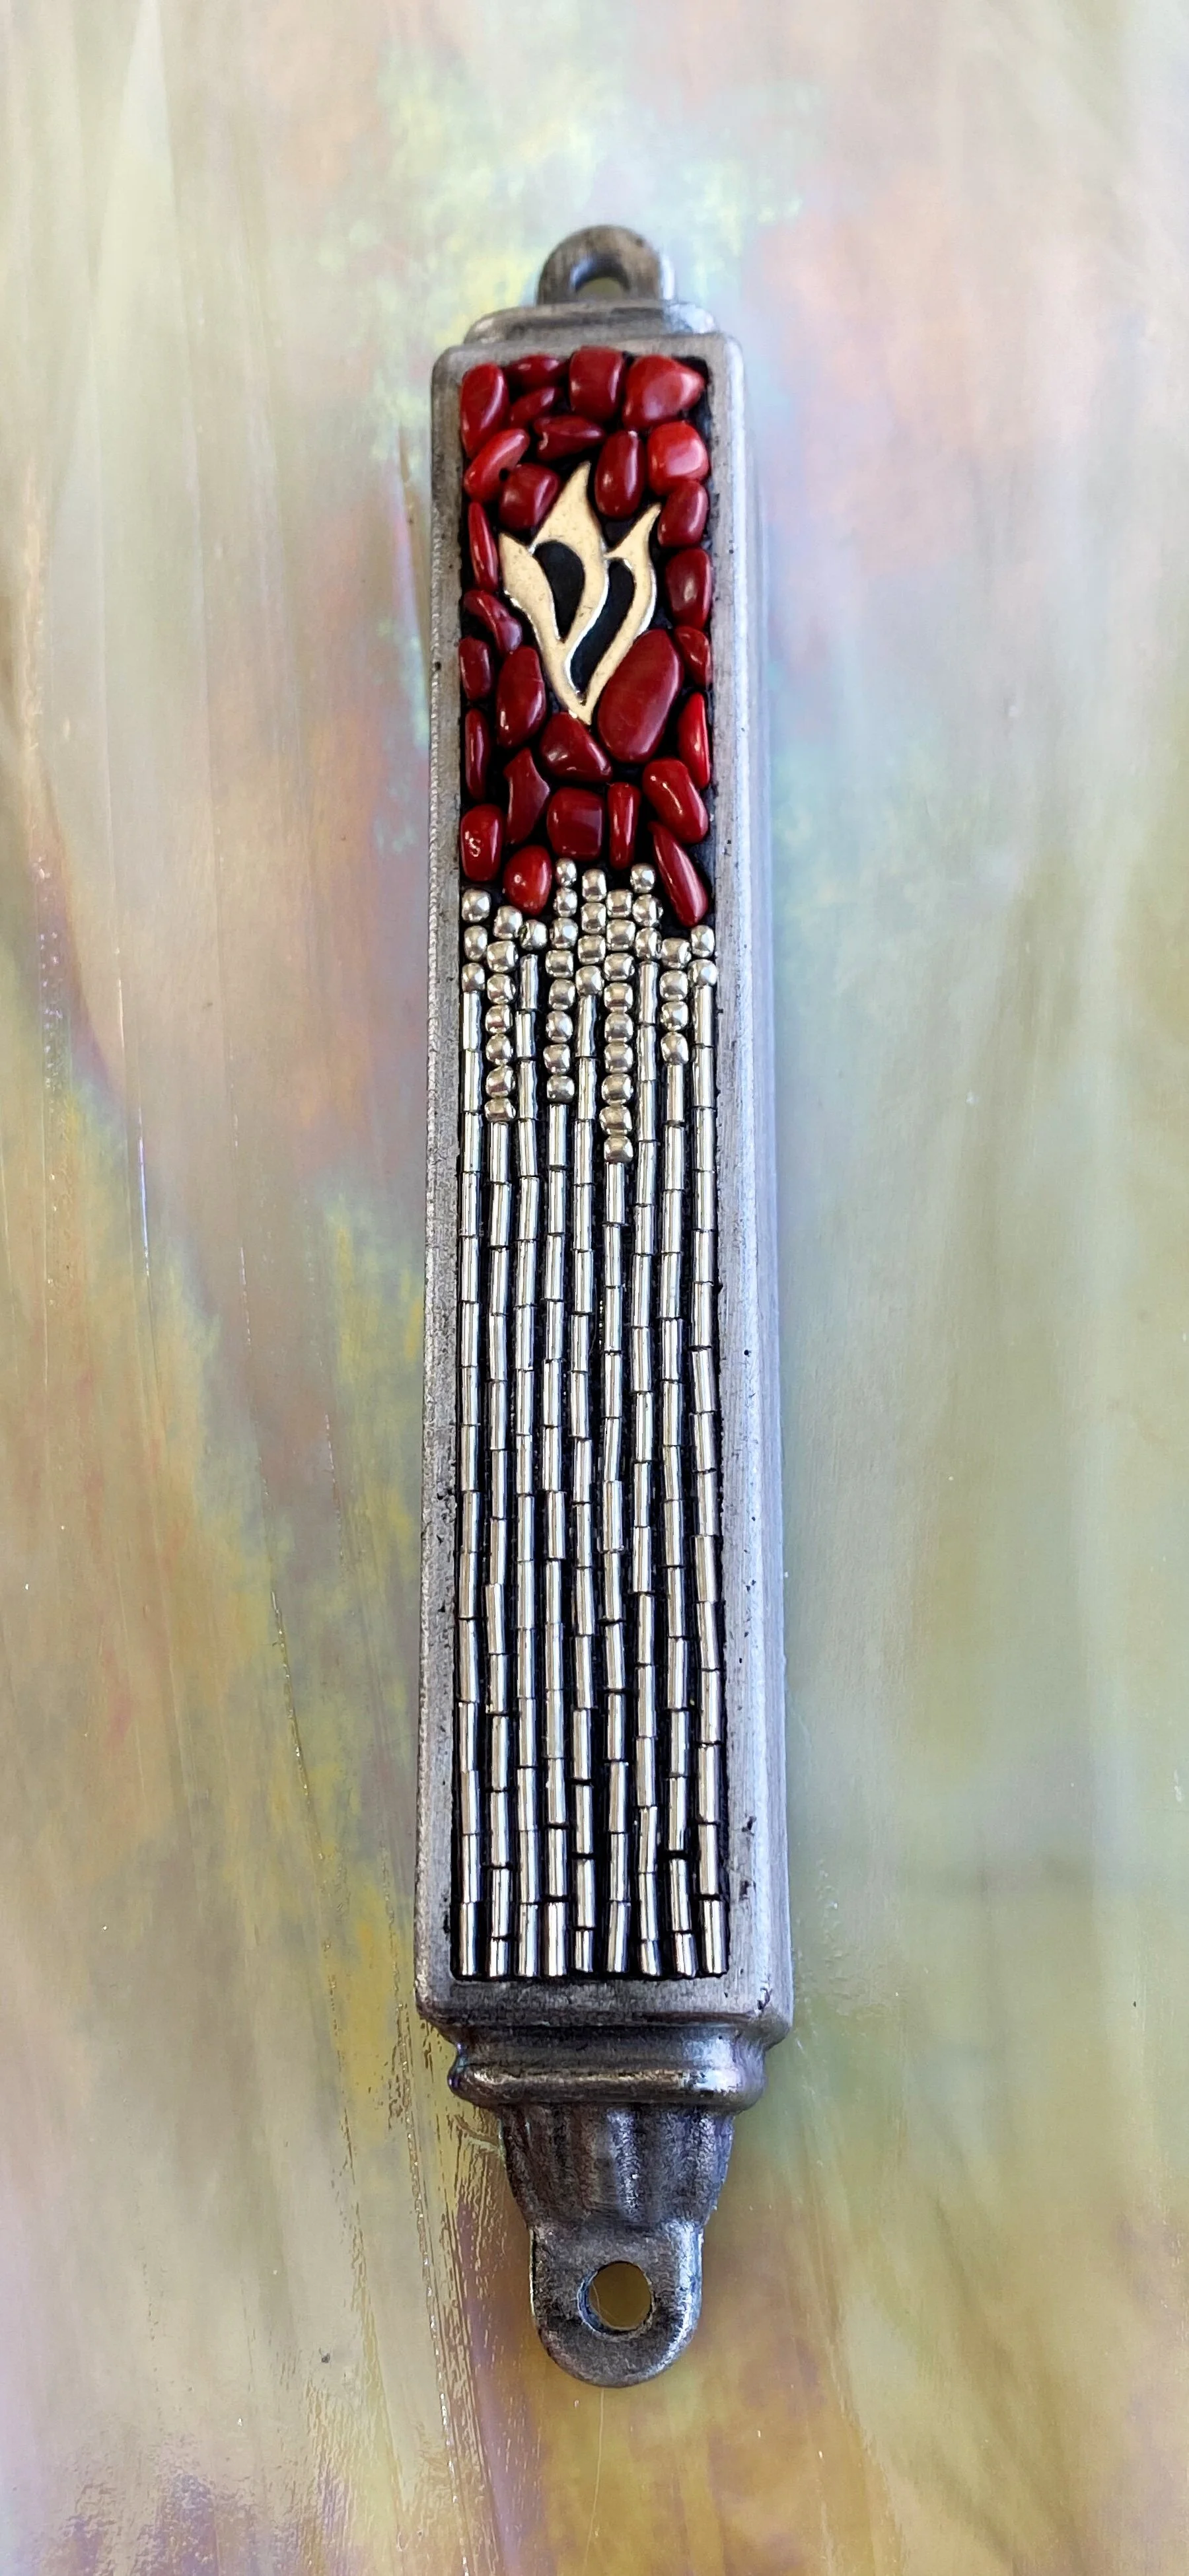
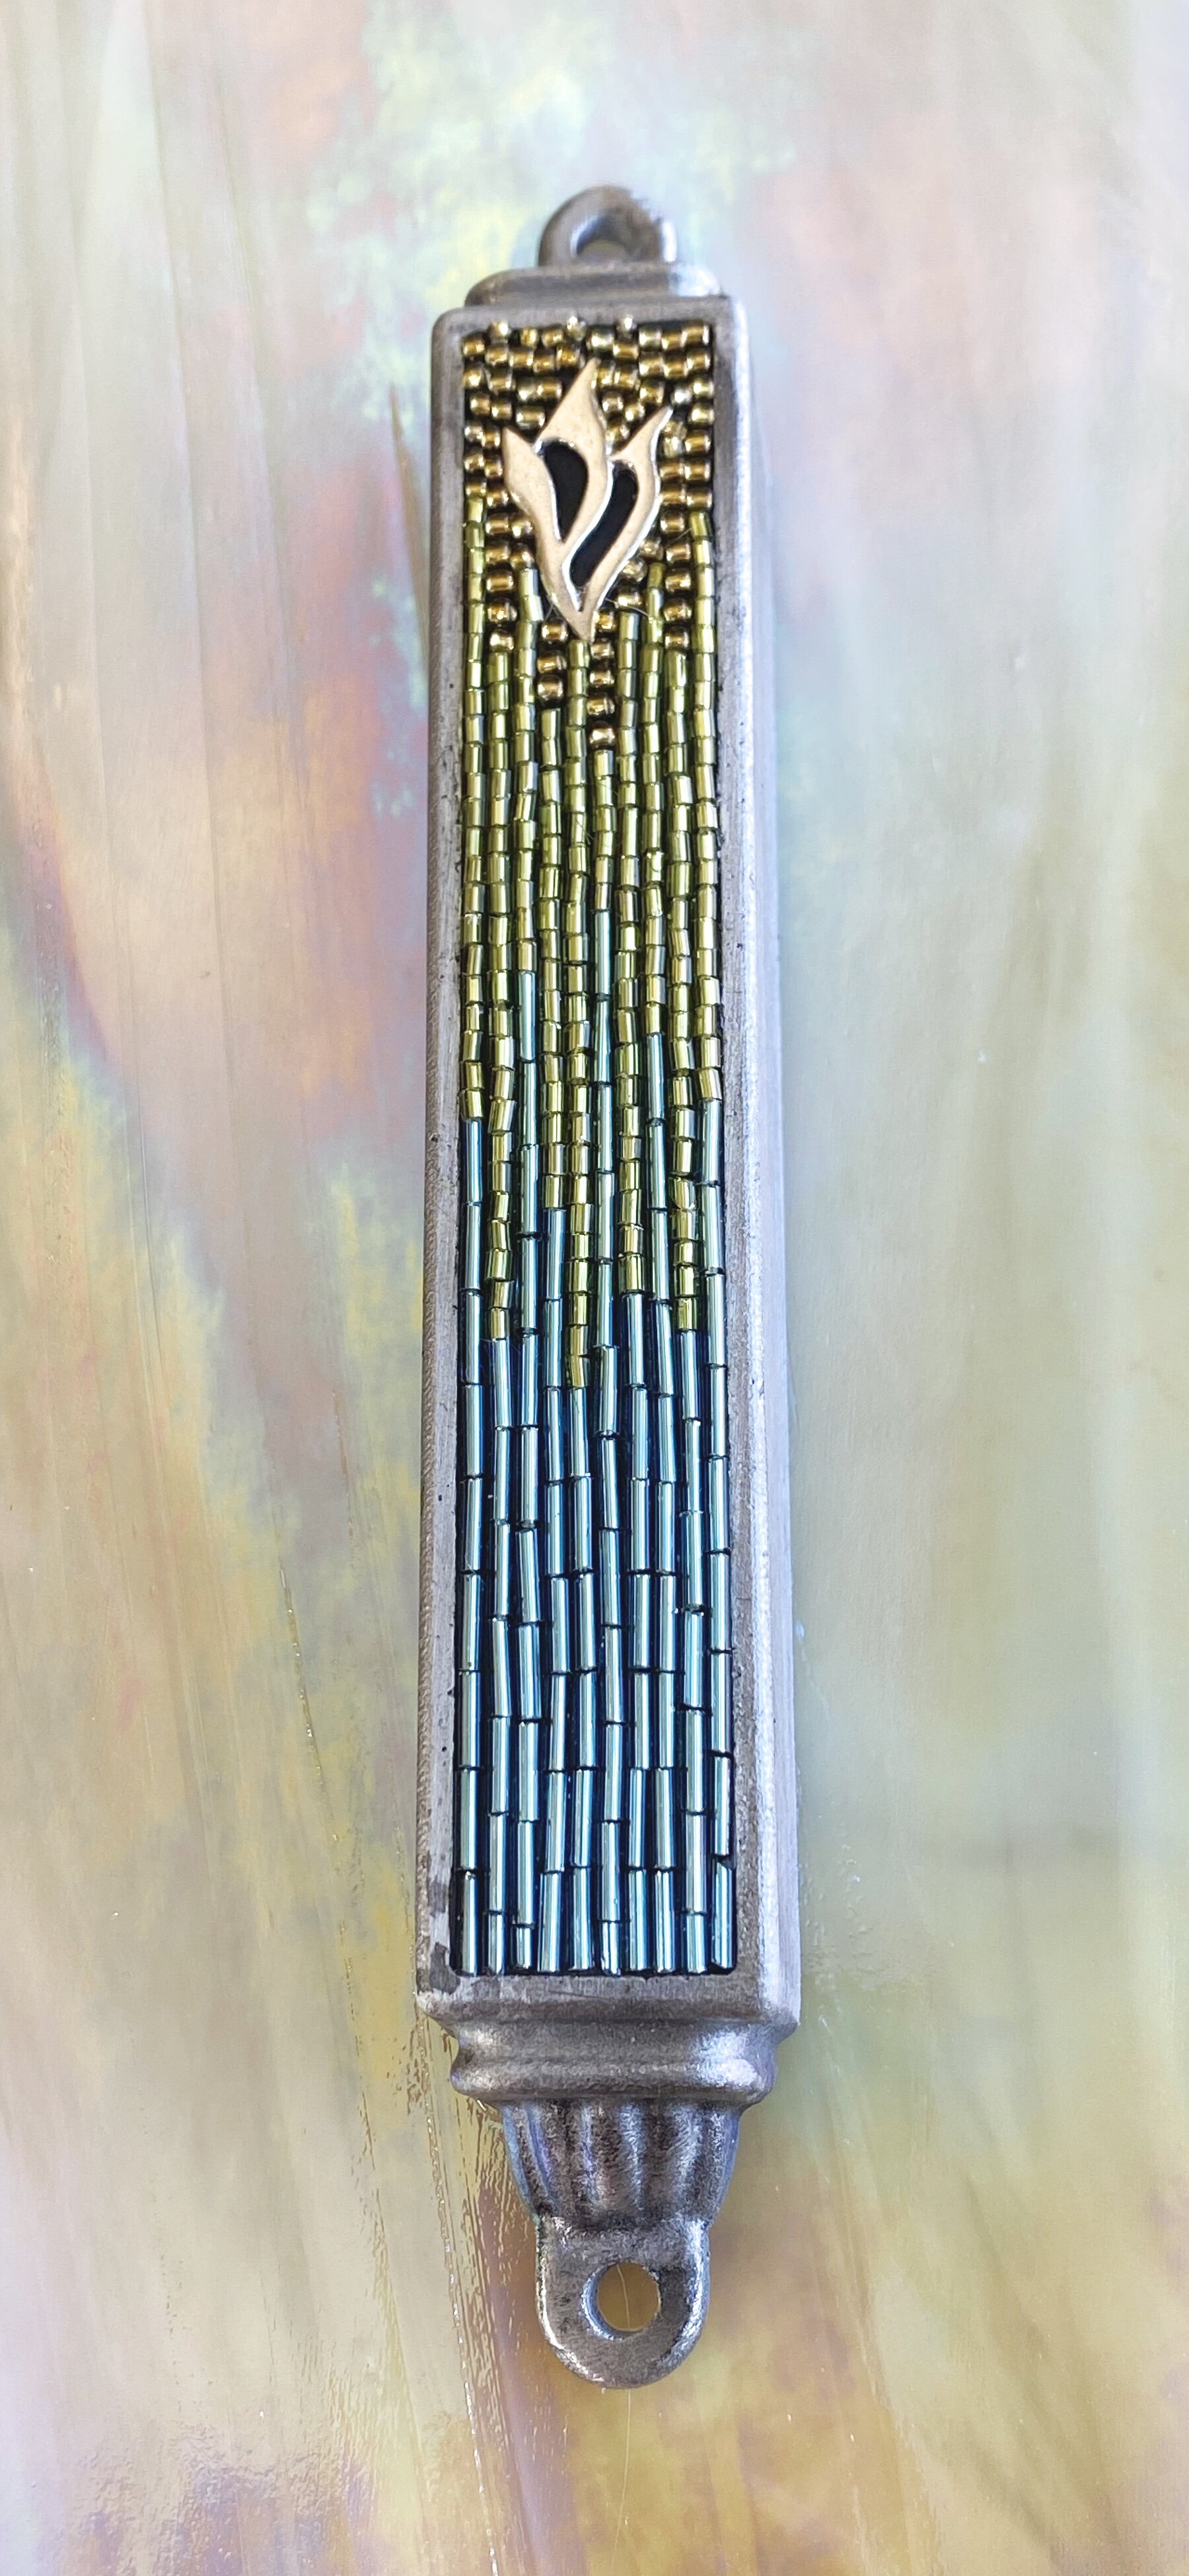
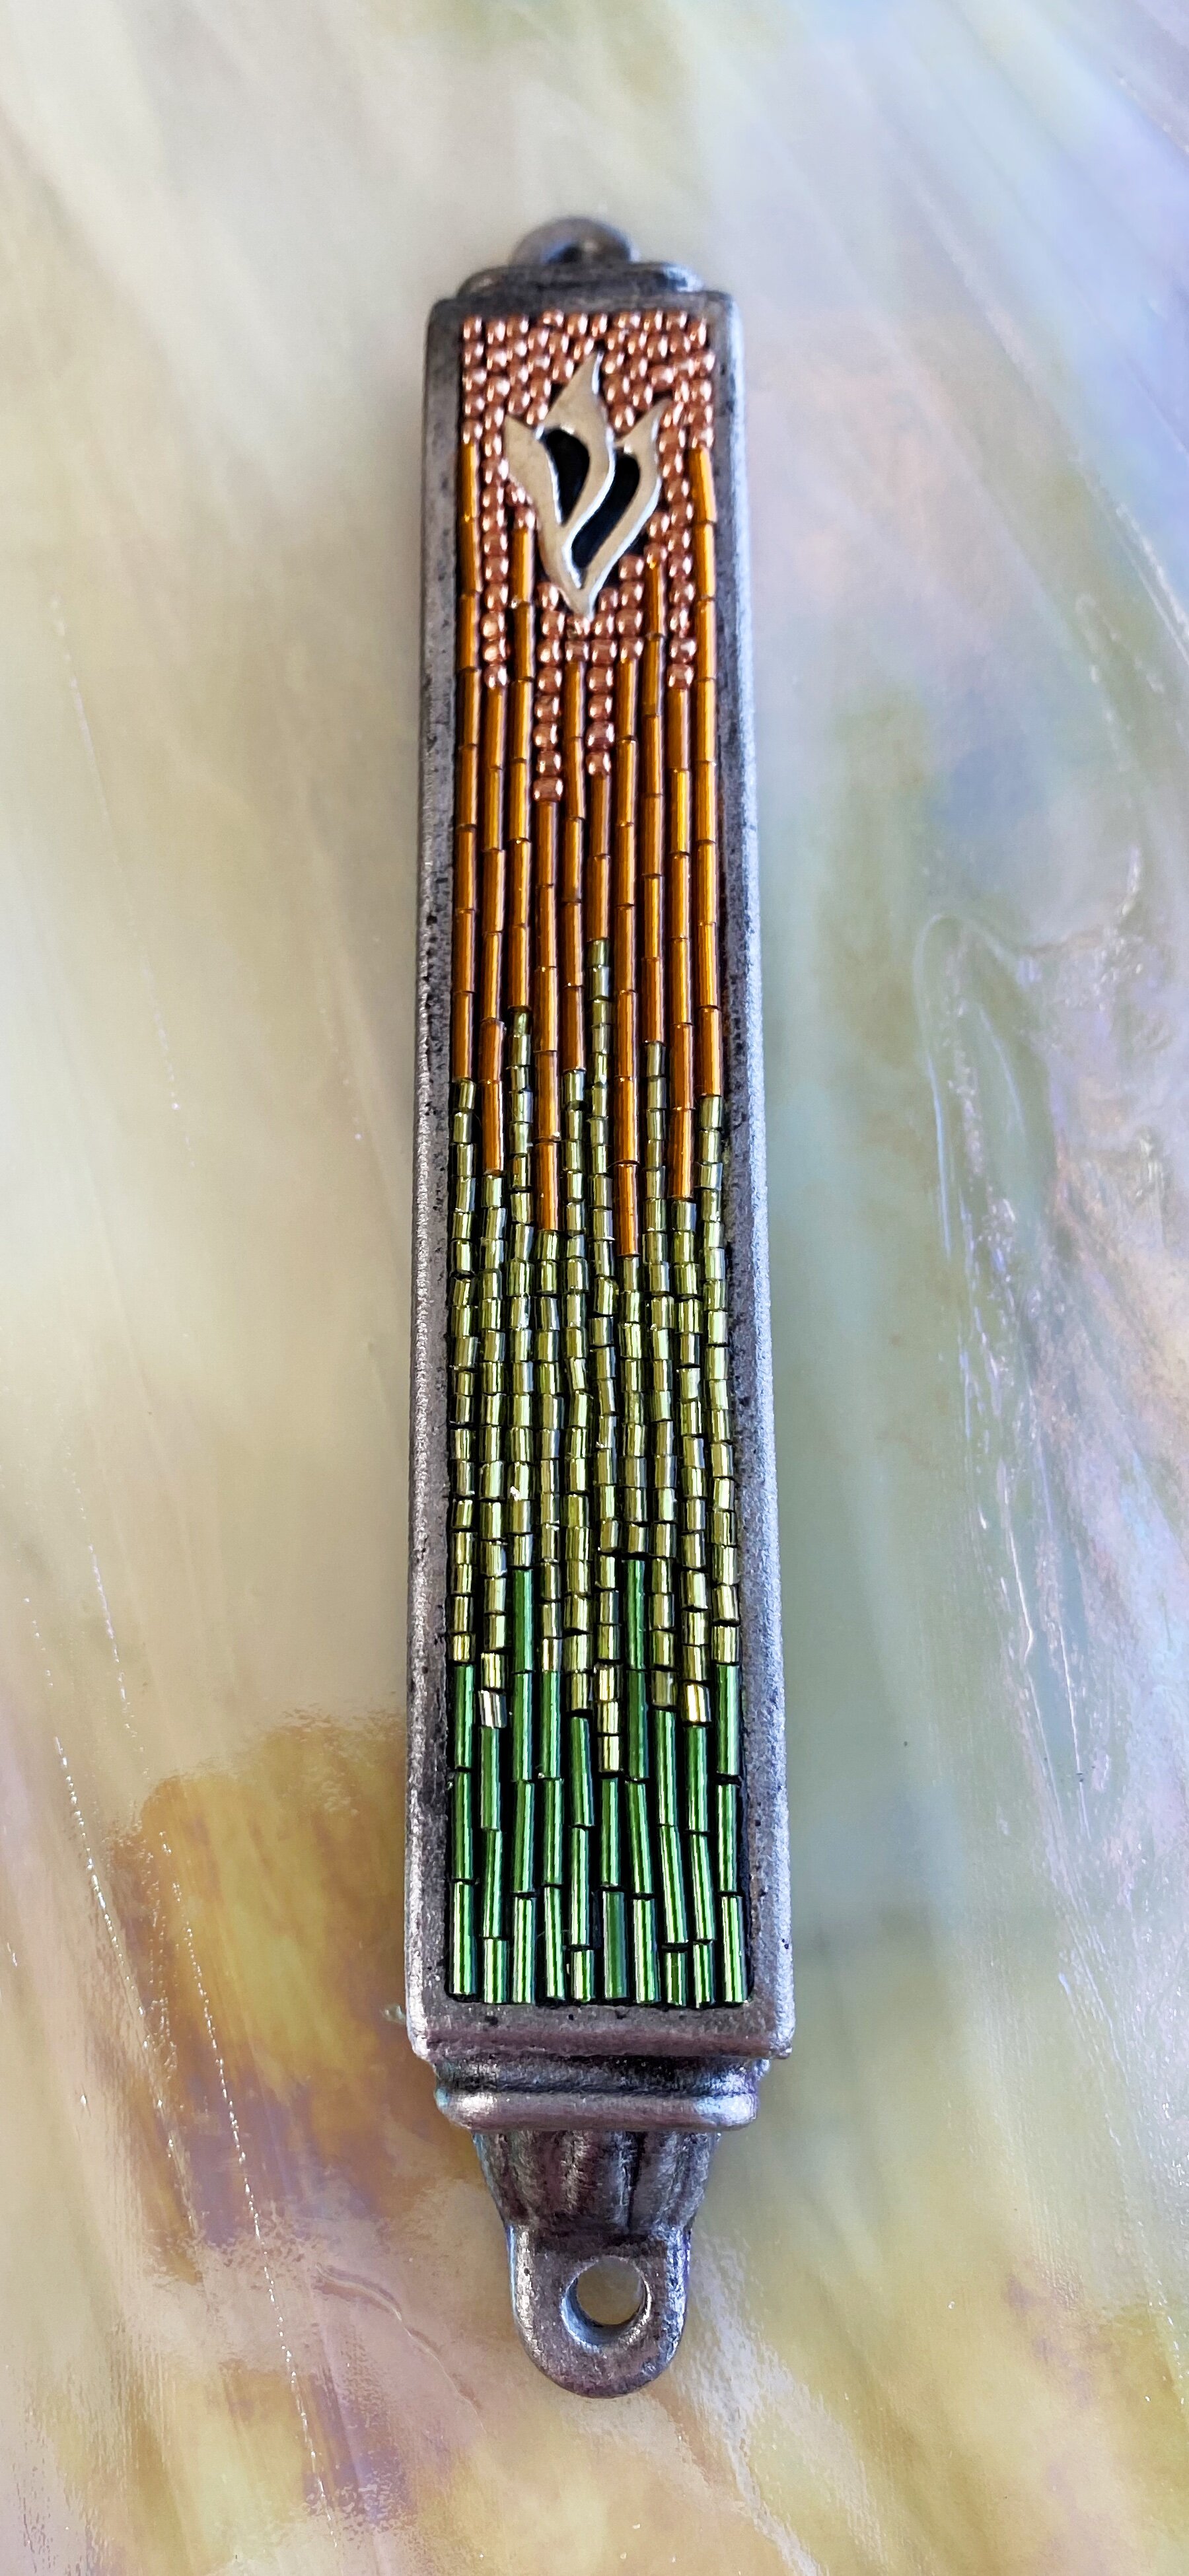
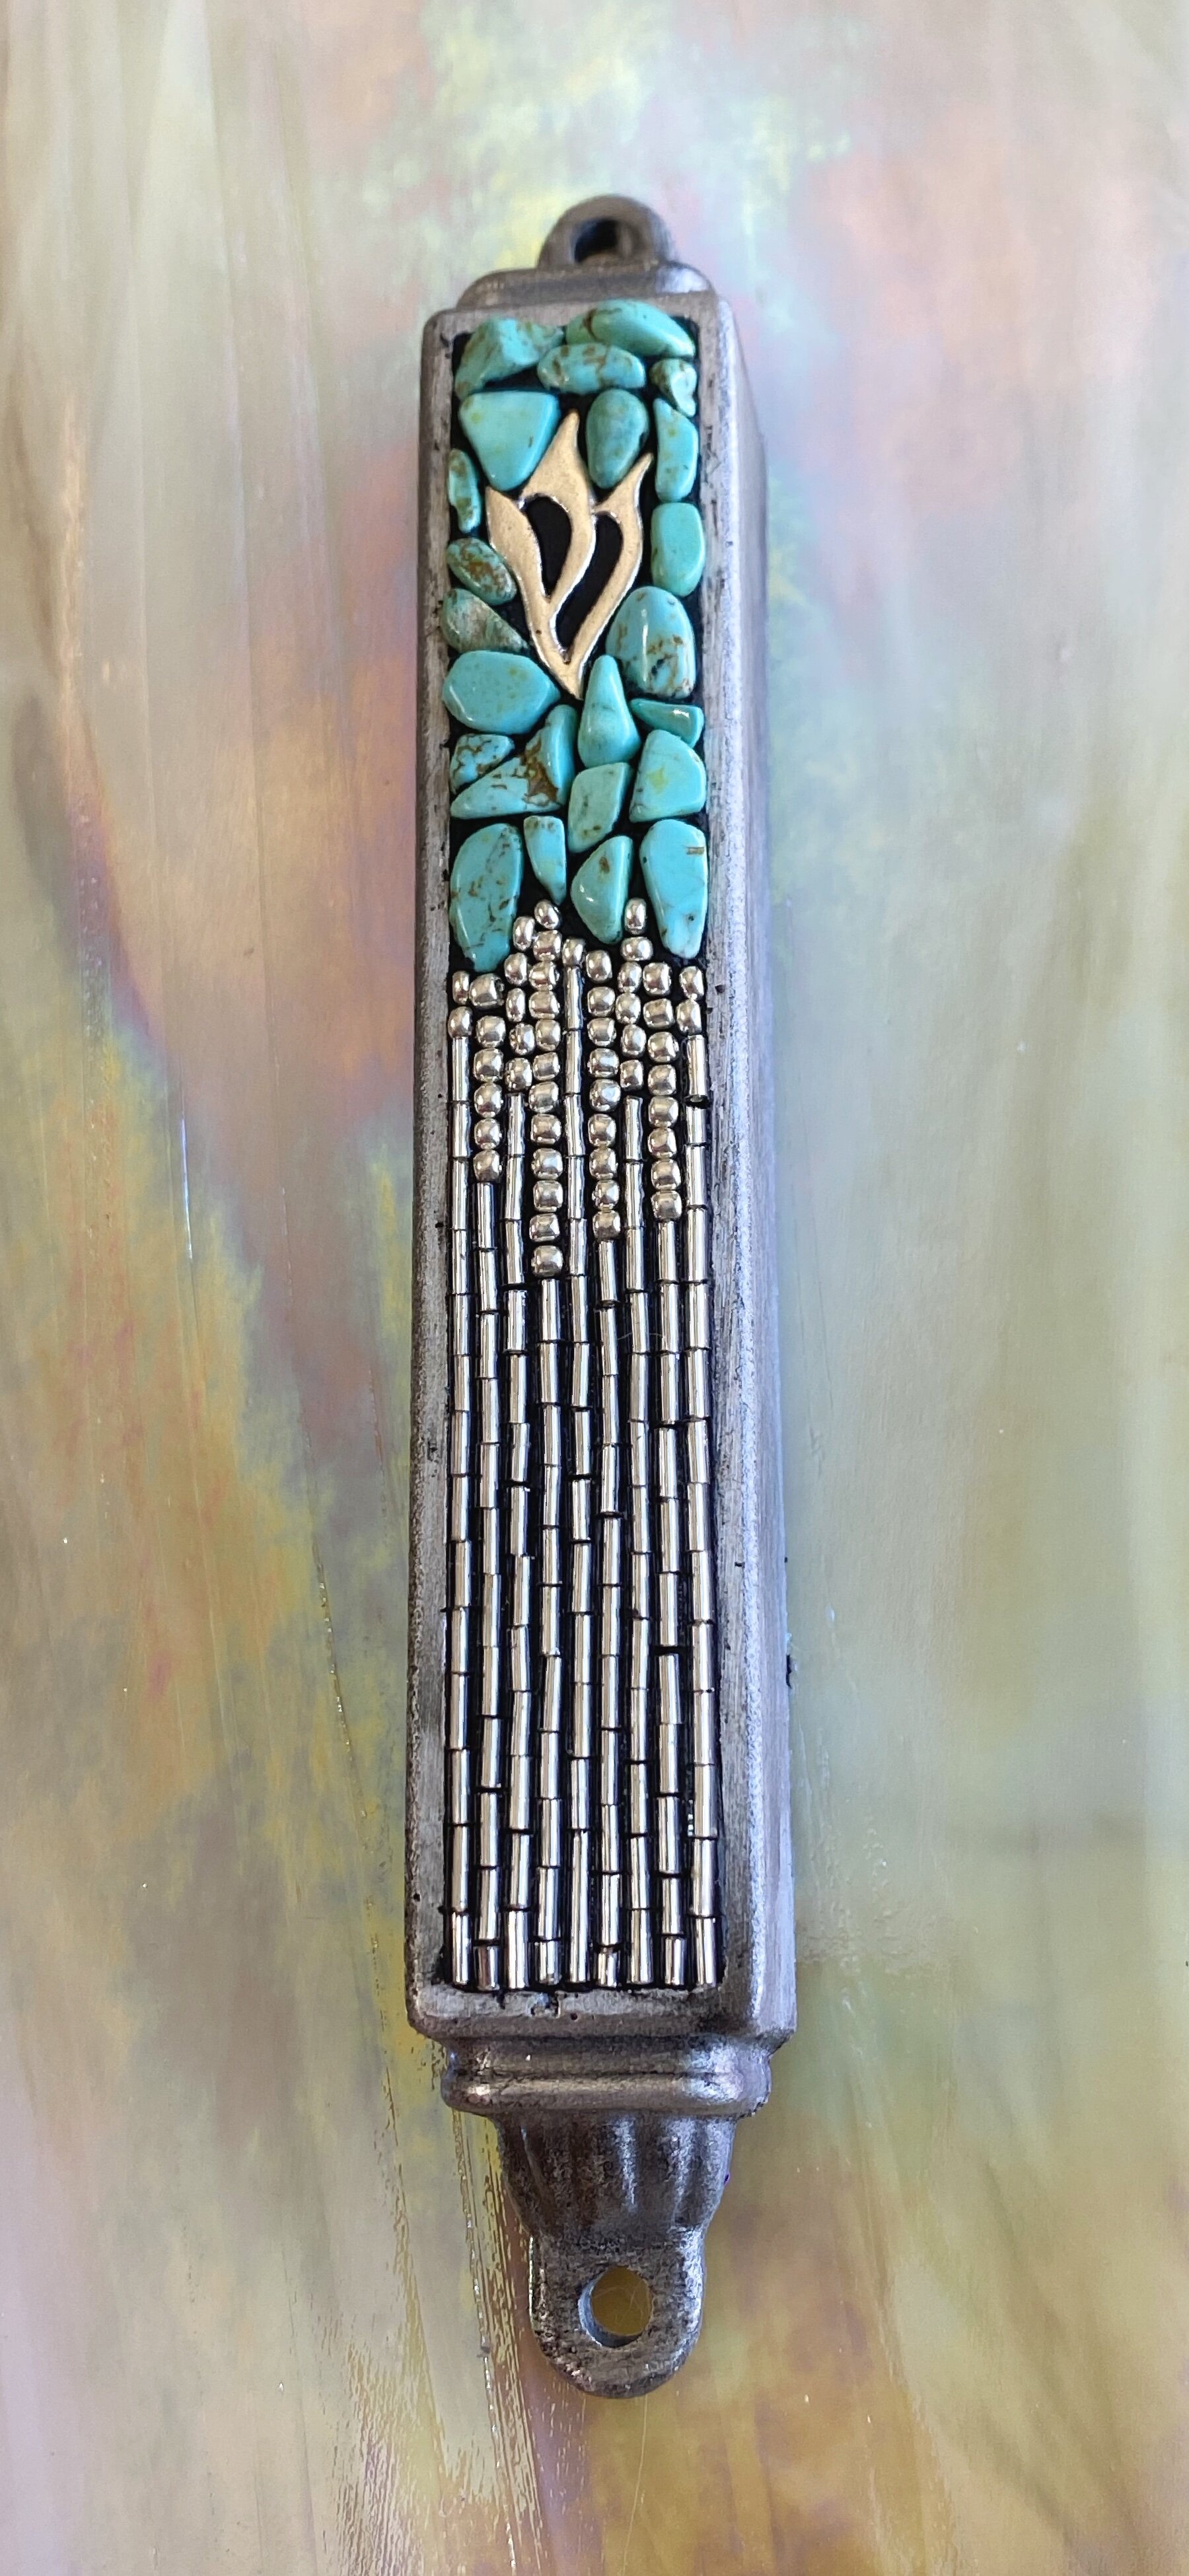
Just in time for a Hanukkah I’ve released some new beaded mosaic mezuzah designs. They are available for purchase in my shop for $180 each, and include free shipping and arrive in a cute silver satin gift pouch.

Kids Glass Picture Frames and Stepping Stones

Mosaic-Stepping-Stone-Thumb.jpg

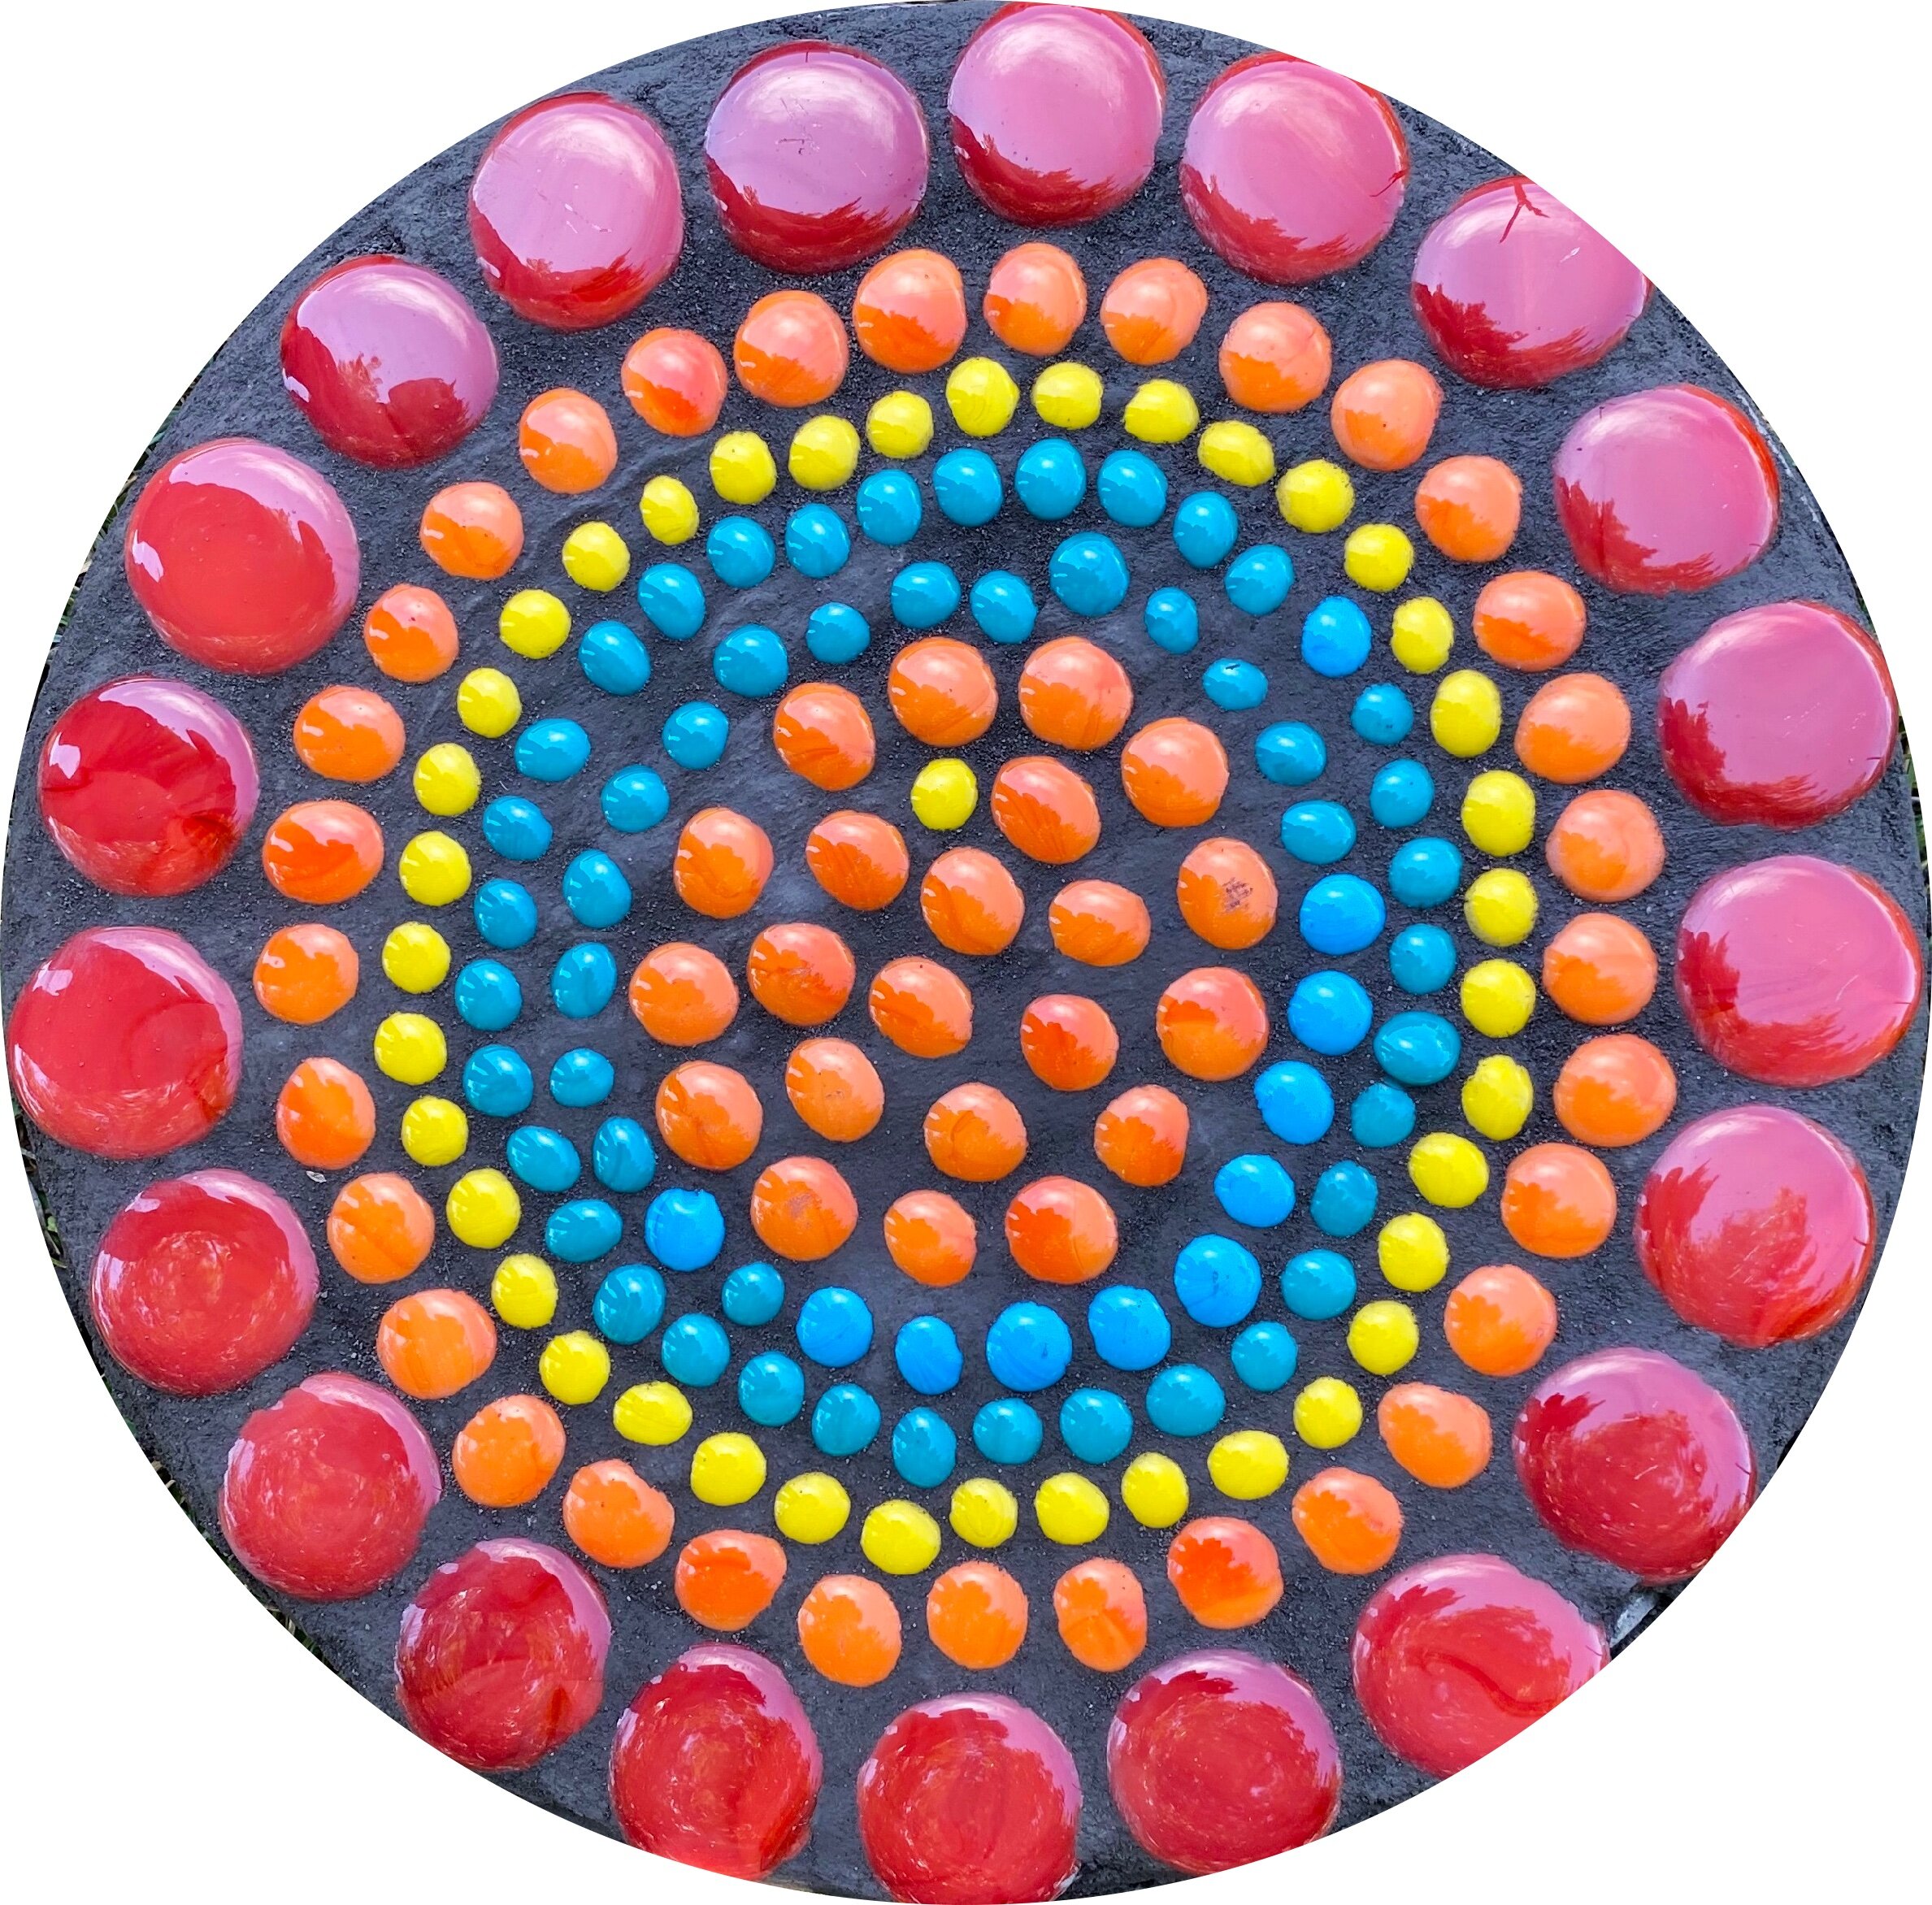
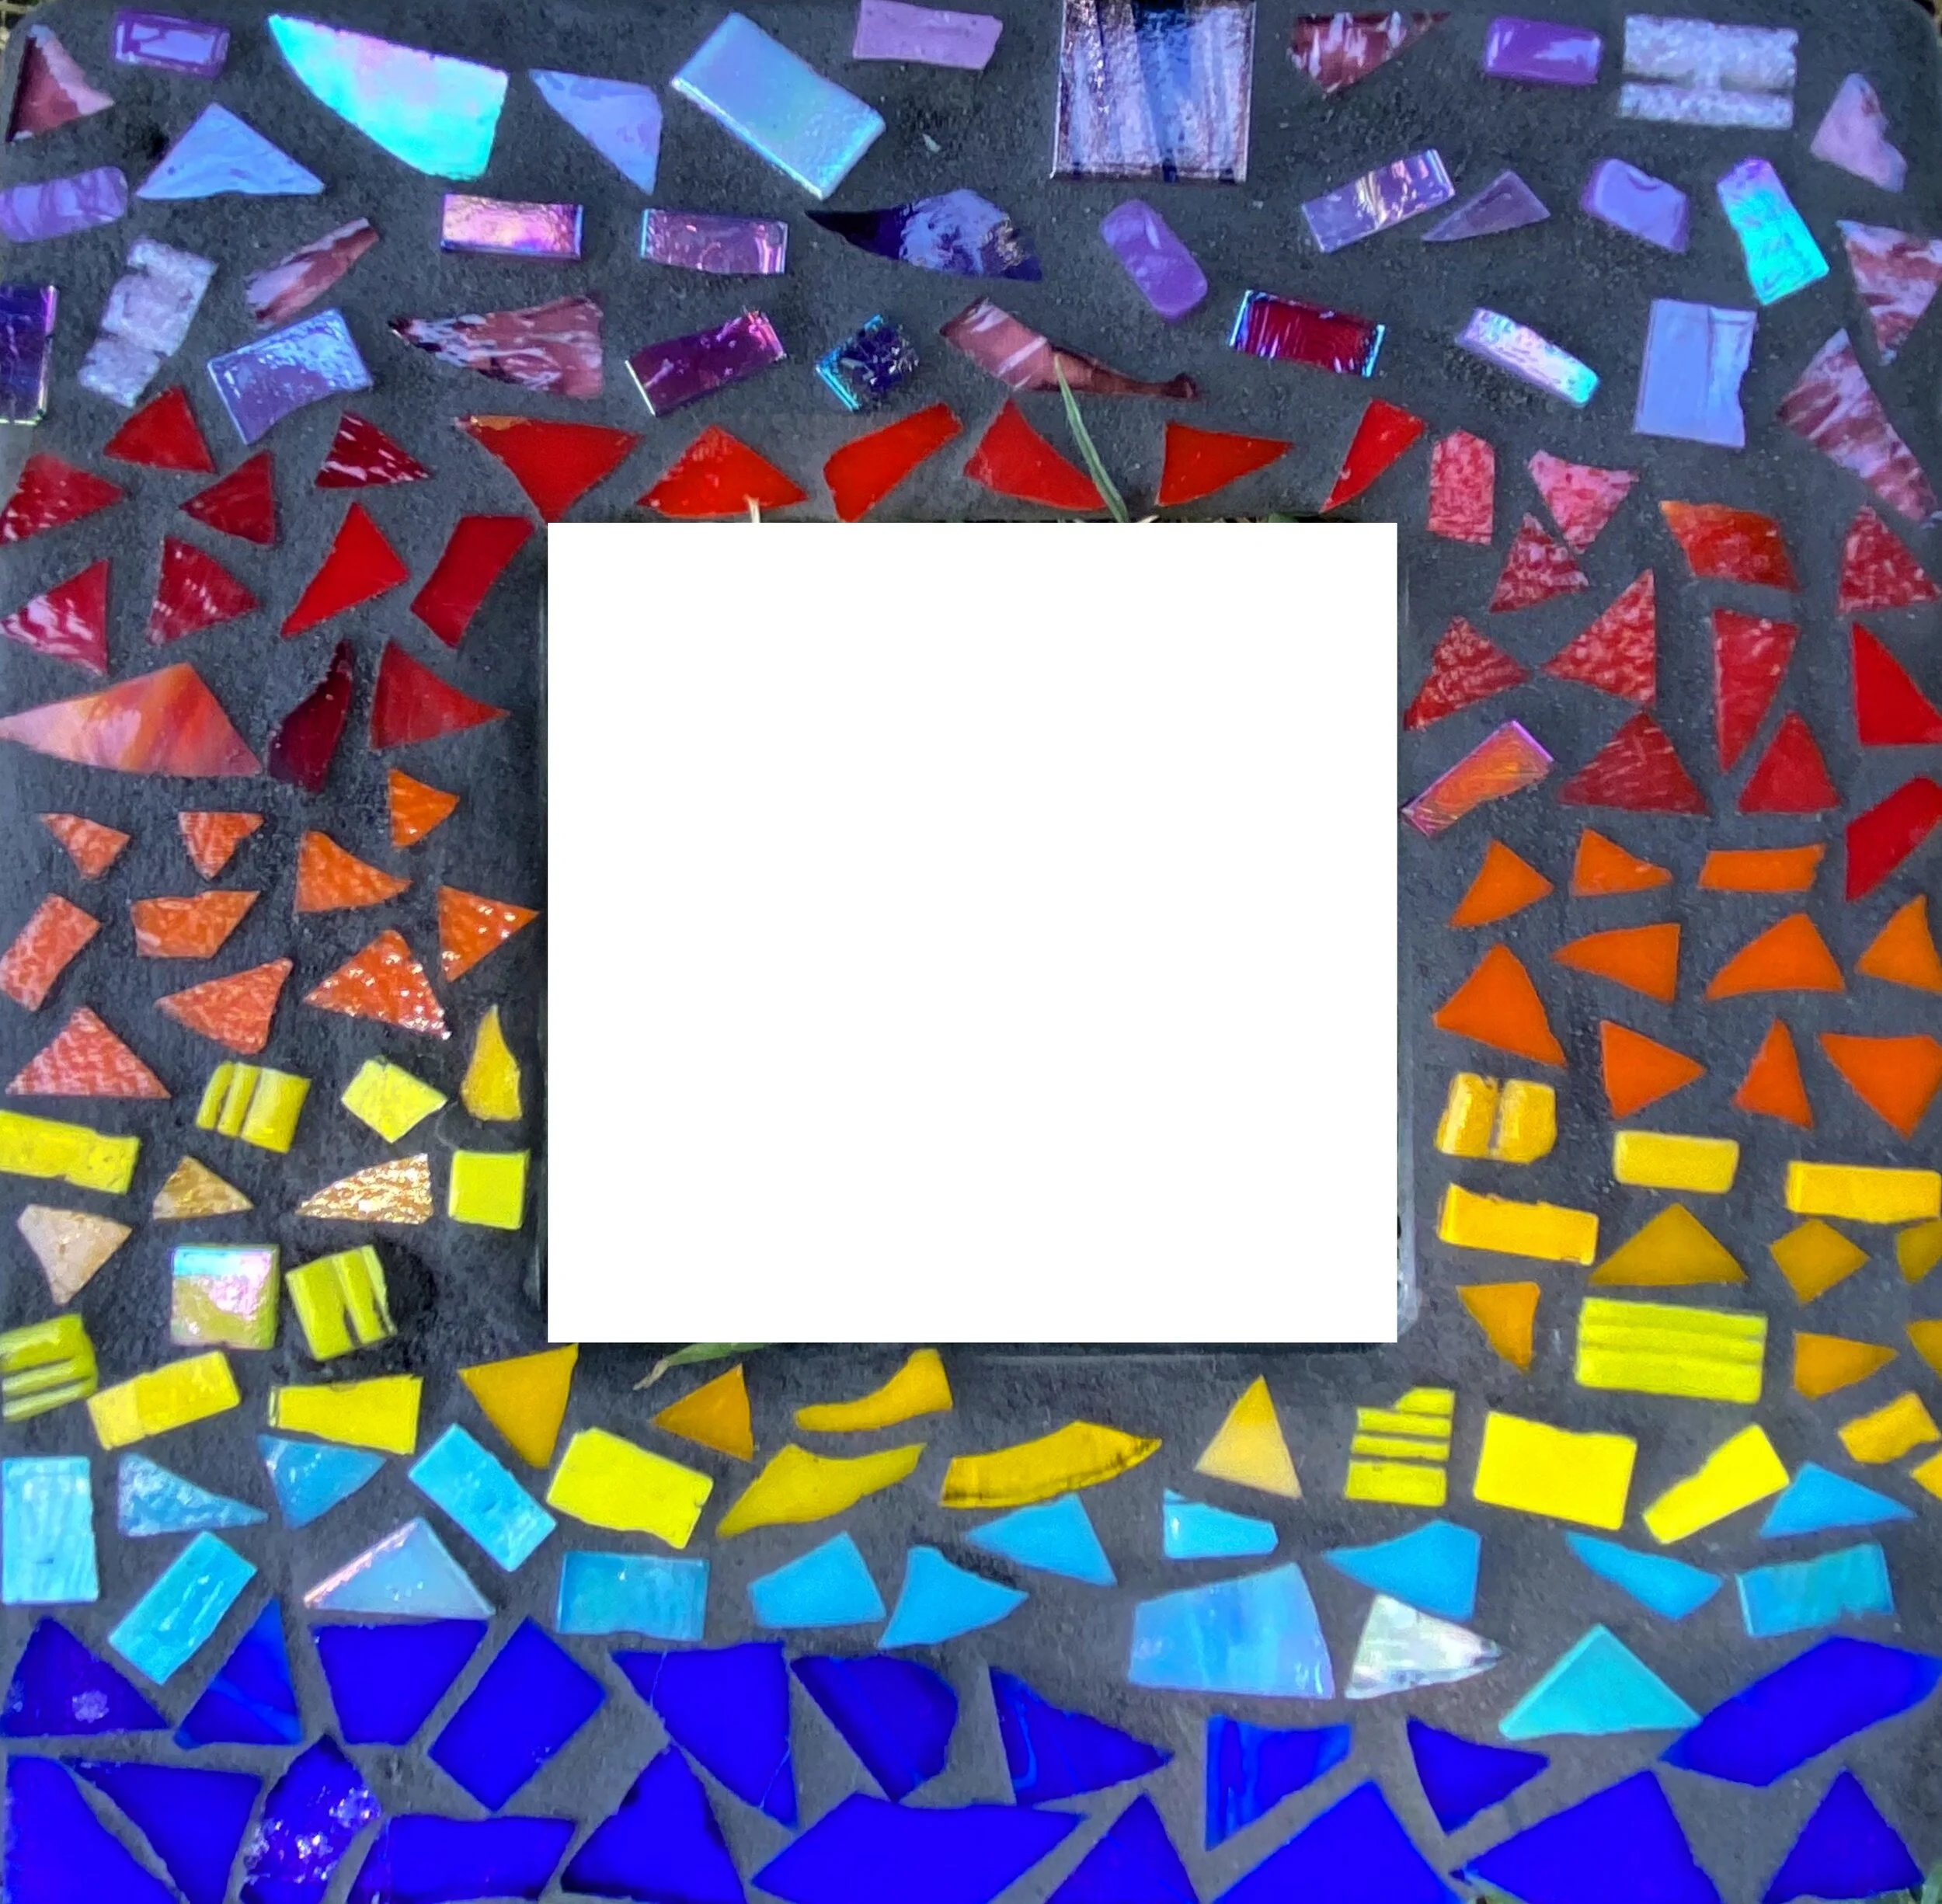
I was fortunate enough to get to work with a great group of kids and their counselors from Heritage Christian and Beacon Academy. They made glass gem mosaic stepping stones to decorate their schools and mosaic picture frames to take home. These kids worked so hard to make sure their projects turned out so beautiful. They were patient and took their time to do their mosaics well. I was so proud of them and their accomplishments!

Pathway-Mosaic-Frame-1.jpg

We made these mosaics outside when it was humid and over 90 degrees, so they were so patient as we had to reapply mortar as it was drying in a couple minutes. They persevered through these challenges and never lost focus on their goal!

This page shows all their gorgeous stepping stones.

Making Filati Rings WI

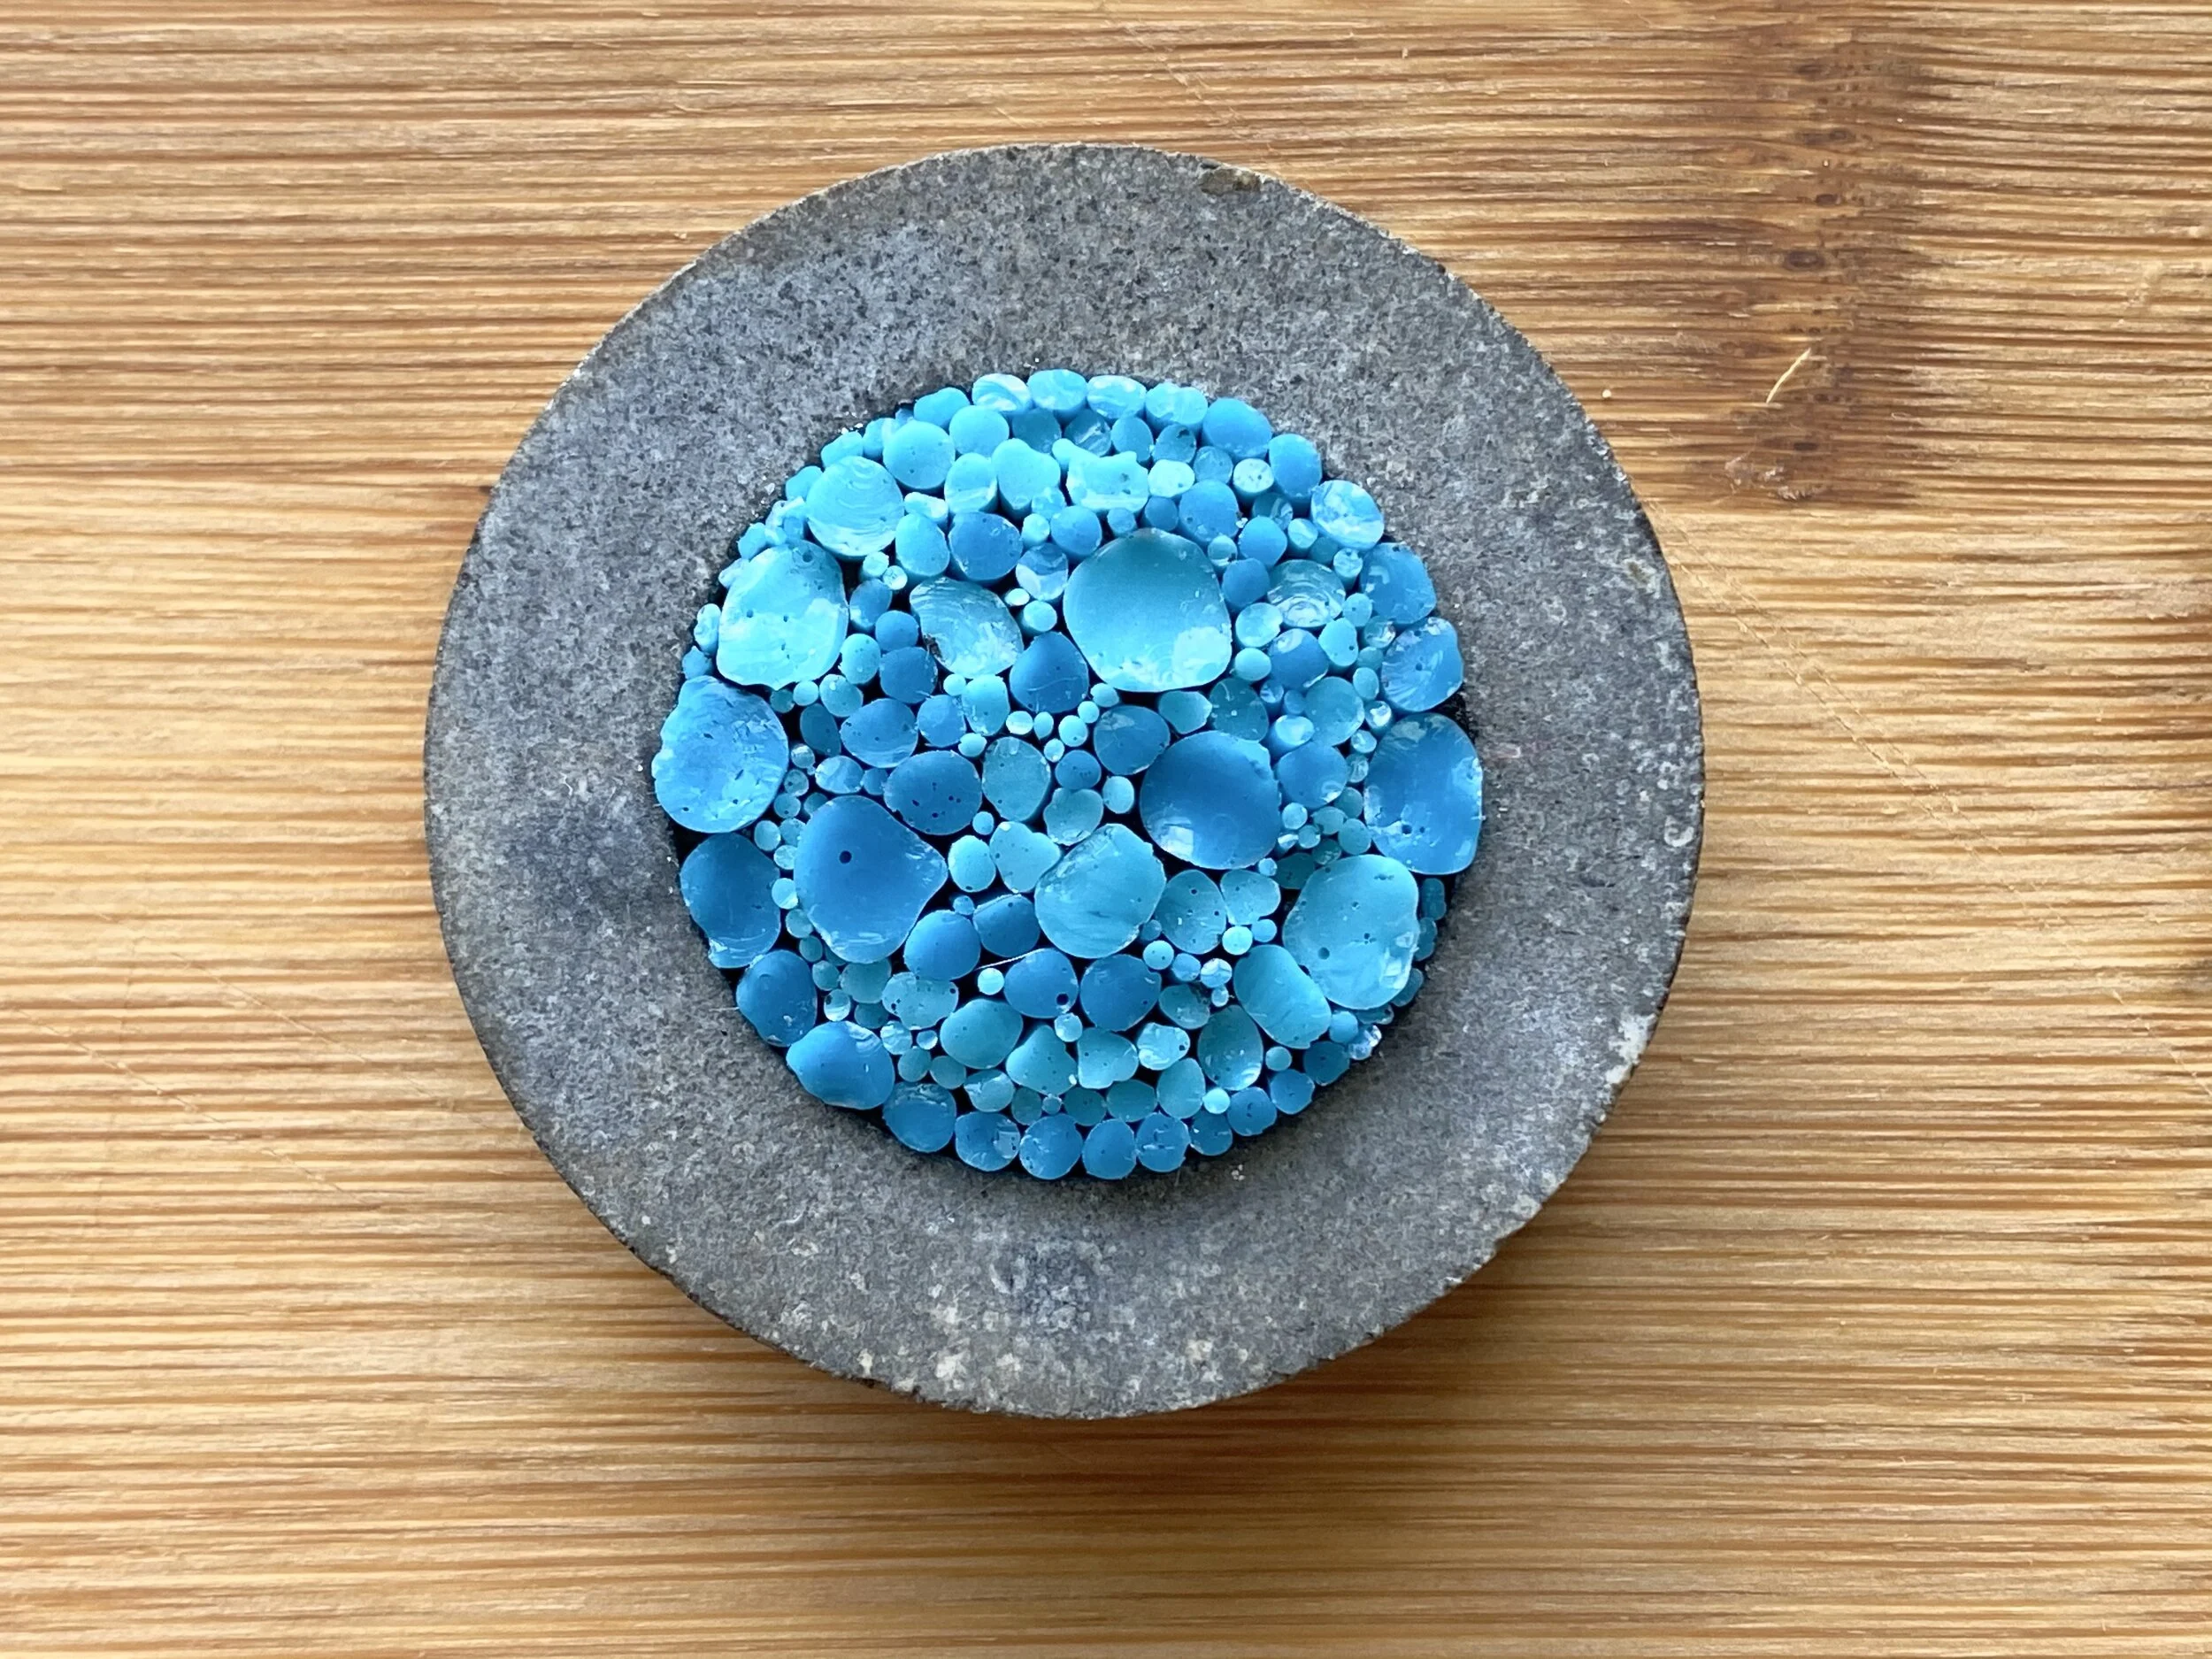
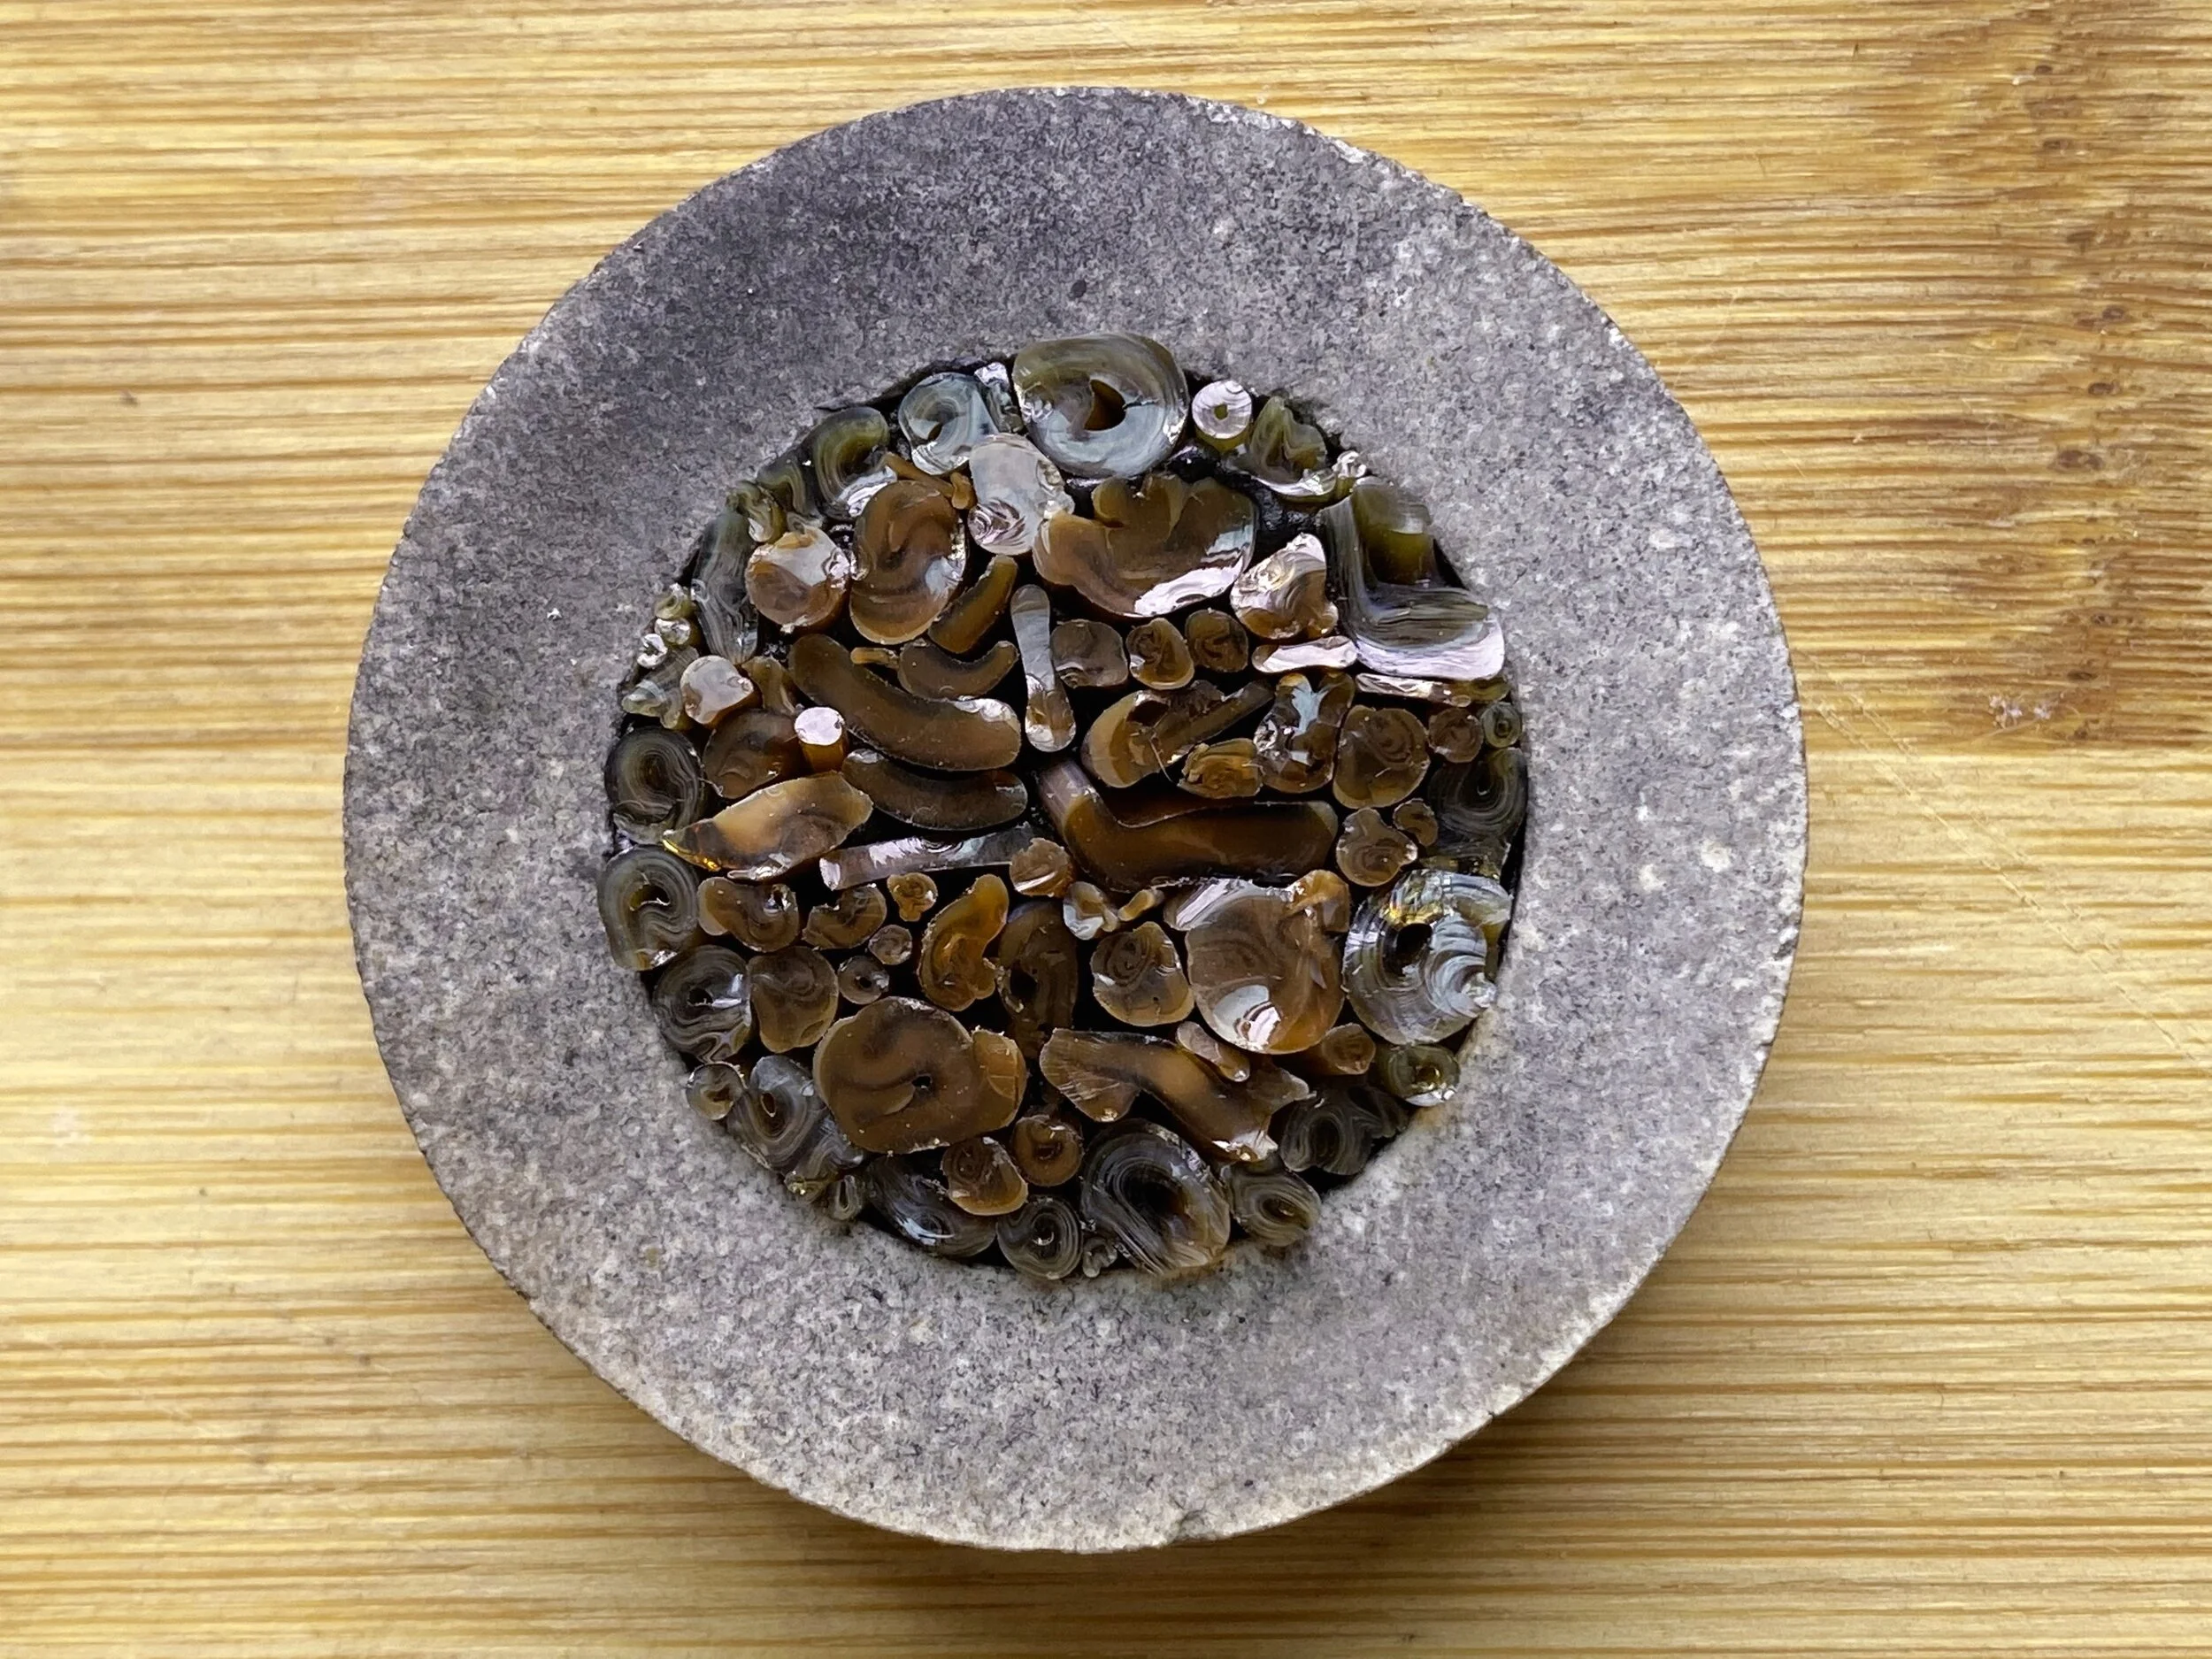
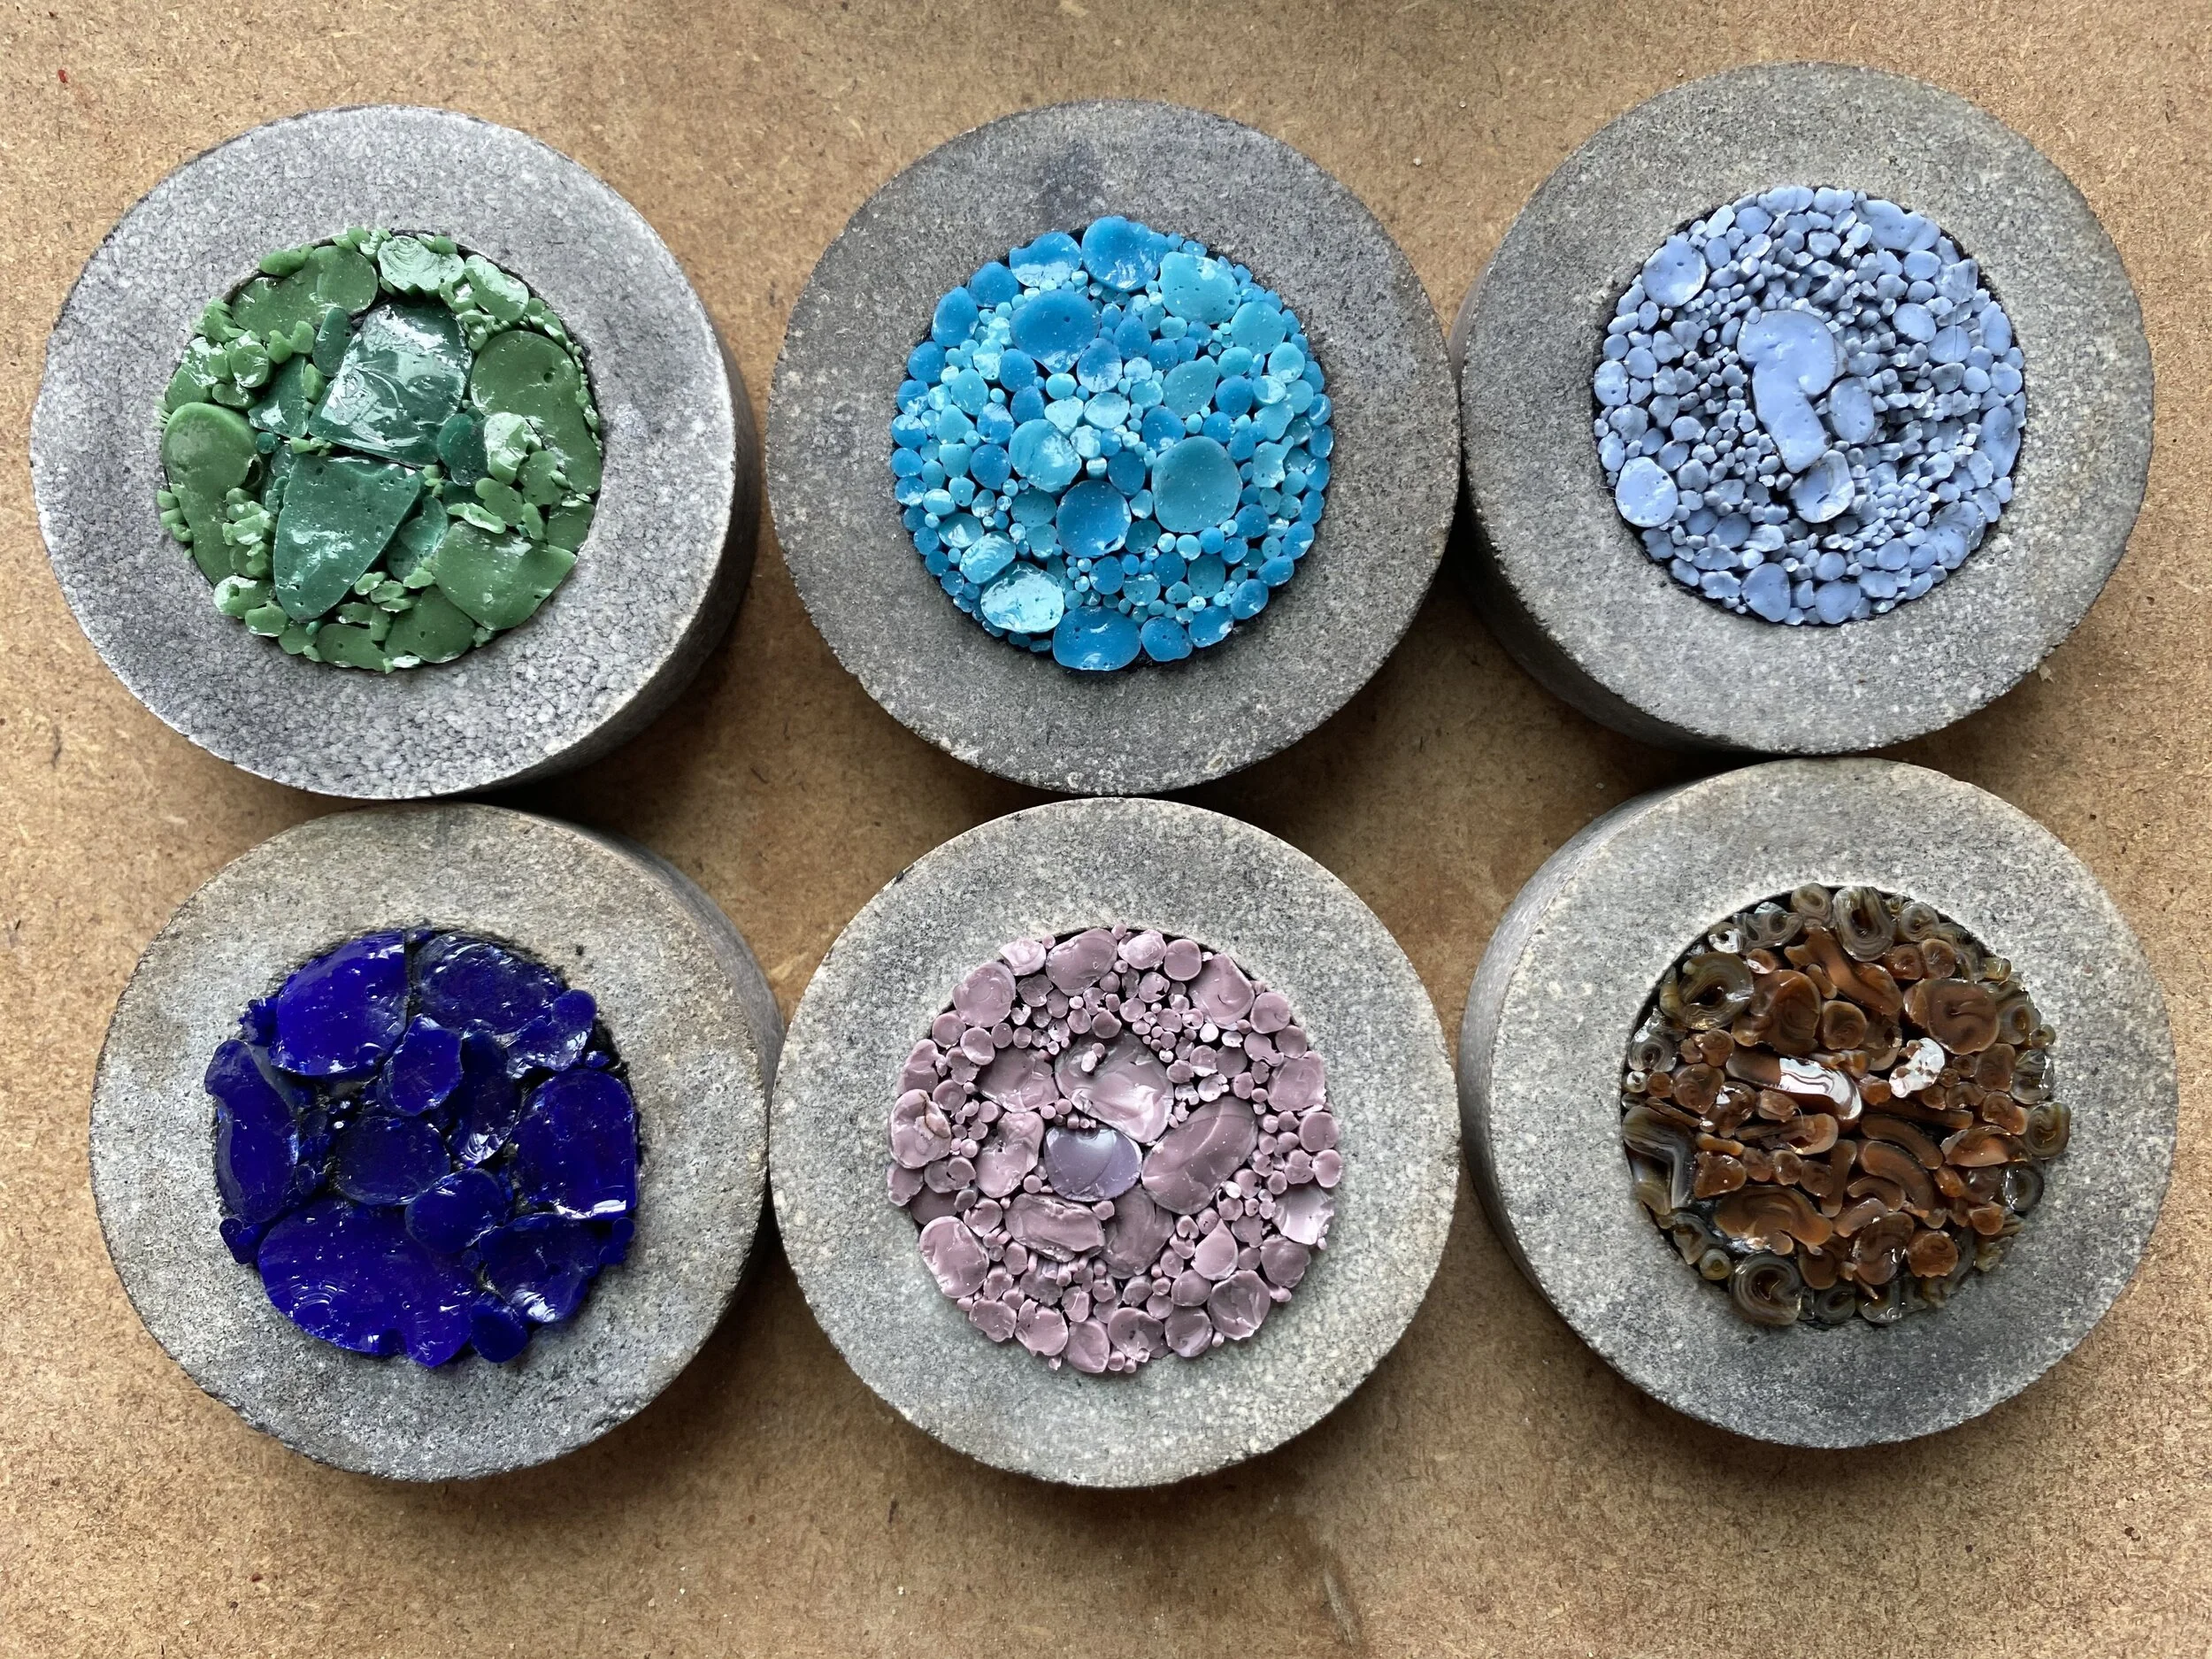
I tried something new while I’m waiting for glass to finish a commission! I pulled glass by melting it, turning it into filati (stringers). Thank you to Rachel Sager for giving me the inspiration and letting me participate in her awesome collaboration “The Ruins Project”, and to David McDowell for teaching me how to use a torch. I plan to make more filati in the future to use for necklace pendants and mezuzot.

Thank you so much to my new July patron, Michael Foster. I appreciate your support!

This is just a short clip. To see the full video, 2 new exclusive videos a month, and support new, innovative mosaic art for as little as $3 a month, please become a patron at Patreon!

filati-mosaic-rings-purple.jpg
filati-mosaic-ring-aquamarine.jpg
filati-mosaic-ring-brown.jpg
filati-mosaic-rings-all.jpg

Grammar of Ornament Art Book Idea

grammar-of-ornament-mosaic-cover.jpg

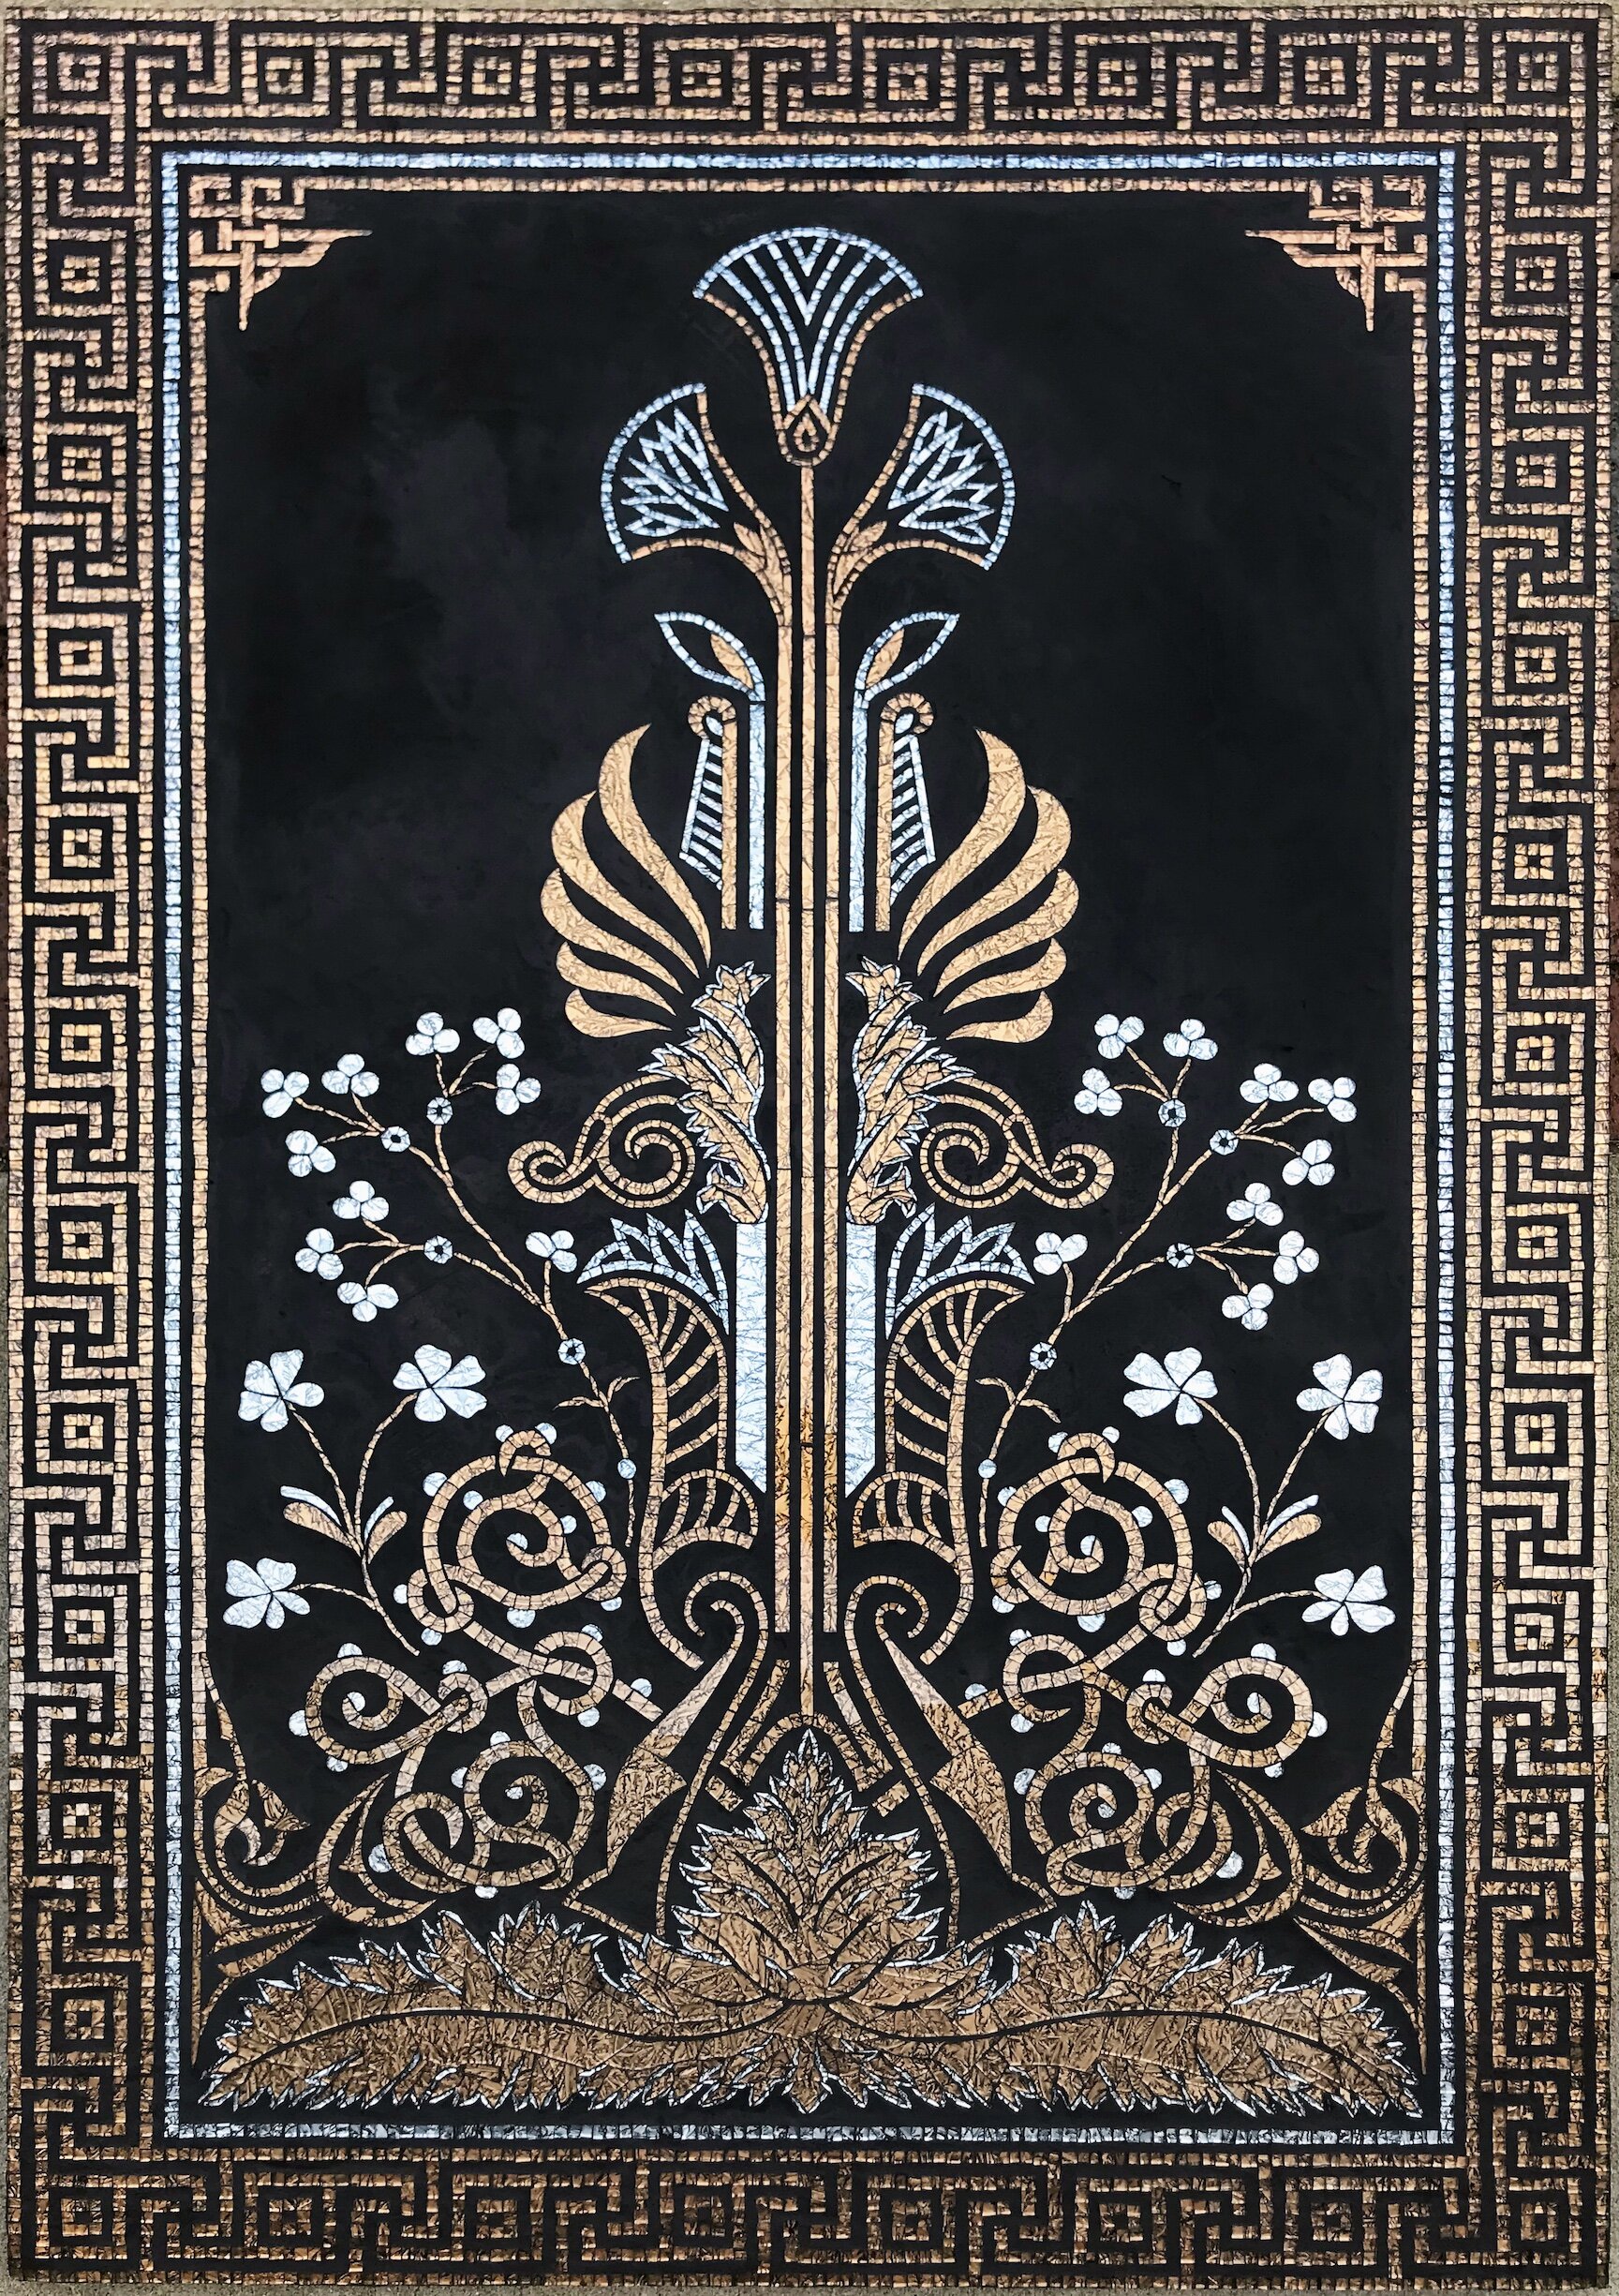
I have an idea to make an art book based on the idea of translating traditional art & design from throughout the world into mosaic. The piece above is the mosaic for the front cover. Below is my loose Photoshop mockup of the design for the first piece I’m making for the interior of the book and an image of the first step of that mosaic complete. To see more about the art book idea, time lapse videos of mosaic creation, and to support my art, plus become a patron on Patreon for as little as $3 a month: Dyanne Williams Mosaics Patreon

GoO-Afghanistan-Mosaic-Layout.jpg
FoO-Afghanistan-Mosaic-WIP1.jpg