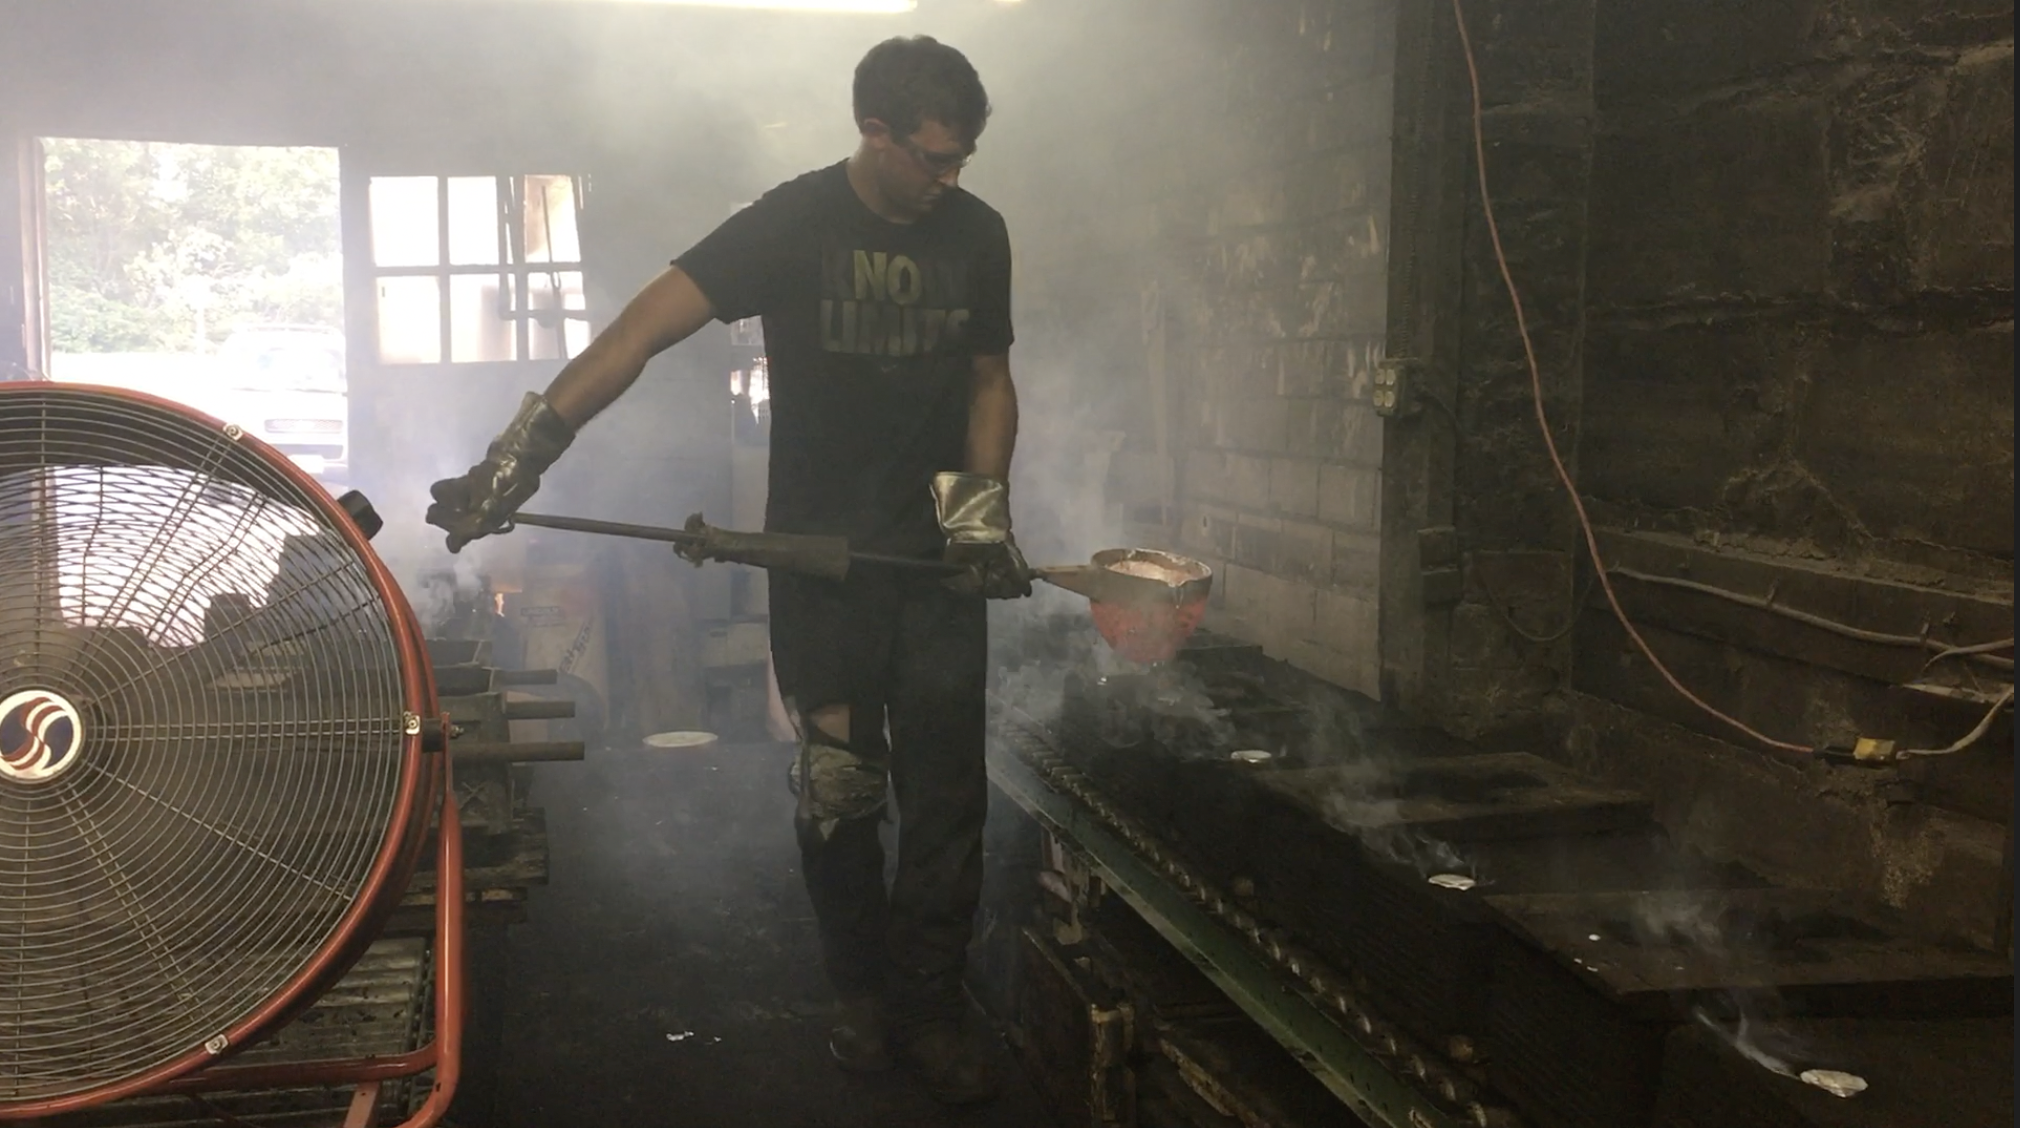
When I was having bases made for mezuzot and pendants I got the chance to see an aluminum factory in action.
Video transcript for deaf or hard of hearing:
Hi Mosaic Fans! This week I’m going to show you a bit about making mosaic jewelry and décor. I have made a few pieces over the years like these pendants and mezuzot, but want to make more this year.
The first decorative pieces I made were two mezuzot for an orthodox Jewish client. He sends me pieces of his broken wedding plate and I use bits of them to incorporate into mosaic art as a gift for his wife on their anniversary. It’s so sweet and makes my heart melt.
To make a base for a mezuzah, I had a friend of mine make a mold and he introduced me to a man that runs a local aluminum foundry.
I made some sketches and a CAD design because the mold had to follow my exact specifications and have space to hold a prayer roll. After getting help to making the commission, I had a fancier mold made for future mezuzot.
Right now I’m also in the process of having molds made for these jewelry pendants because my supplier has discontinued them.
Here’s the exciting part… the footage I took at the aluminum foundry about 4 years ago when I first went to see the process. Basically, they put the mold in a box, pack the box really tight with sand, then take the mold out. Then they pour the molten aluminum into a hole in the box, and when it cools you have aluminum in the shape of your mold.
There are a lot of details that I’ve been told but don’t feel I understand well enough to explain. I do suggest visiting a foundry to see how it works if you ever have the chance. It’s fascinating.
Once they have the aluminum item, they will polish it or grind it, whatever is required to achieve the effect for that particular piece on a variety of equipment like this.
The foundry owner used two scrap pieces and his belt grinder create different textures for me to take home and sample which grit was better for the antique look I wanted.
These two were 180 grit and 36 grit.
The choice was very obvious with testing. After antiquing with black paint, the finer 180 grit just looked dirty, so the 36 grit will be my choice as it allows for little dark streaks while the aluminum is still shiny.
Next I’m going to show you the making of a mosaic necklace pendant. I used Apoxie Sculpt as the adhesive. I am still waiting on my new molds and haven’t pulled any new glass, so I just want to make a beaded mosaic with one of the pendants I already have to feel like I’m moving forward with things.
This one is very simple, but I’m really happy with the colors. As you know, I love the copper and turquoise combo. Hopefully someone else will like this one too.
As an update, the aluminum pendants I had poured didn’t work out well. They have to have an angle to the pour so that they’ll release, and I didn’t find that appealing, along with the weight and imperfections. I found pendants on Etsy that are working out much better.
As of this recording, this pendant is available at my Etsy shop. Thank you for watching!

