The second of two videos showing the making the Pathway Key to Success mosaic. This was a mosaic artwork I helped kids in a foster care program make as a thank you gift to one of their donors.
Video transcript for deaf or hard of hearing:
Hi Mosaic Aficionados! Today I’m going to show you the completion of the Key to Success mosaic I helped the kids make. We last left off after I had finished the bronze Van Gogh rings.
I added a few beaded sections for examples and glass along the edge before meeting with the group. Kids tend to stick glass hanging off the edge and I don’t feel like getting cut during grouting or transporting.
I also numbered all the rings so the kids could match up what size of key they’ll need.
The kids were kind enough to deal with a tripod in their way for about an hour so you can see them work a little. These kids were amazing! They had incredible focus and attention to detail. They were about 10-12 years old and most kids can’t handle doing something this tedious for even an hour. We expanded the sessions to 2 hours because they always wanted to keep going. And they kept busy and creating through all 6 sessions we worked with them!
It was awesome to hear about their lives and watch them enjoy mosaicking. And no one stabbed anyone with the sharp pottery needles they were using to apply the beads, so I consider that a win.
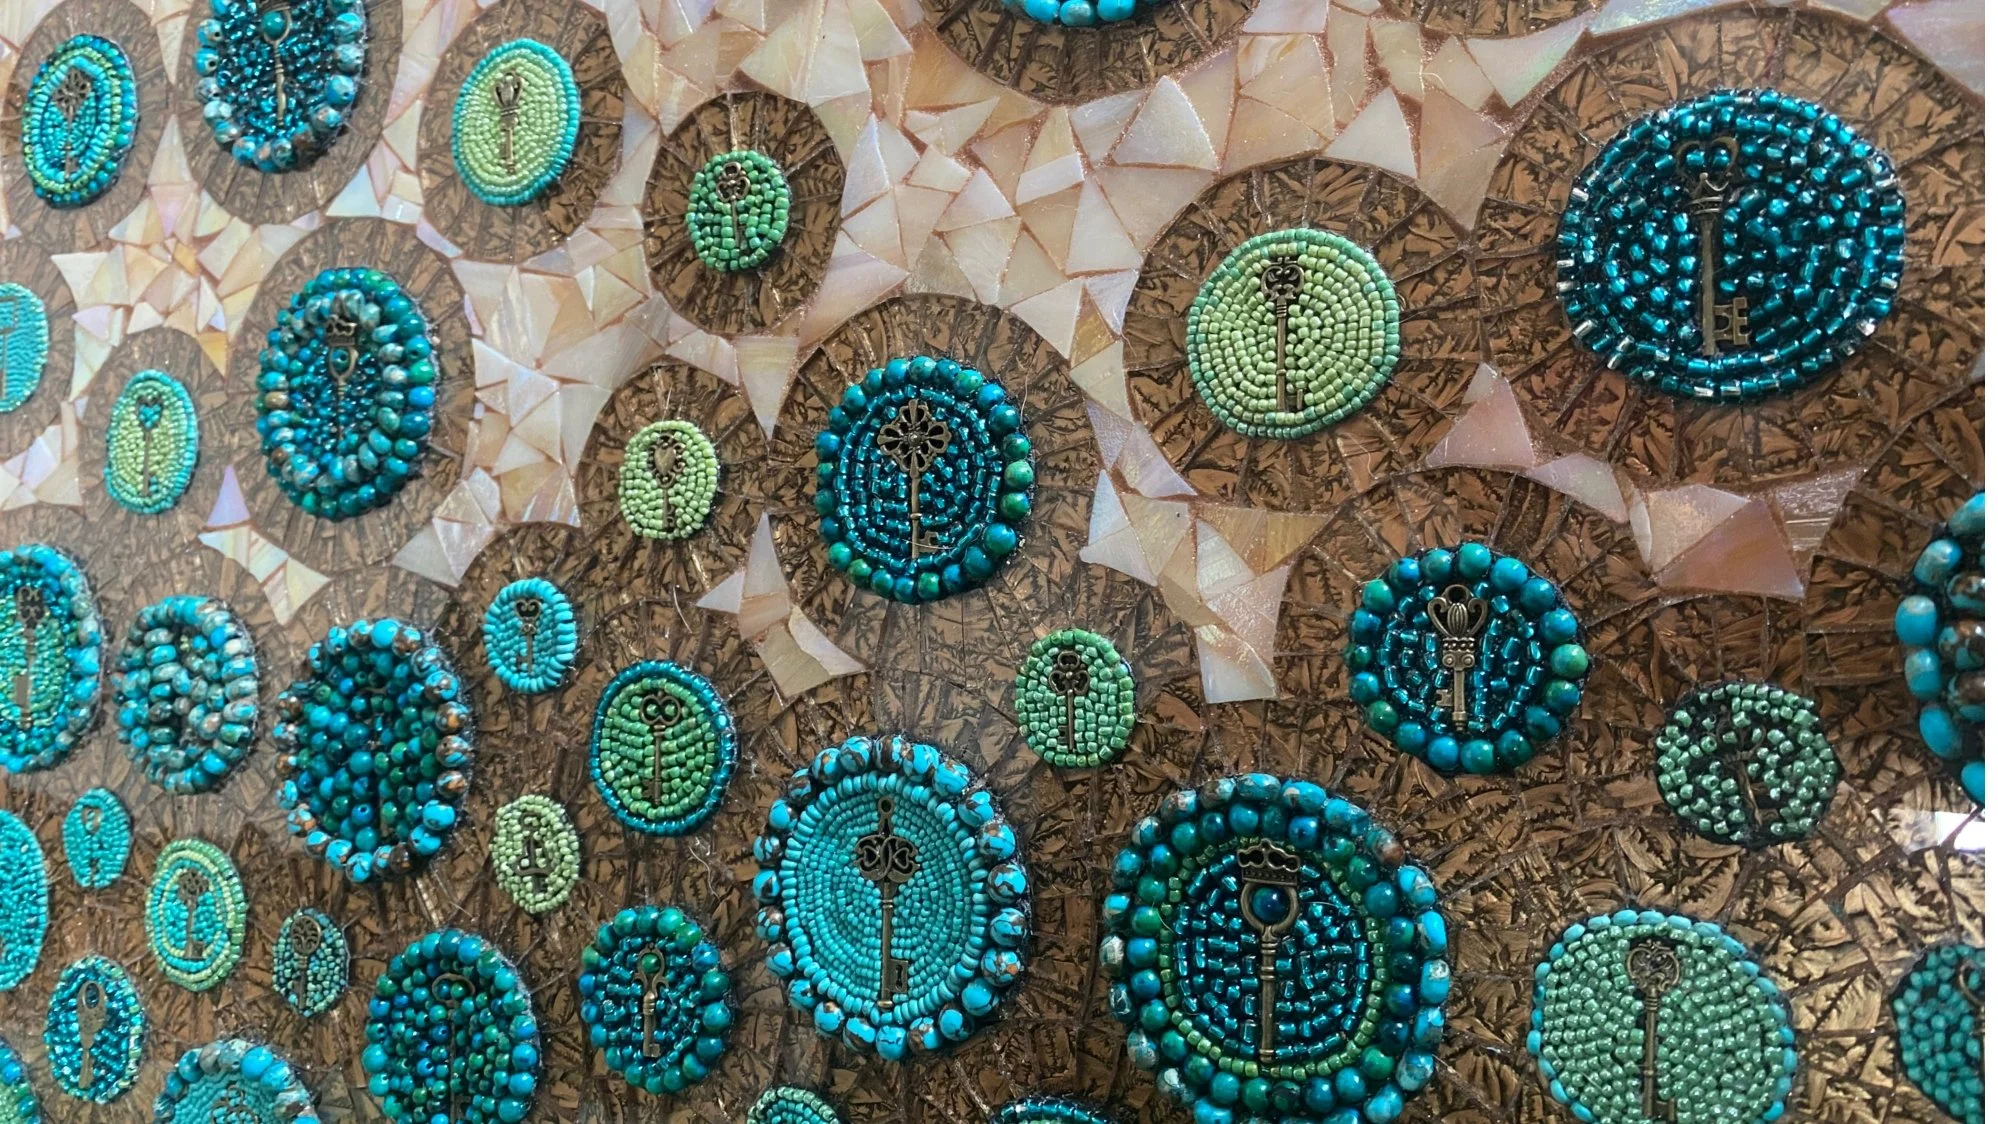
So next I’m going to show you a close up time-lapse of placing the beads and key in the Apoxie Sculpt. It’s easiest to place the key loosely, then start on the outside and work in. We left the larger beads for the outside of the larger rings, then used seed beads in the centers, or in most cases the entire small circles.
I’m using a pottery needle so I can place each bead on its side so the hole isn’t visible, then press them lightly into the Apoxie Sculpt.
Now we’re ready for grouting. I used masking because I started with a linen color grout on the edges. After that dried, I applied Mapei Flexcolor 3D grout over the regular grout on the edges and on the surface of the mosaic except the circles. They don’t need grouting because of the Apoxie Sculpt. The Flexcolor 3D grout is great for projects like this because it has a cool metallic, sort of iridescent sheen.
So, I ended up just putting the 3D grout on by working my way around the circles. Because it has a translucency and is lighter in color I’m not too concerned about a little getting on the circles. My intention was to mask the beads off with mosaic tape, but the beads were too uneven a surface for it to stick to, so it was just cleaner and easier to work around the circles.
After I get the grout worked into all the crevices, I quickly go over it with a damp sponge followed by a sponge squeezed well, then keep changing sponges if necessary, finishing with a washcloth because the texture helps clean residue off the surface.
Then it’s time for a final cleanup.
There was a residue around all the circles. It’s hard to see, but there’s a little of this haze in the lower right of this circle. I believe it’s from my assistant and me placing the Apoxie Sculpt in the circles, and then the grout sticking to the apoxie residue. We tried to be as careful as possible, even cutting out each circle to size with templates and exacto knives, but your hands very quickly just get sticky after handling it.
I used an exacto blade to get the residue off the glass and a toothbrush to polish up.
When the mosaic was done even Mango approved.
Since this is a gift for the foster care organization’s largest donor, we not only took a lot of care with the project, but also had the kids sign a little thank you plaque to be hung next to the mosaic.
Thank you for following along this journey. I’m happy to report the kids loved mosaicking and the donors loved the mosaic, especially the symbolism of the keys.