The first of two videos showing the making the Pathway Key to Success mosaic. This was a mosaic artwork I helped kids in a foster care program make as a thank you gift to one of their donors.
Video transcript for deaf or hard of hearing:
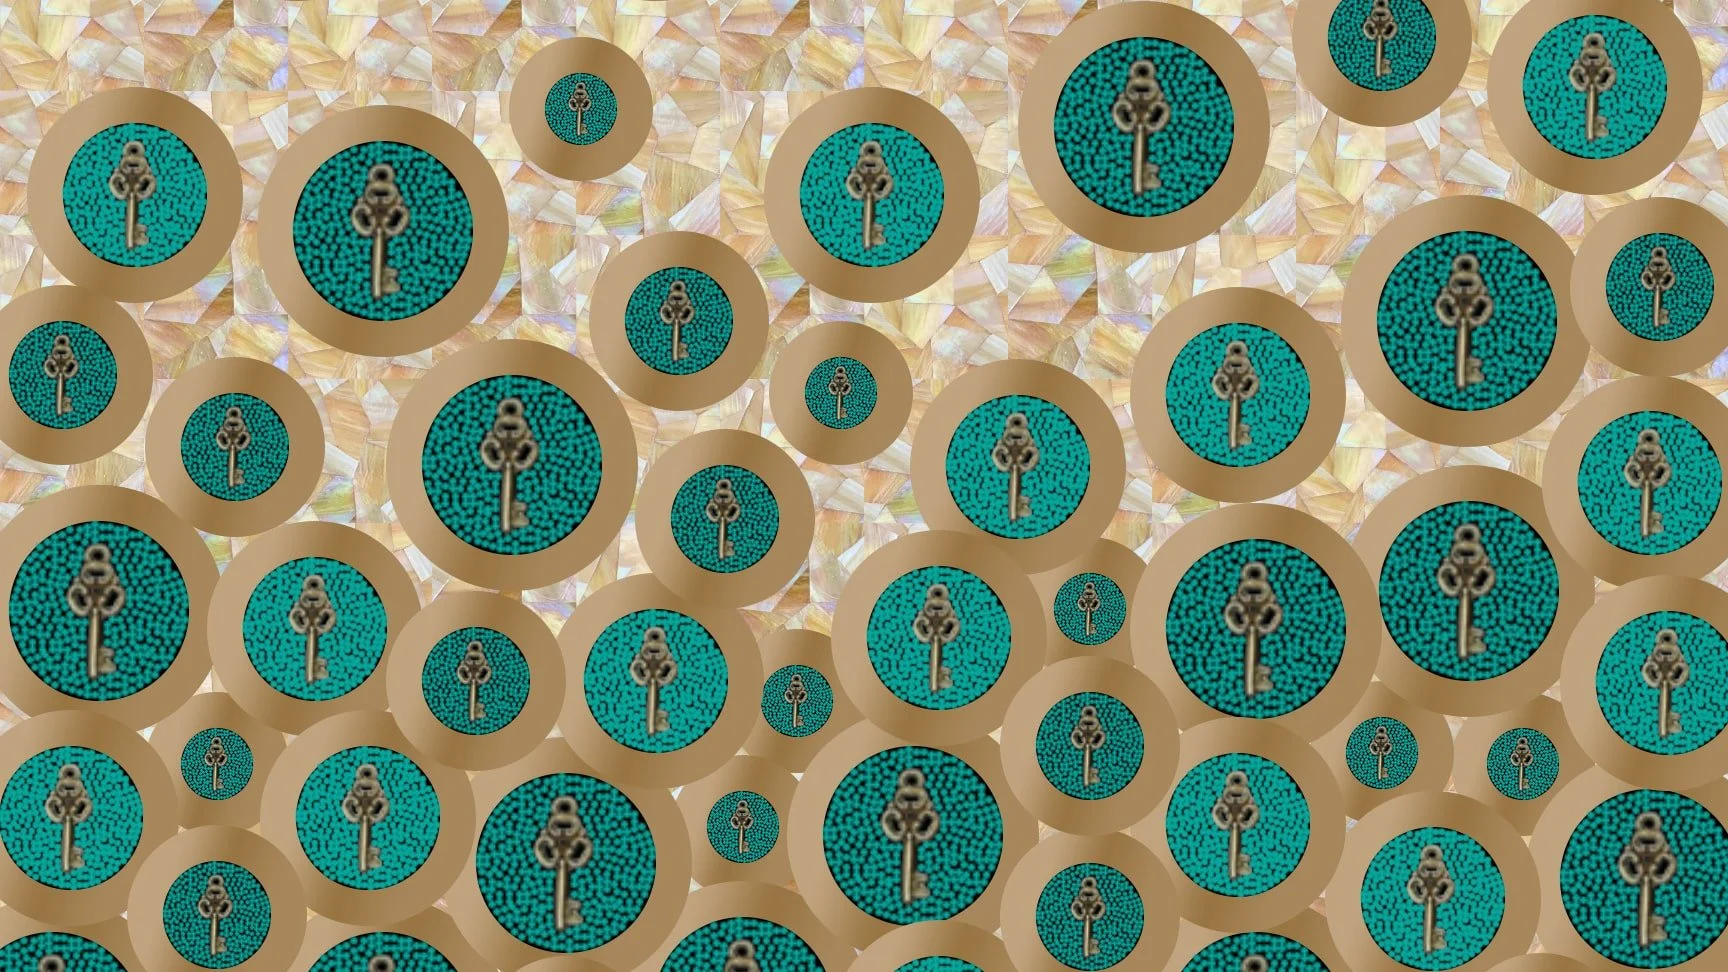
Hi Mosaic Fans! This mosaic begins when I had only a day to design a project for kids from a foster care organization to create as a gift for their largest donor.
Fortunately, I woke up at 4am and found myself looking on Etsy before I was even conscious and came across these antique bronze key replicas that range in size from ½” to 2- 1/2”.
I immediately had an idea of how to use the keys in a mosaic, so I jumped out of bed and went straight to the computer to make a mockup. The theme is to thank their donor for giving them the “Key to Success”.
Mango, on the other hand stayed in bed until sunrise.
I’m going to use bronze colored Van Gogh glass to create mosaic rings. Inside the rings, the kids will choose & place a key, then fill up the circle with tiny beads. They will also mosaic the background with my favorite iridescent amber/white glass from Wissmach.
I am using a 2’x3’, ¾” birch panel for the substrate.
I started by printing templates for the inner and outer circles, the inner circles on white cardstock and the outer on yellow cardstock so I can trace them onto the wood.
Then I traced the circles onto vellum so that I have a template I can see through to help make adjustments.
I wanted to keep the circles whole, except for those that come slightly off the edge, though even with those I had to make sure the keys would fit wholly onto the panel because I don’t want to have to cut the keys.
To make sure the circles all remain circles, I carefully interlinked the borders. This will mean making a lot of adjustments as I work, but will pay off in making the circles look very clean and crisp.
With the initial sketch completed, I primed the board. You can do this before or after sketching. I chose after because it’s harder to erase once the board has been primed.
The reason for priming is to help adhesion and to cut down on moisture later getting in and warping the wood. I’m priming using watered down Weldbond, which is the adhesive that will be used for the glass. We’ll be using Apoxie Sculpt for the beads, but I’ll get to that in the next video.
So that I can do this all at once, I use cups to place the mosaic on when I flip it over to prime the other side.
I wait only a few minutes until most of the primer has been absorbed, then flip it over and prime the back. I also make sure to prime the edges.
Now it’s time to cut the Van Gogh glass.
I’m cutting it into ½” strips using the Morton grid. From there I’ll just cut wedge-shaped tessera as needed.
I started with the simple, straight forward rings on top to get a feel for the angles needed for each of the four sizes of rings.
Then I moved to the bottom to get the hard work of the interlocking rings over with. The glass size may not exactly match my templates, so I may need to adjust some of the free floating rings in the center. Doing the bottom first will allow me to size up how things will look best aesthetically.
As I move into the middle section, I’m just adjusting from the original sketch into what will look best once all the rings and beads are in place.
While the tedious nature of mosaics is often enough to drive someone crazy, it is good in instances when I’m preparing to work with kids because it gives me the opportunity to think through the best way to have them work without too much chaos.
In part two we’ll finish up the mosaic and I’ll show the kids working on it. Spoiler alert: They did awesome! Thank you!