Registered Trademark Mosaic

The creation of this mosaic took some twists and turns and ended up totally different in the end, but I still love it.

I had an idea for a series of mosaics made of mirror, red glass details, and hardware such as nuts, ball chain, nails, and washers. I started this one and another, then got really busy for about 3-4 years with commissions. Some of these commissions were 13 Red Bull Mirrored Disco Coolers and a few mirrored DecoBall lamps. By the time I had time to get back to my personal artwork, the last thing I wanted to do was mosaic with mirror.

Registered Trademark was originally intended to be a sculptural piece. It was a padlock and was going to hang from barbed wire. Once I decided not to move forward with the series, I cut the front off the structure and finished the edges as a hanging mosaic.


This is a portion of the sculptural mosaic that was done before I decided to cut it apart. Hopefully it shows where I was going with the idea. I’m kind of sad the idea didn’t come to fruition, but as time consuming as mosaics are to create, sometimes you have to make choices on what to follow forward with and what to leave behind.

Lava Pool Mosaic Floor Insert

A lava mosaic floor insert I made for a kid’s bathroom in Eagle Rock, CA.

The clients I made the sunburst bathroom mosaic for asked me to make a special little piece for their son’s bathroom. They wanted a lava theme and I was excited to make some frothy, stylized lava flows.

I don’t have installed pictures of the mosaic. It’s been a few years, but if my memory serves, the bathroom was still being renovated when I delivered the mosaic, then the clients were living out of state for a bit. I made a mockup in the unrenovated bathroom to give you a feel for where and how the mosaic is placed.


TBT! Mirror Feather Mosaic Cabinet Collab

Here’s a gorgeous collaboration I had the opportunity to work on with John Strauss Furniture a few years ago. John created this beautiful cabinet to house this beautiful inset mosaic mirror feather that is inset within the doors. It was so fun to collaborate with John & Carisa on this and so many other furniture/mosaic works!

VIDEO: Aluminum Foundry Visit & Making a Mosaic Pendant

When I was having bases made for mezuzot and pendants I got the chance to see an aluminum factory in action.

Video transcript for deaf or hard of hearing:

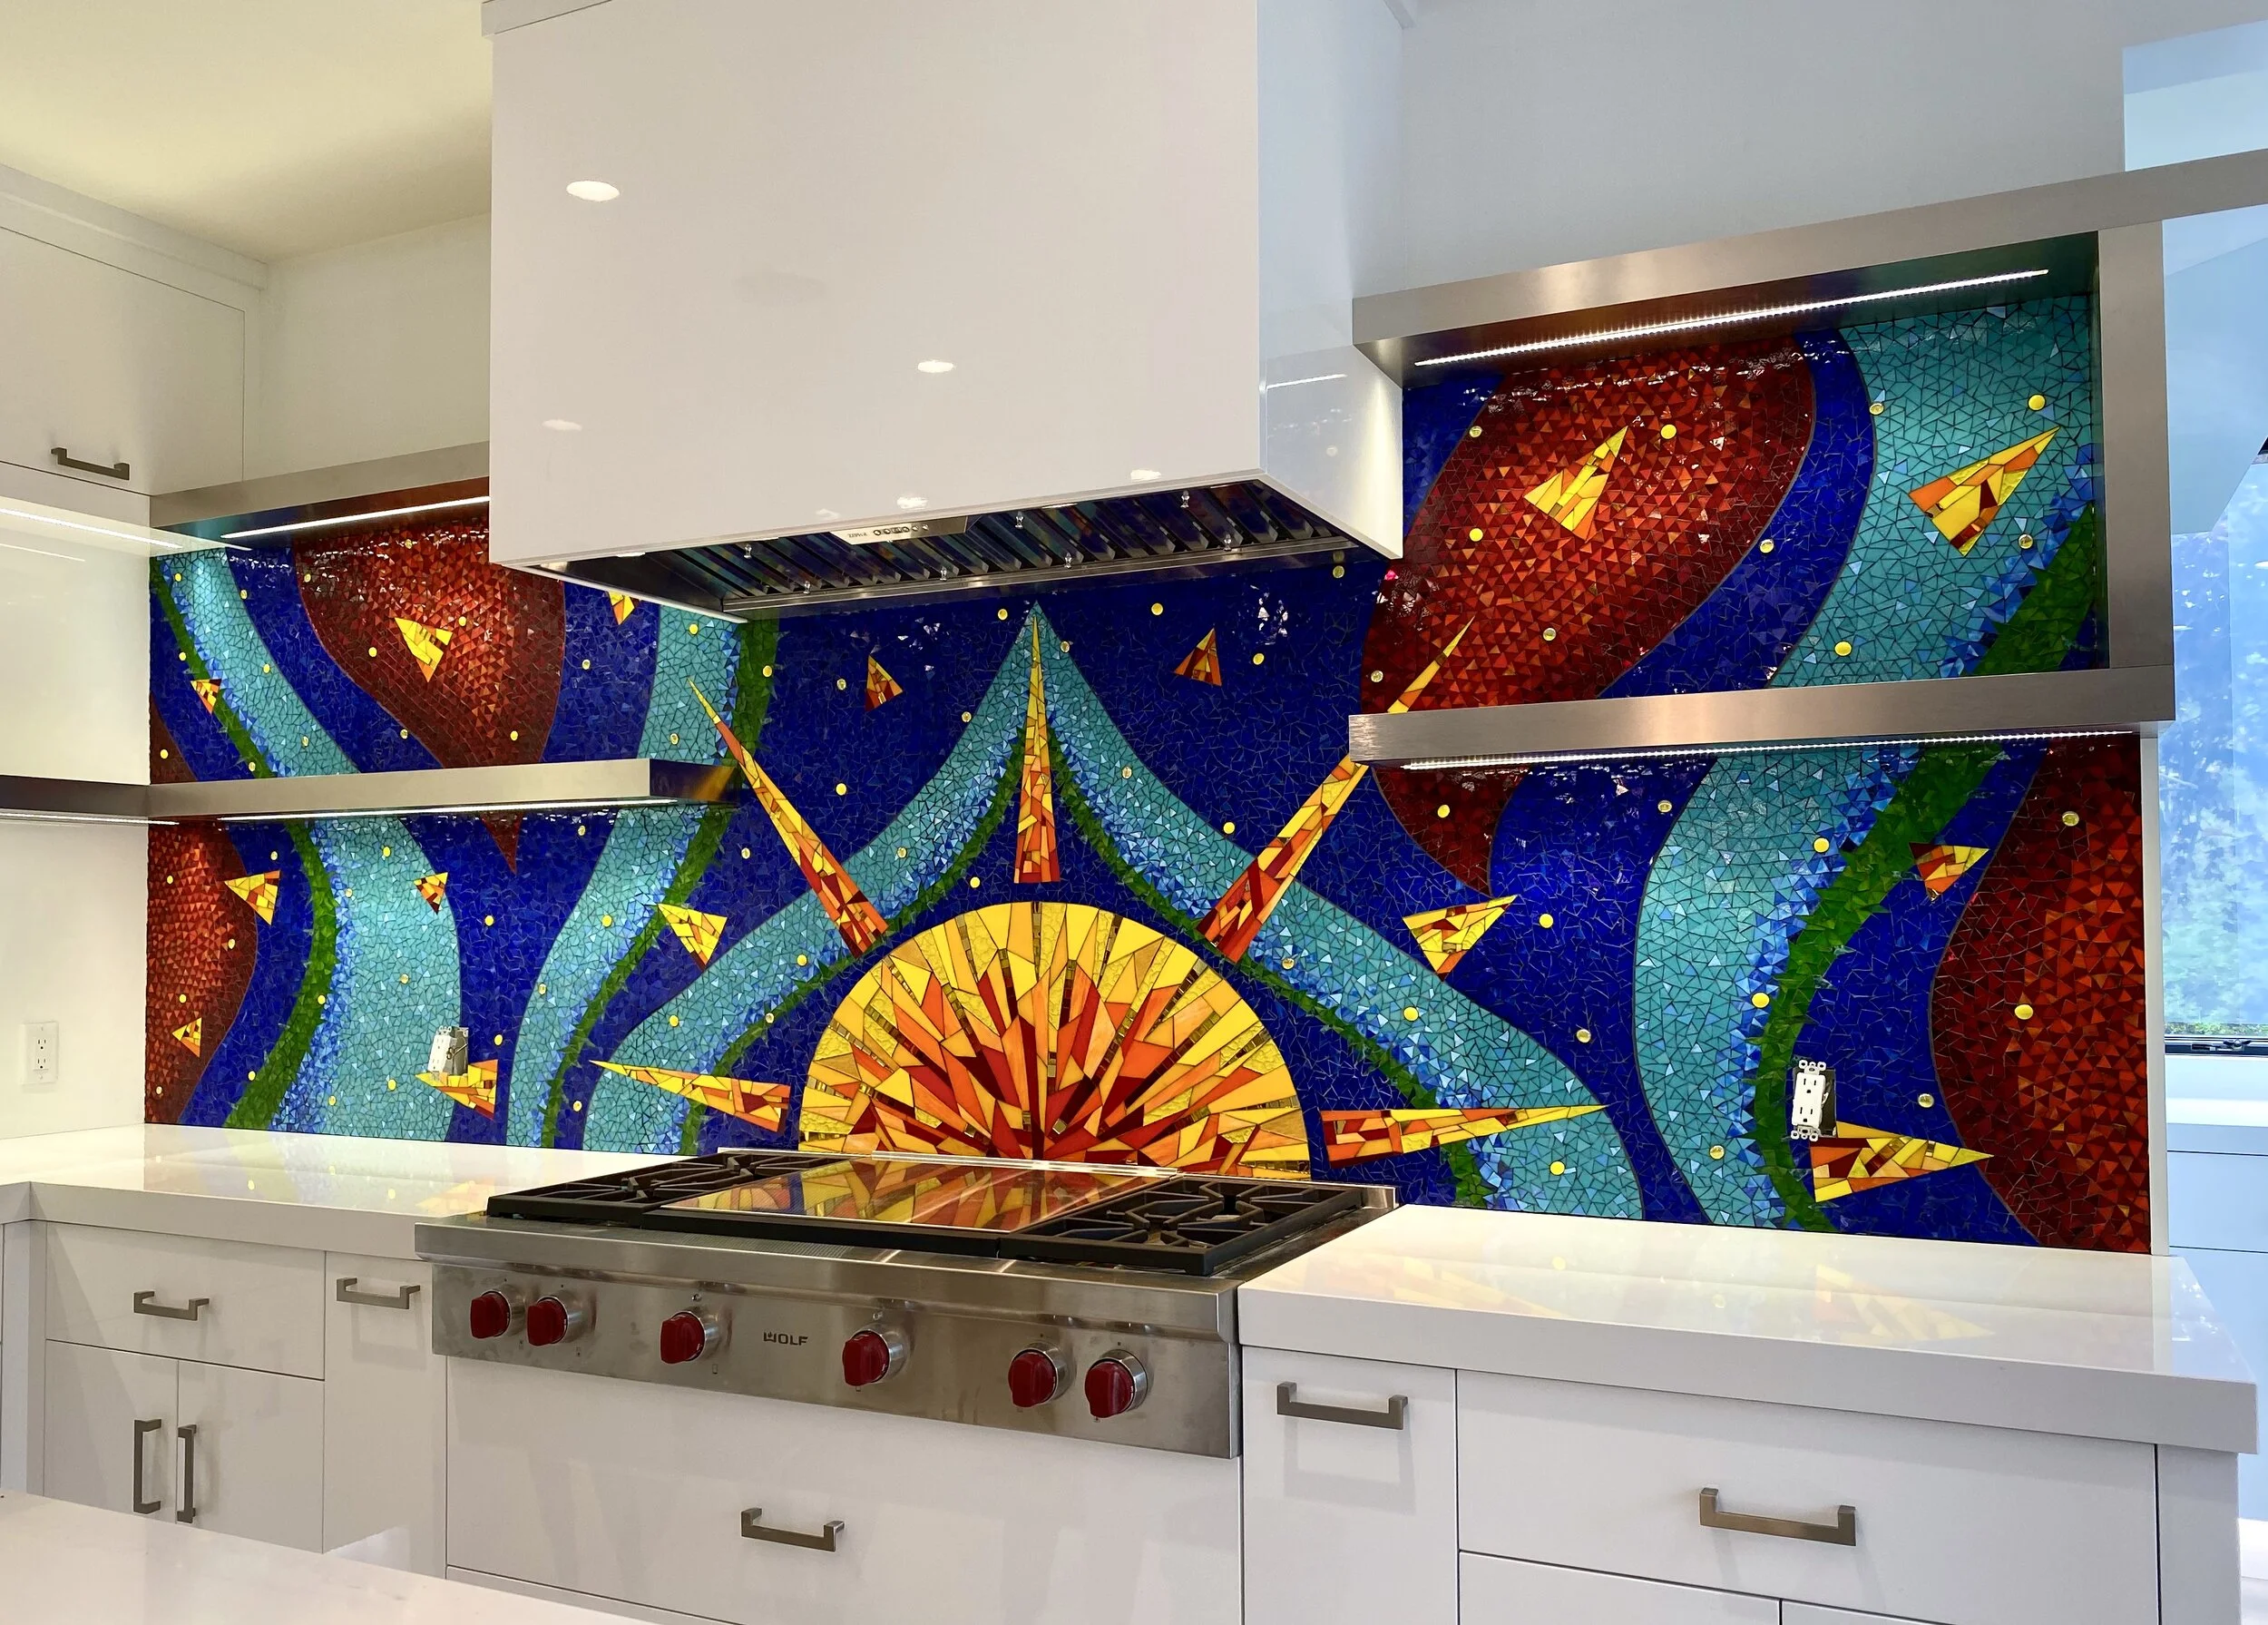
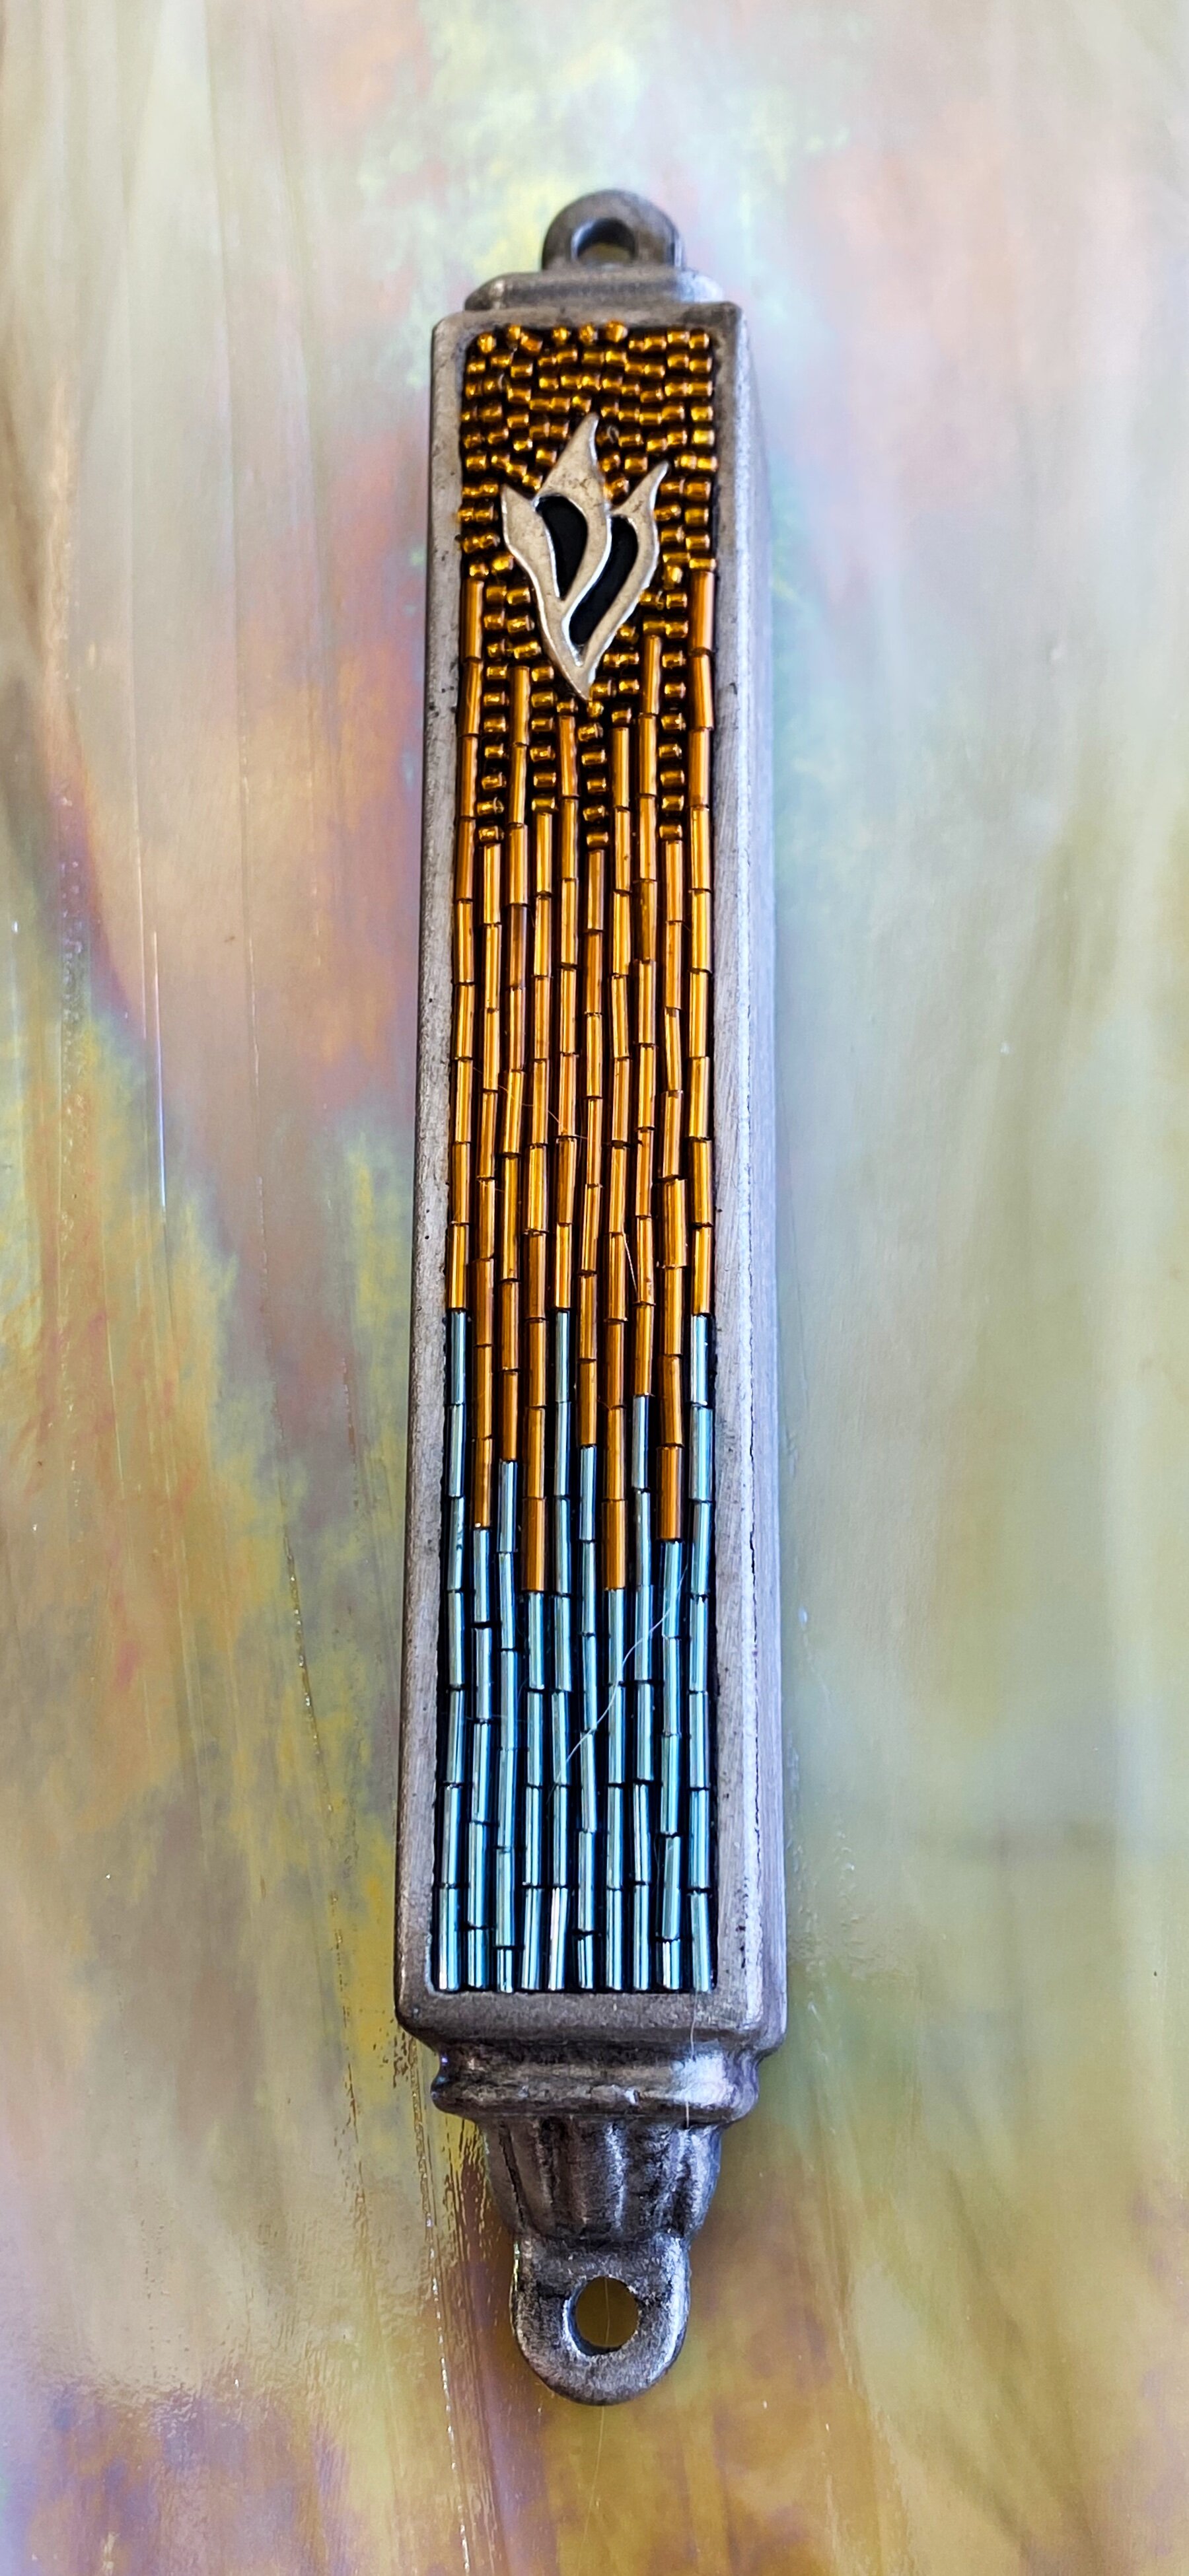
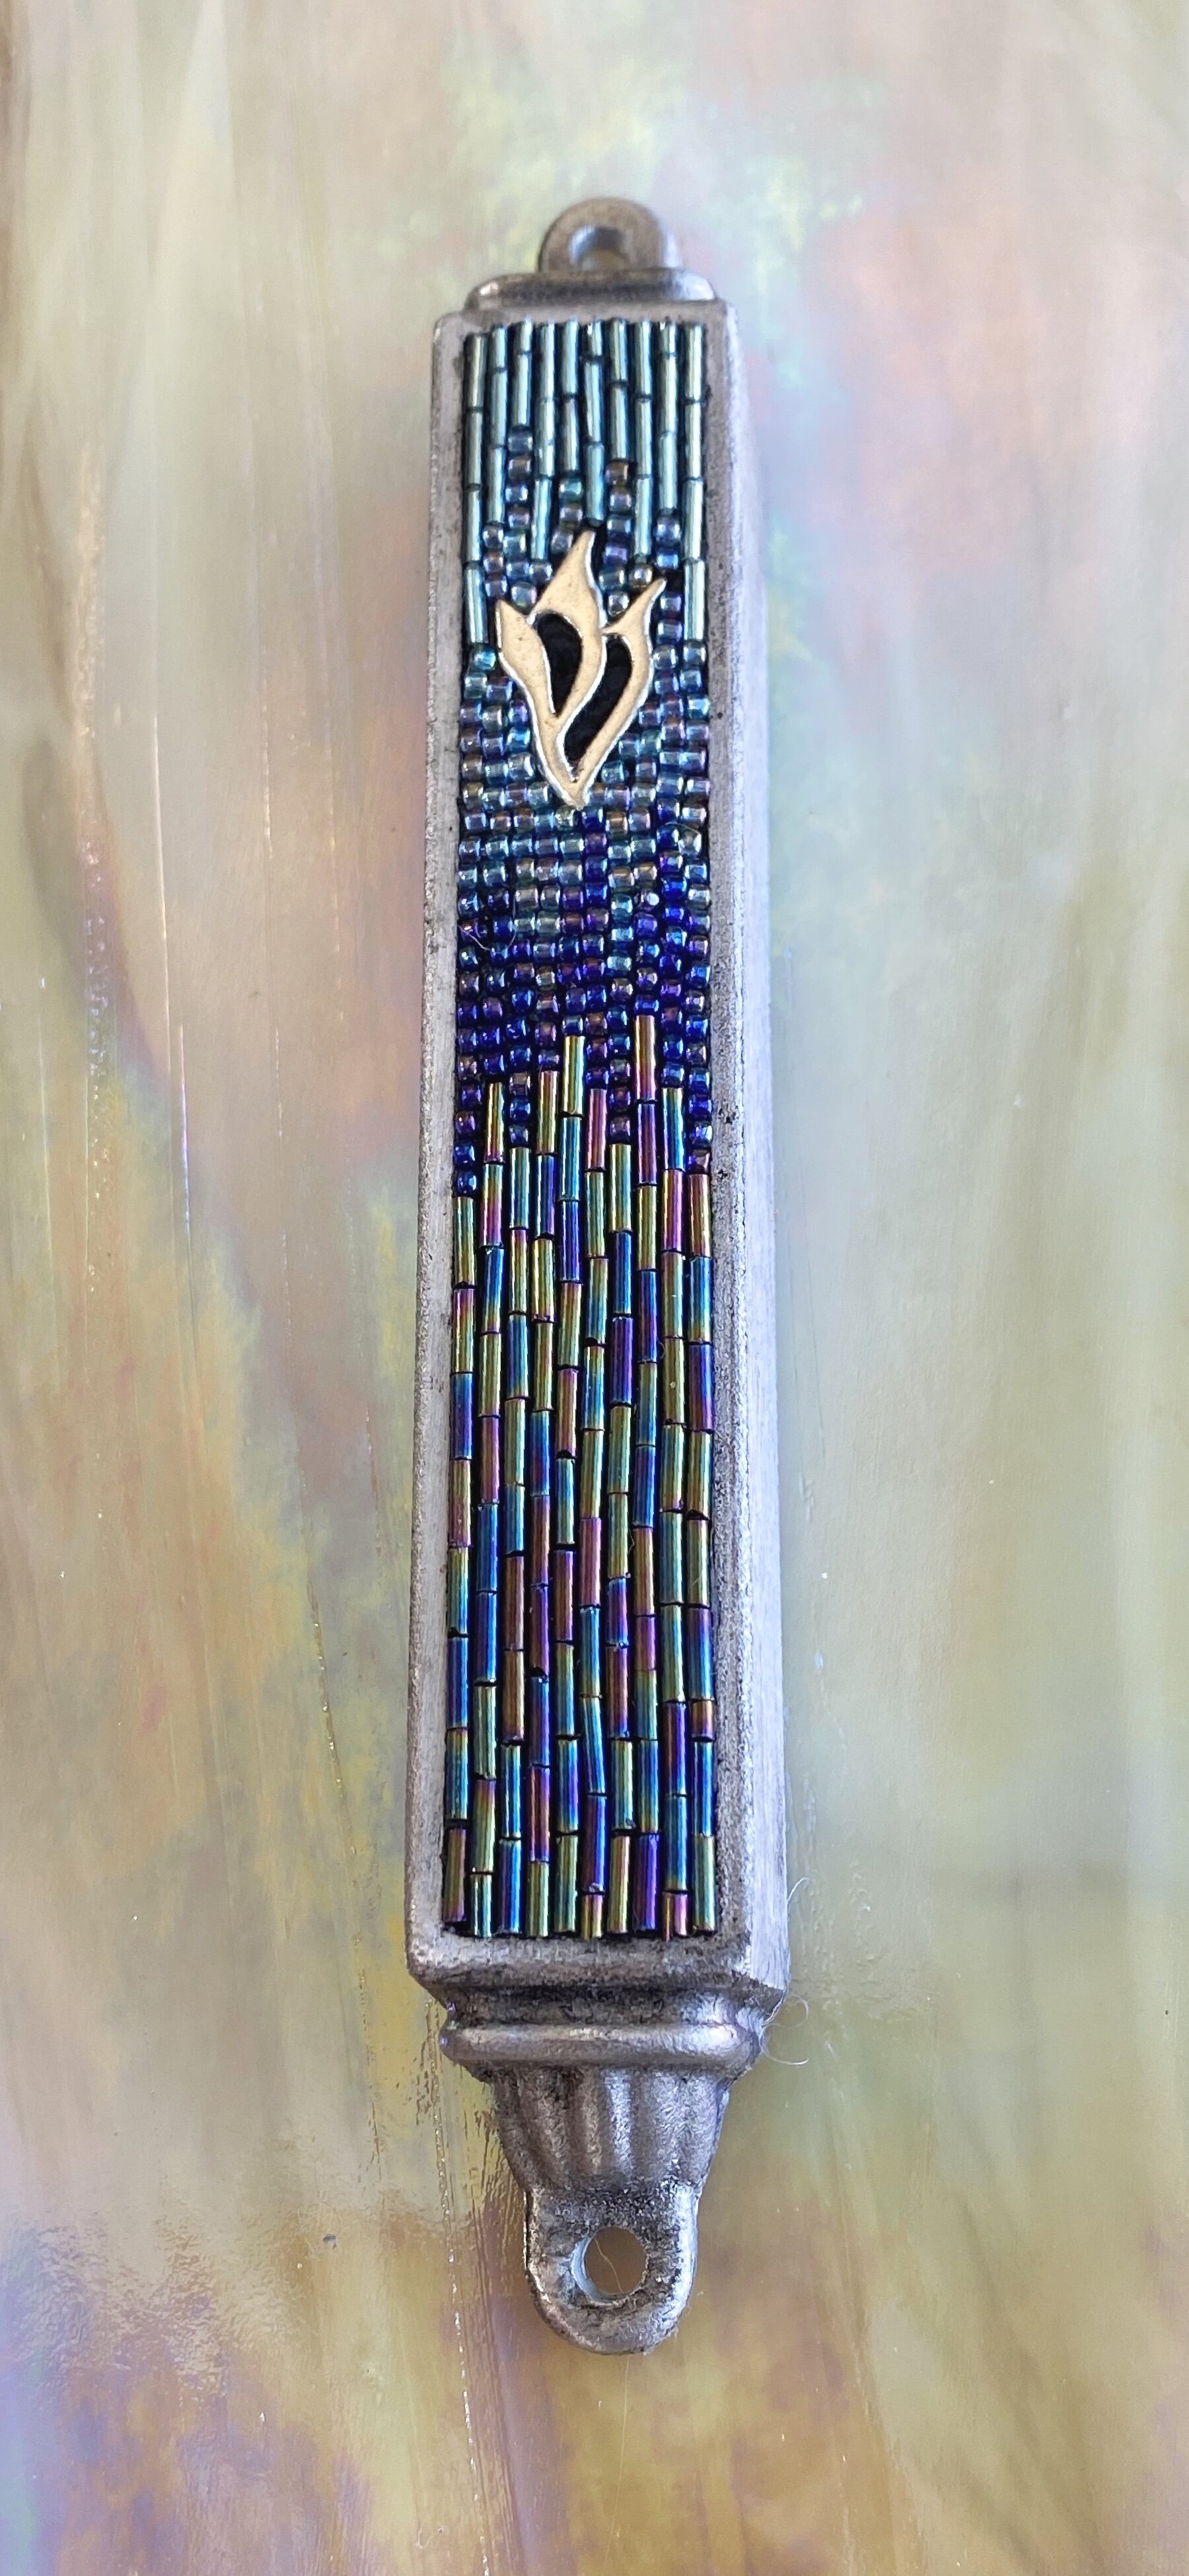
Hi Mosaic Fans! This week I’m going to show you a bit about making mosaic jewelry and décor. I have made a few pieces over the years like these pendants and mezuzot, but want to make more this year.

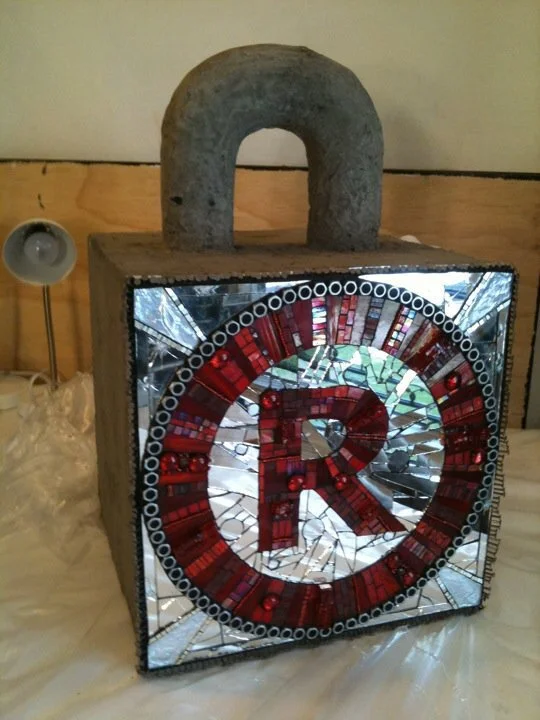
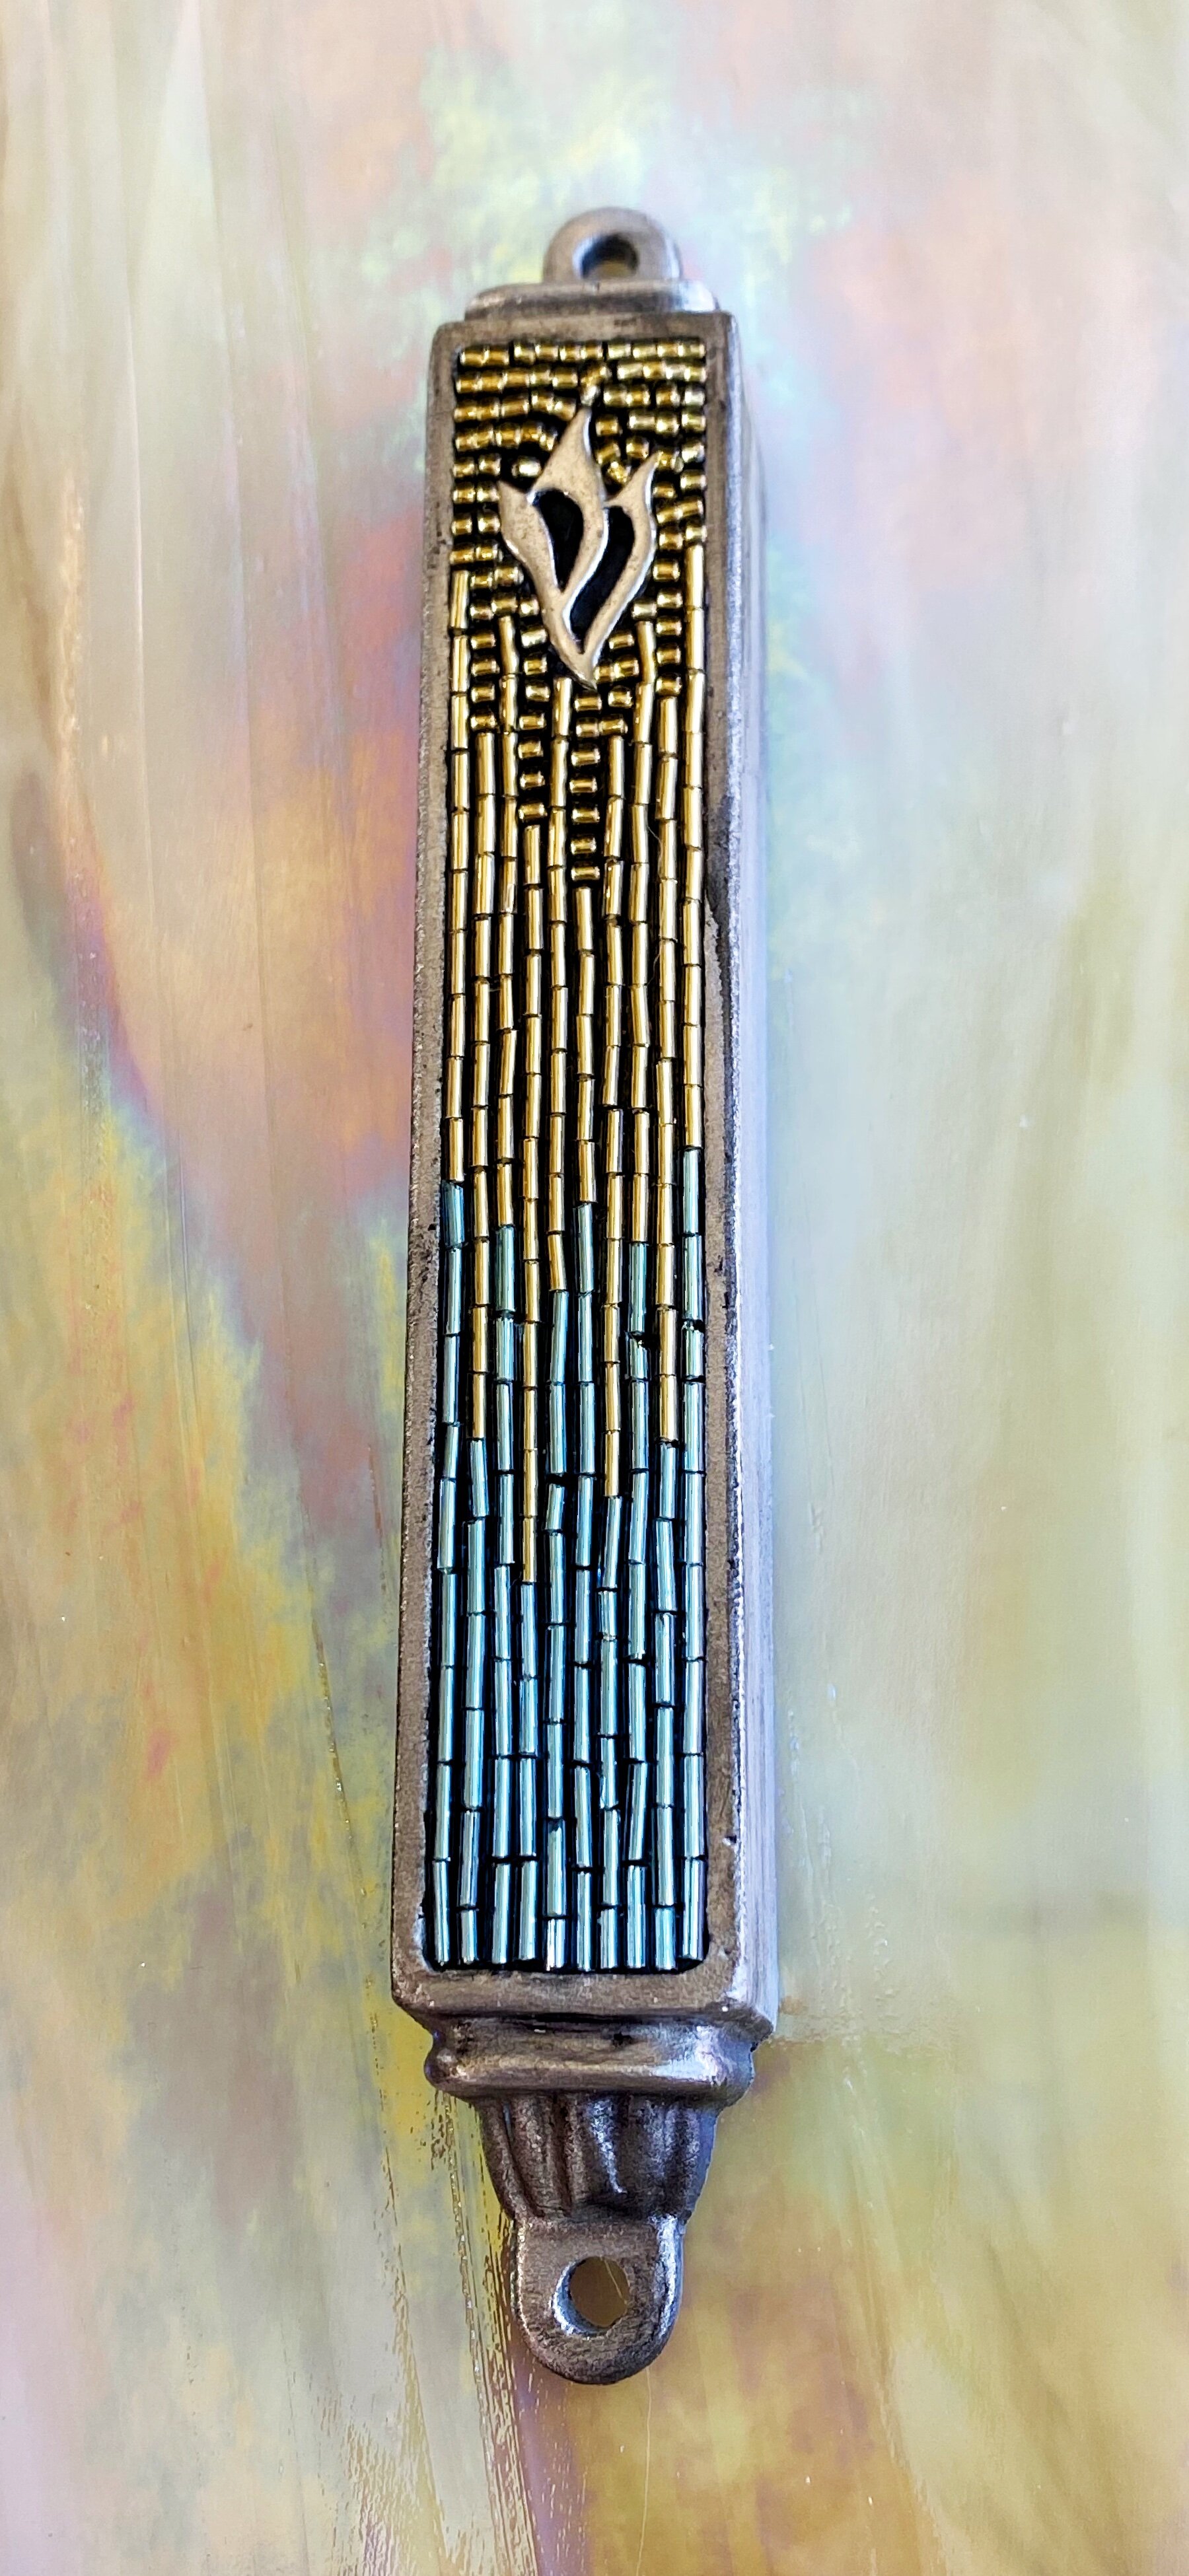
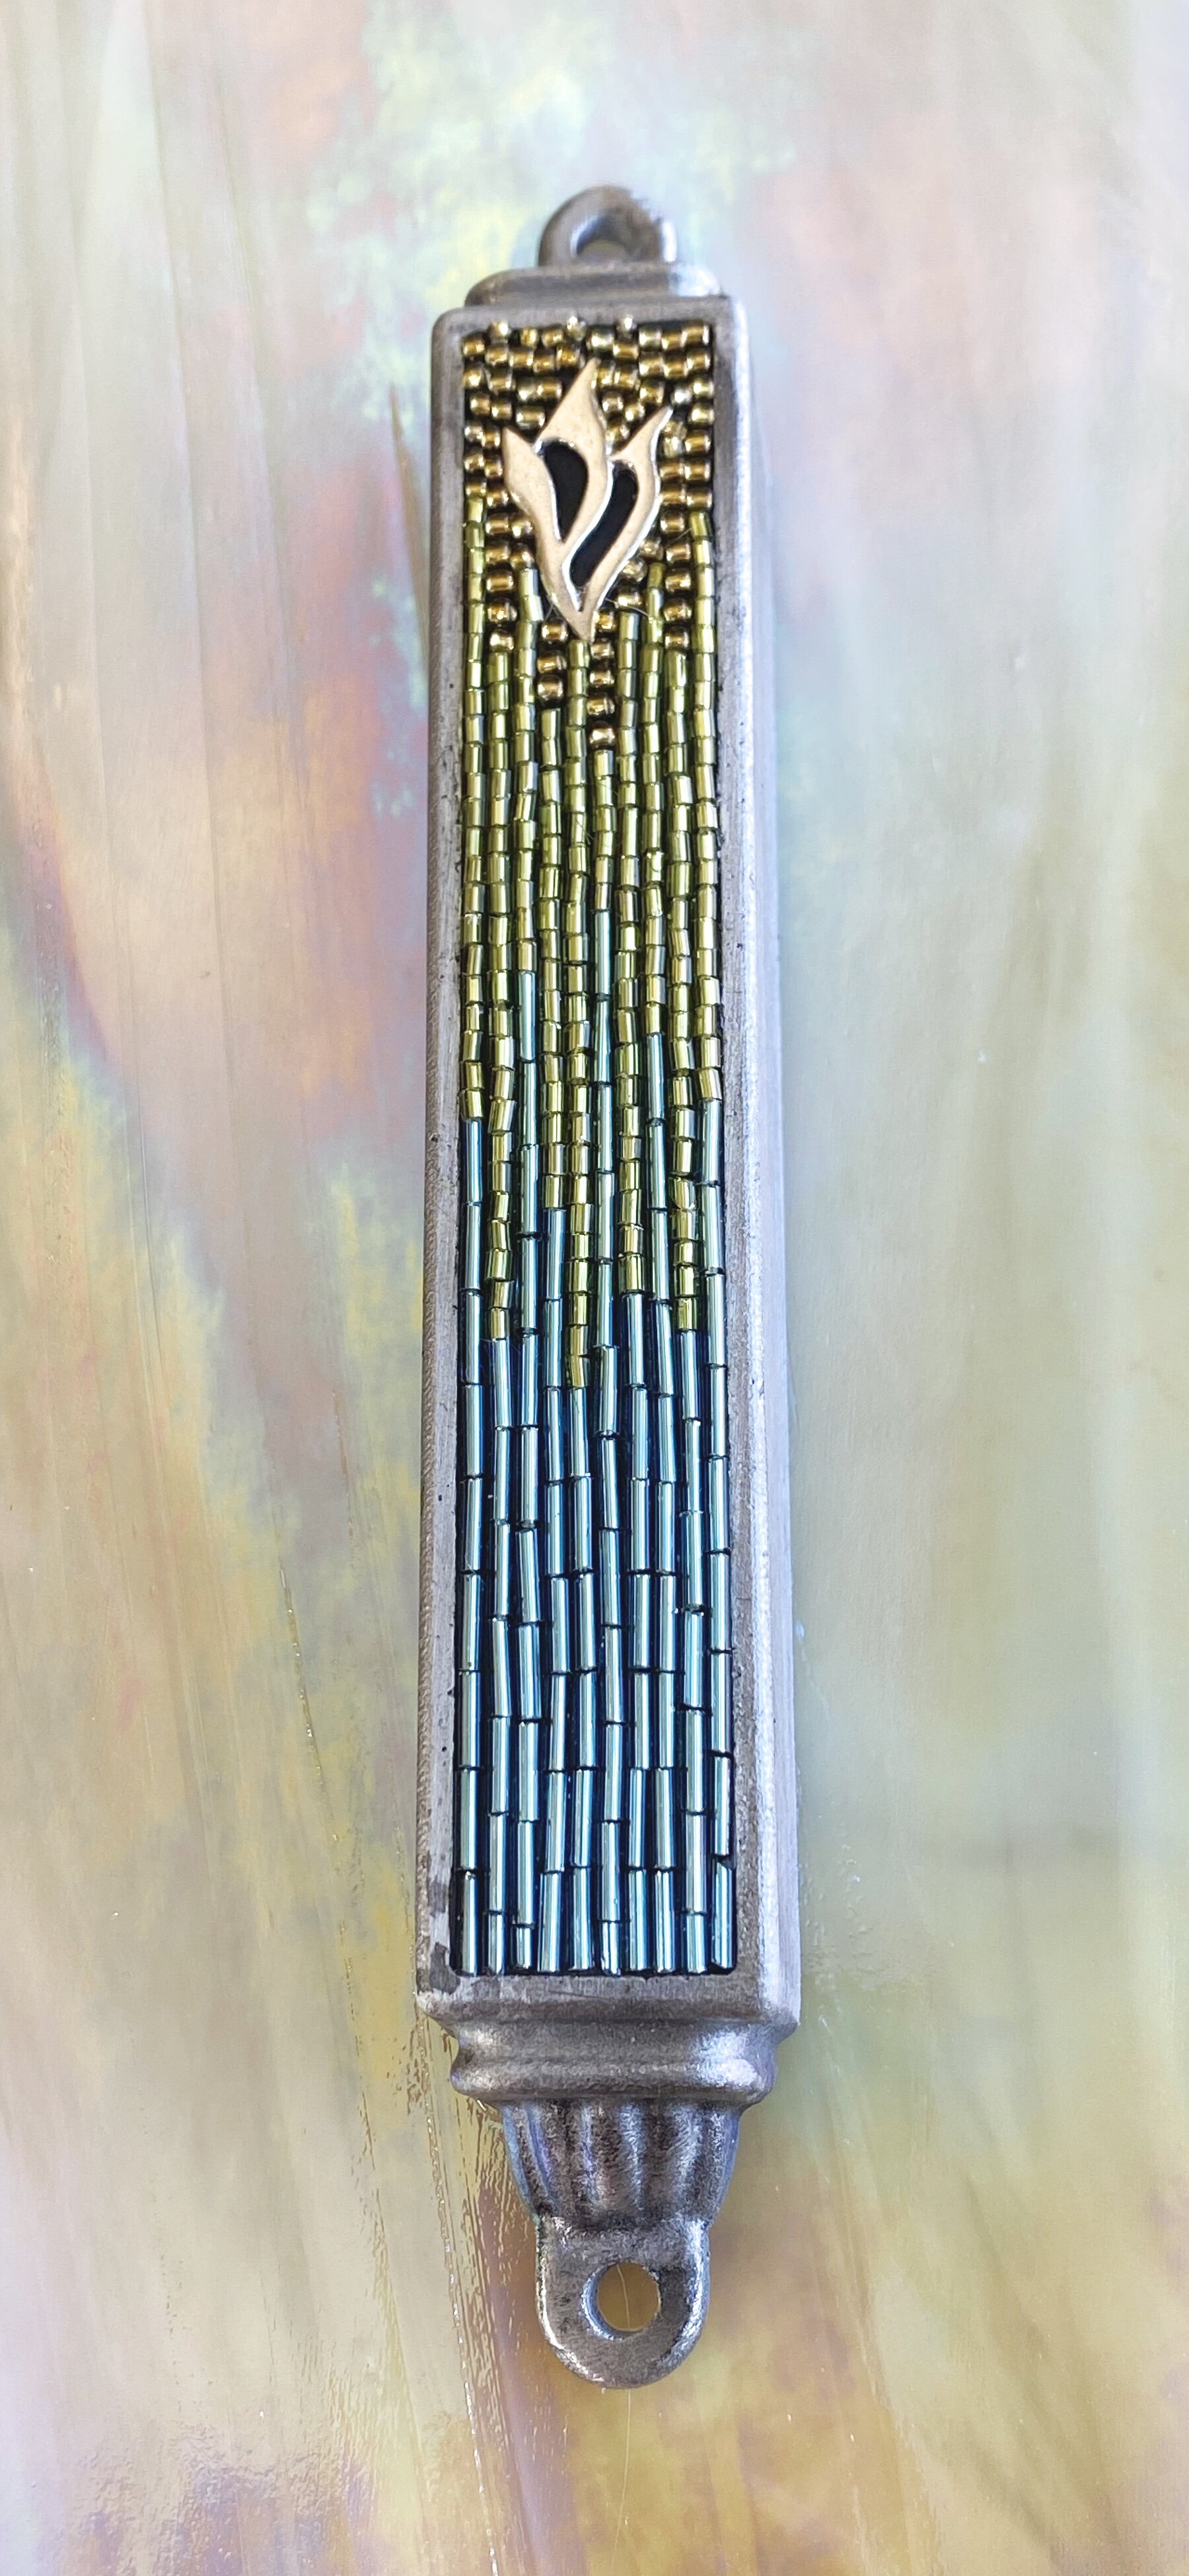
The first decorative pieces I made were two mezuzot for an orthodox Jewish client. He sends me pieces of his broken wedding plate and I use bits of them to incorporate into mosaic art as a gift for his wife on their anniversary. It’s so sweet and makes my heart melt.

To make a base for a mezuzah, I had a friend of mine make a mold and he introduced me to a man that runs a local aluminum foundry.

I made some sketches and a CAD design because the mold had to follow my exact specifications and have space to hold a prayer roll. After getting help to making the commission, I had a fancier mold made for future mezuzot.

Right now I’m also in the process of having molds made for these jewelry pendants because my supplier has discontinued them.

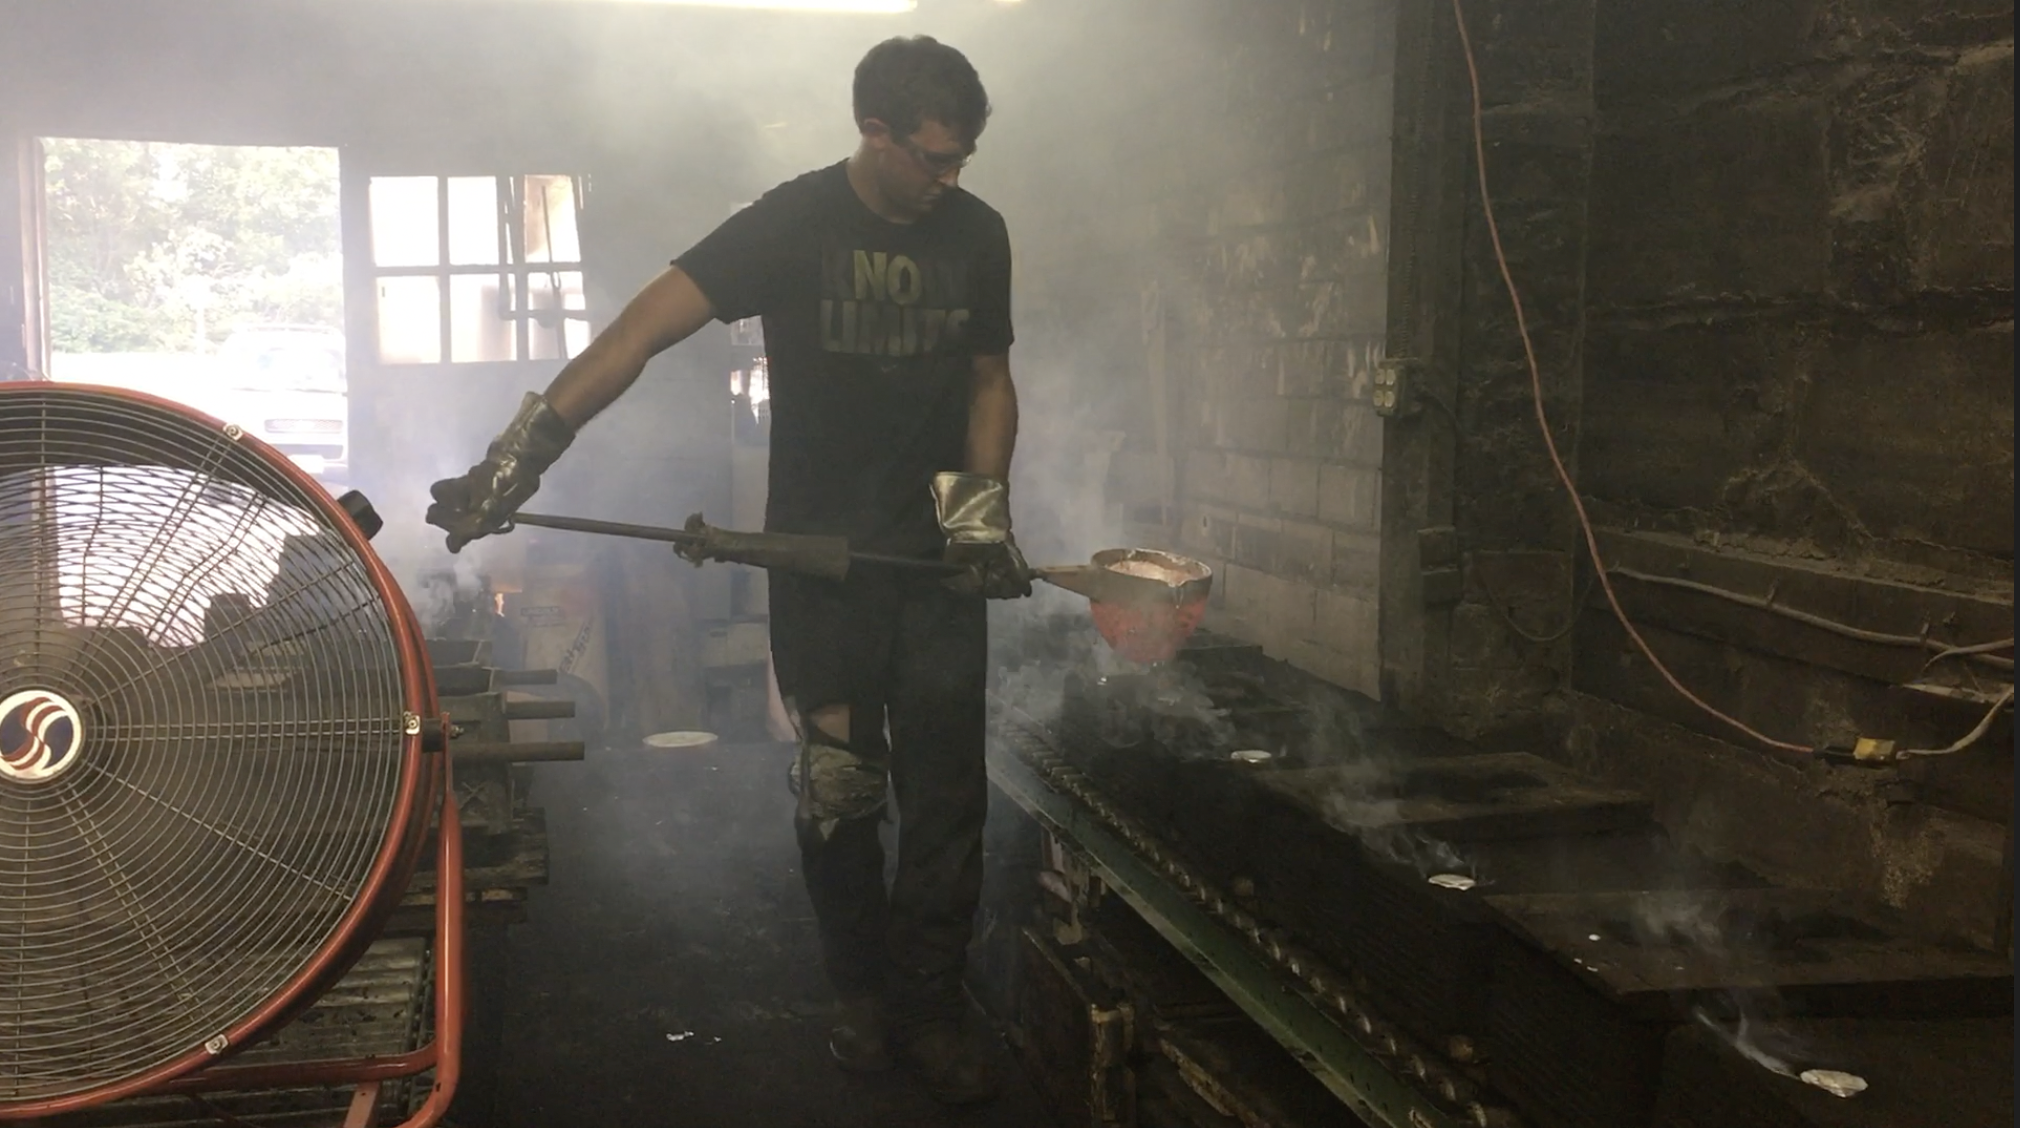
Here’s the exciting part… the footage I took at the aluminum foundry about 4 years ago when I first went to see the process. Basically, they put the mold in a box, pack the box really tight with sand, then take the mold out. Then they pour the molten aluminum into a hole in the box, and when it cools you have aluminum in the shape of your mold.

There are a lot of details that I’ve been told but don’t feel I understand well enough to explain. I do suggest visiting a foundry to see how it works if you ever have the chance. It’s fascinating.

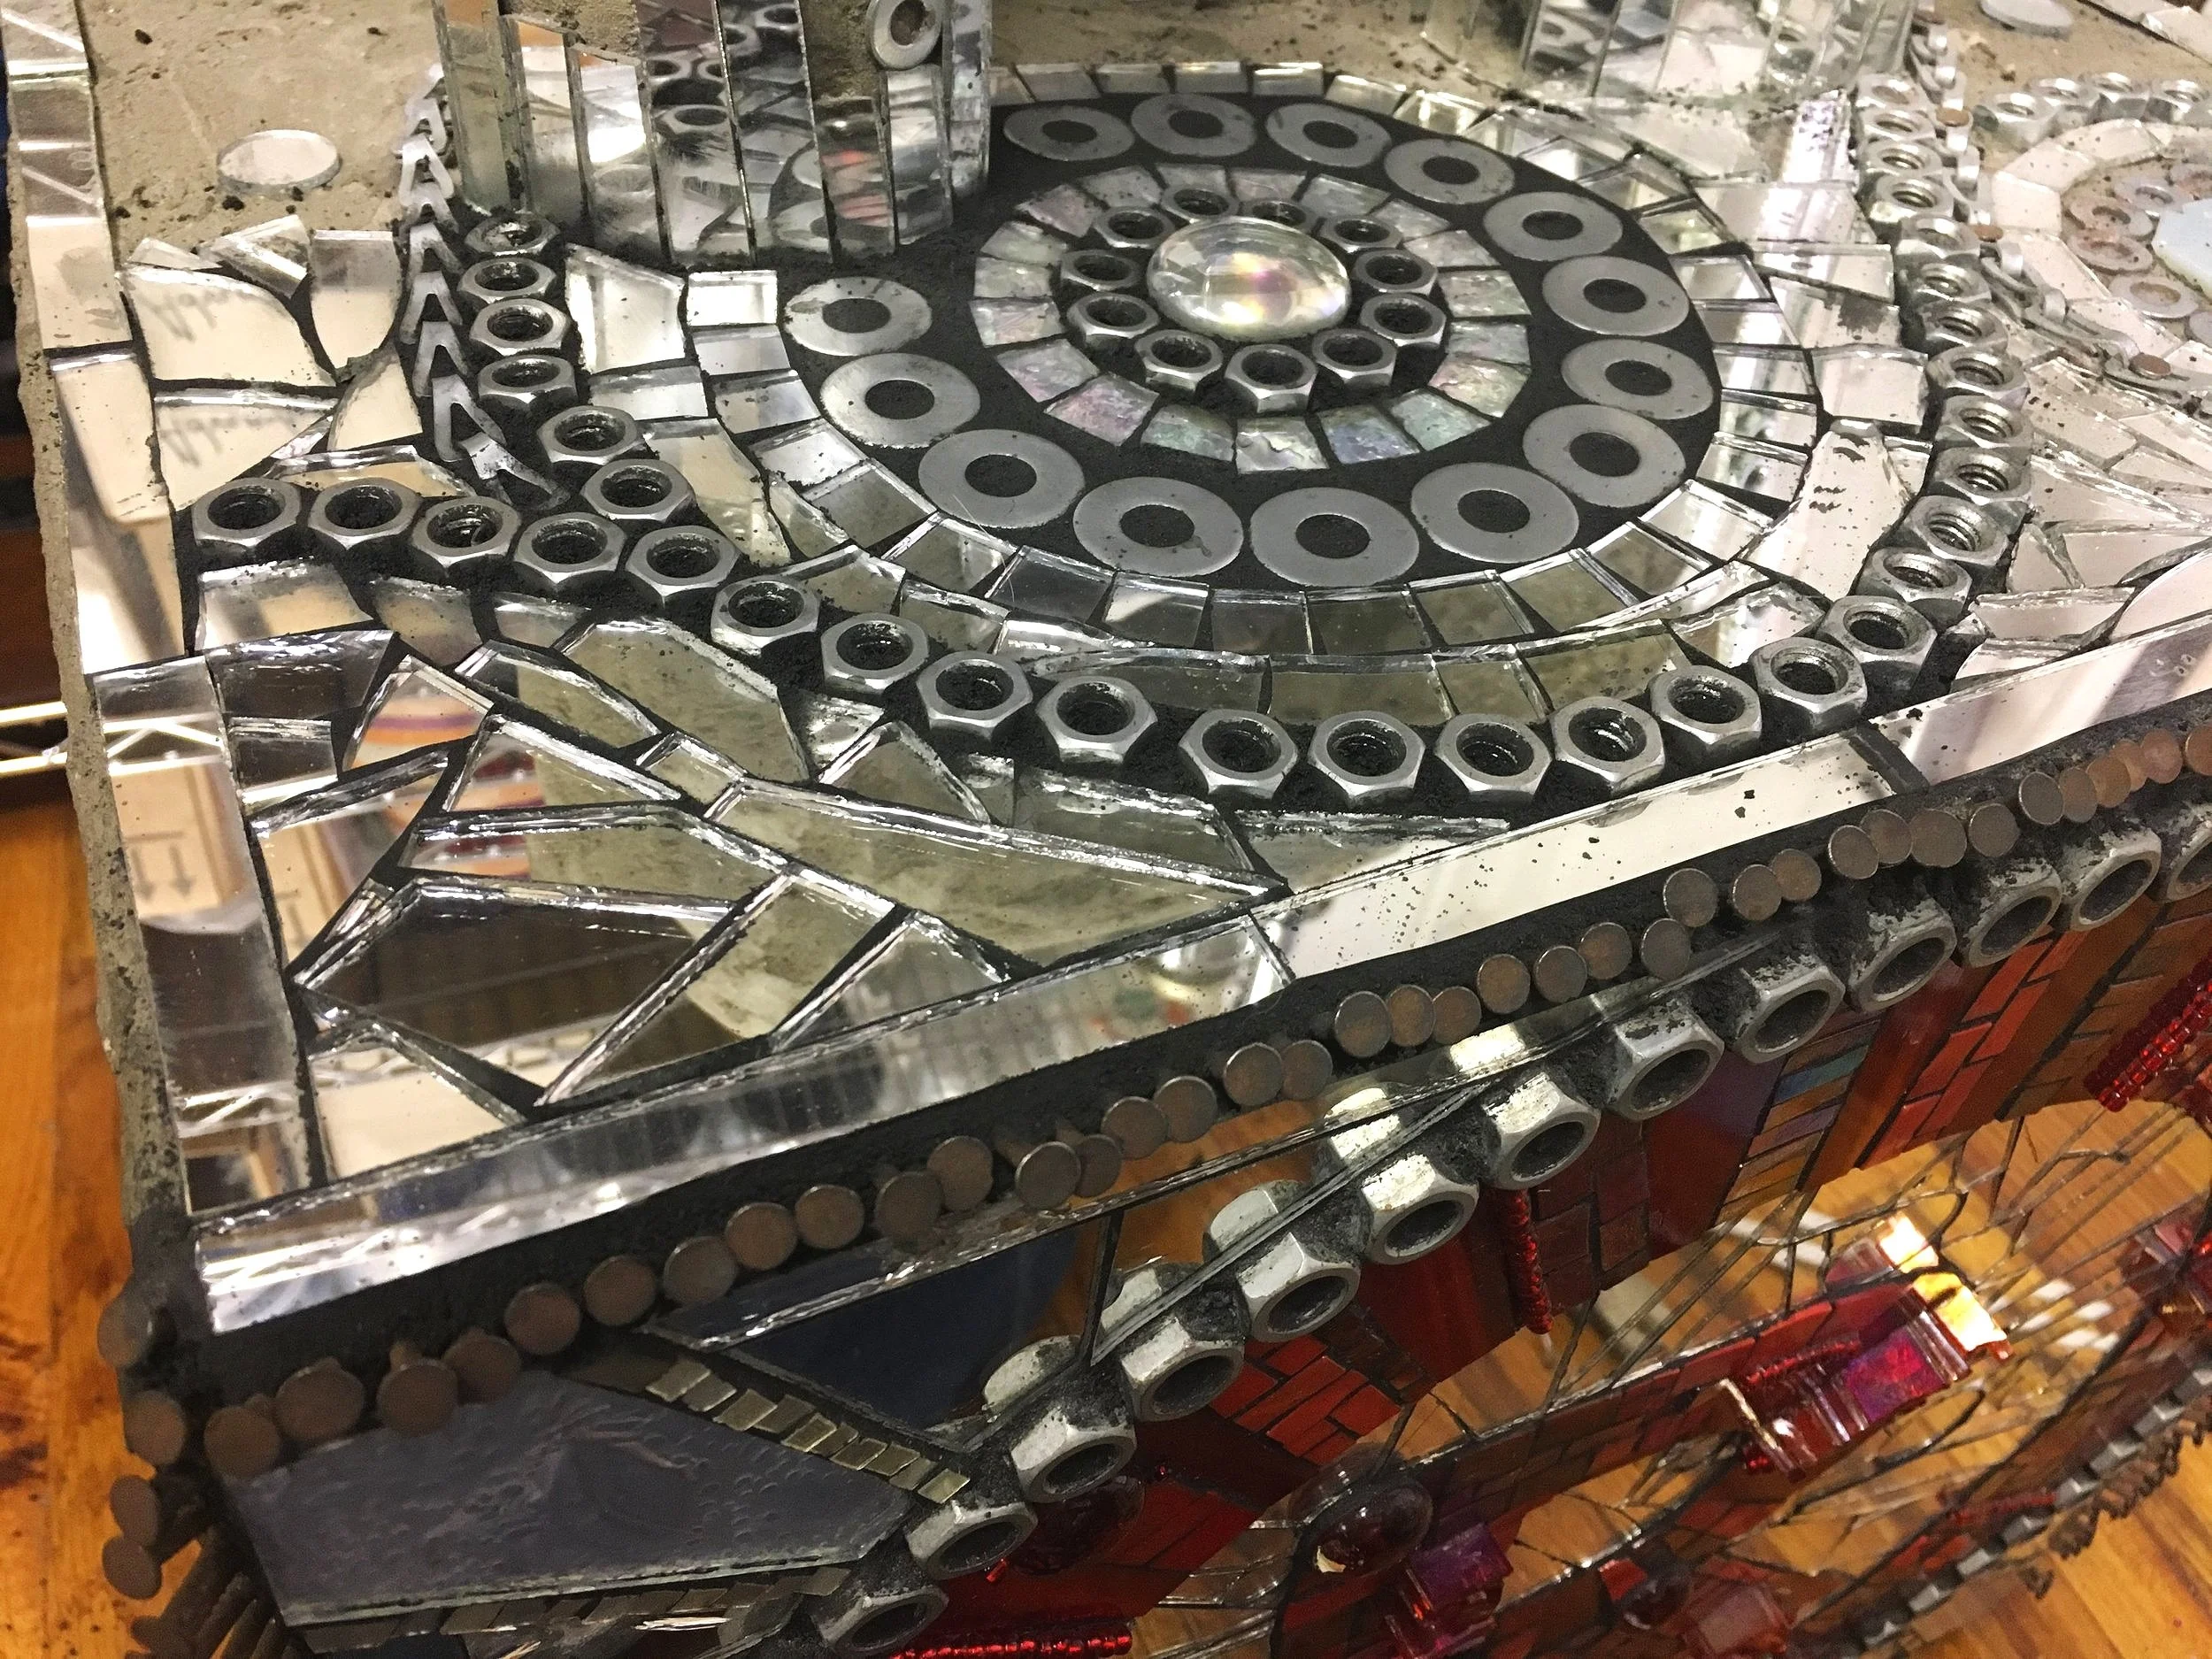
Once they have the aluminum item, they will polish it or grind it, whatever is required to achieve the effect for that particular piece on a variety of equipment like this.

The foundry owner used two scrap pieces and his belt grinder create different textures for me to take home and sample which grit was better for the antique look I wanted.

These two were 180 grit and 36 grit.

The choice was very obvious with testing. After antiquing with black paint, the finer 180 grit just looked dirty, so the 36 grit will be my choice as it allows for little dark streaks while the aluminum is still shiny.

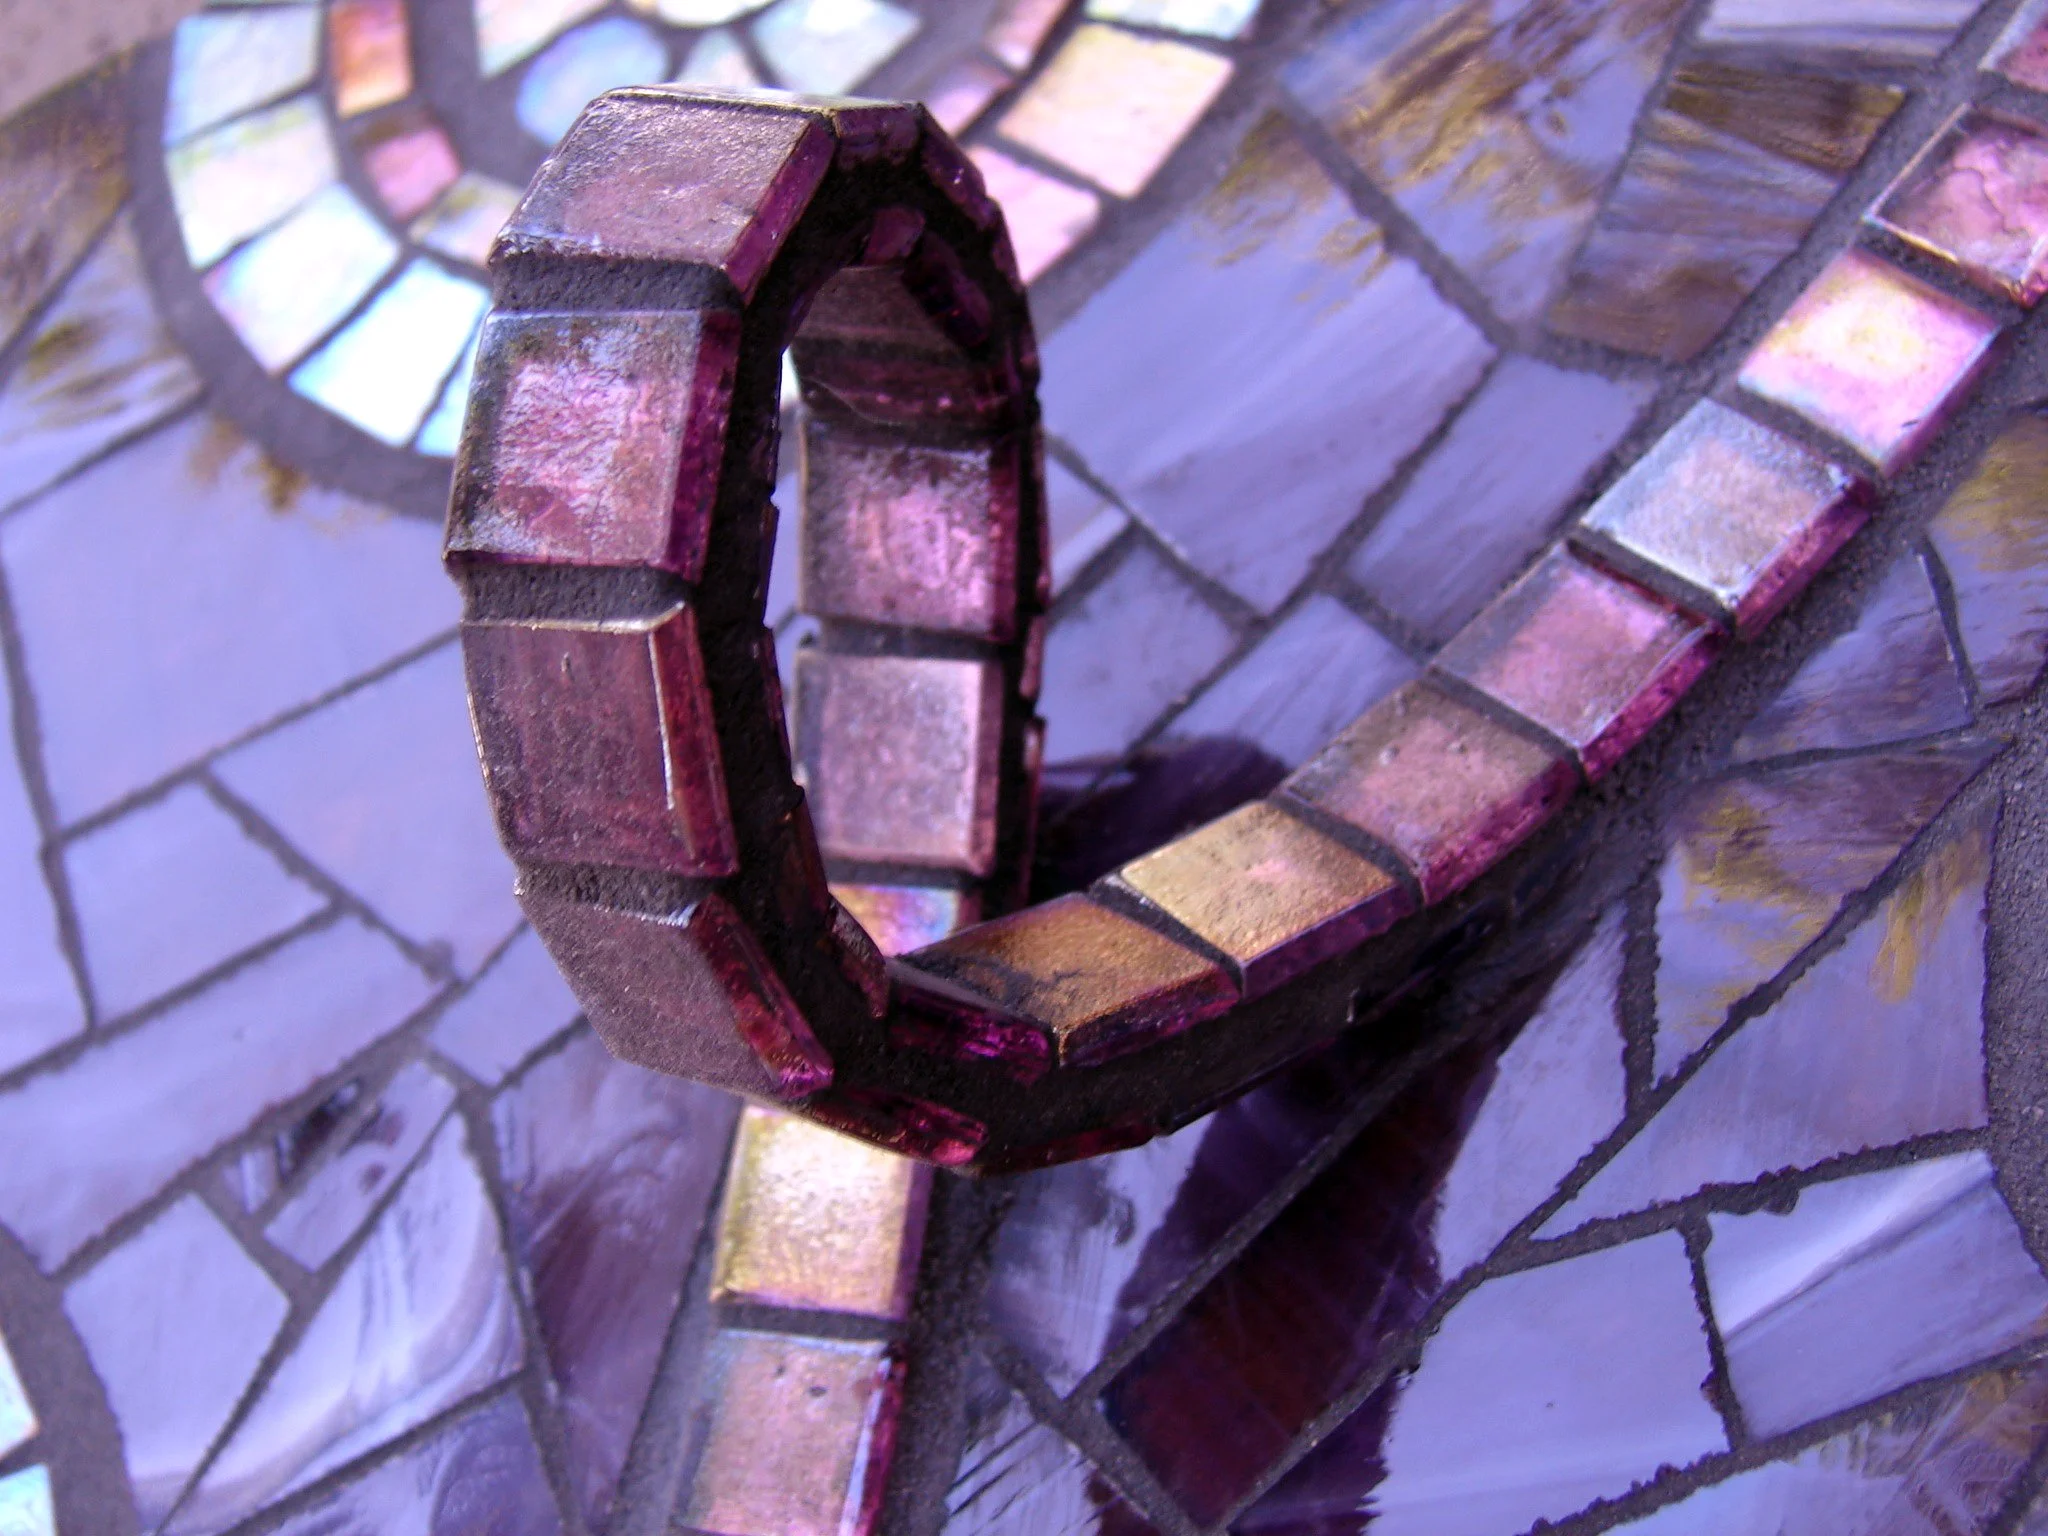
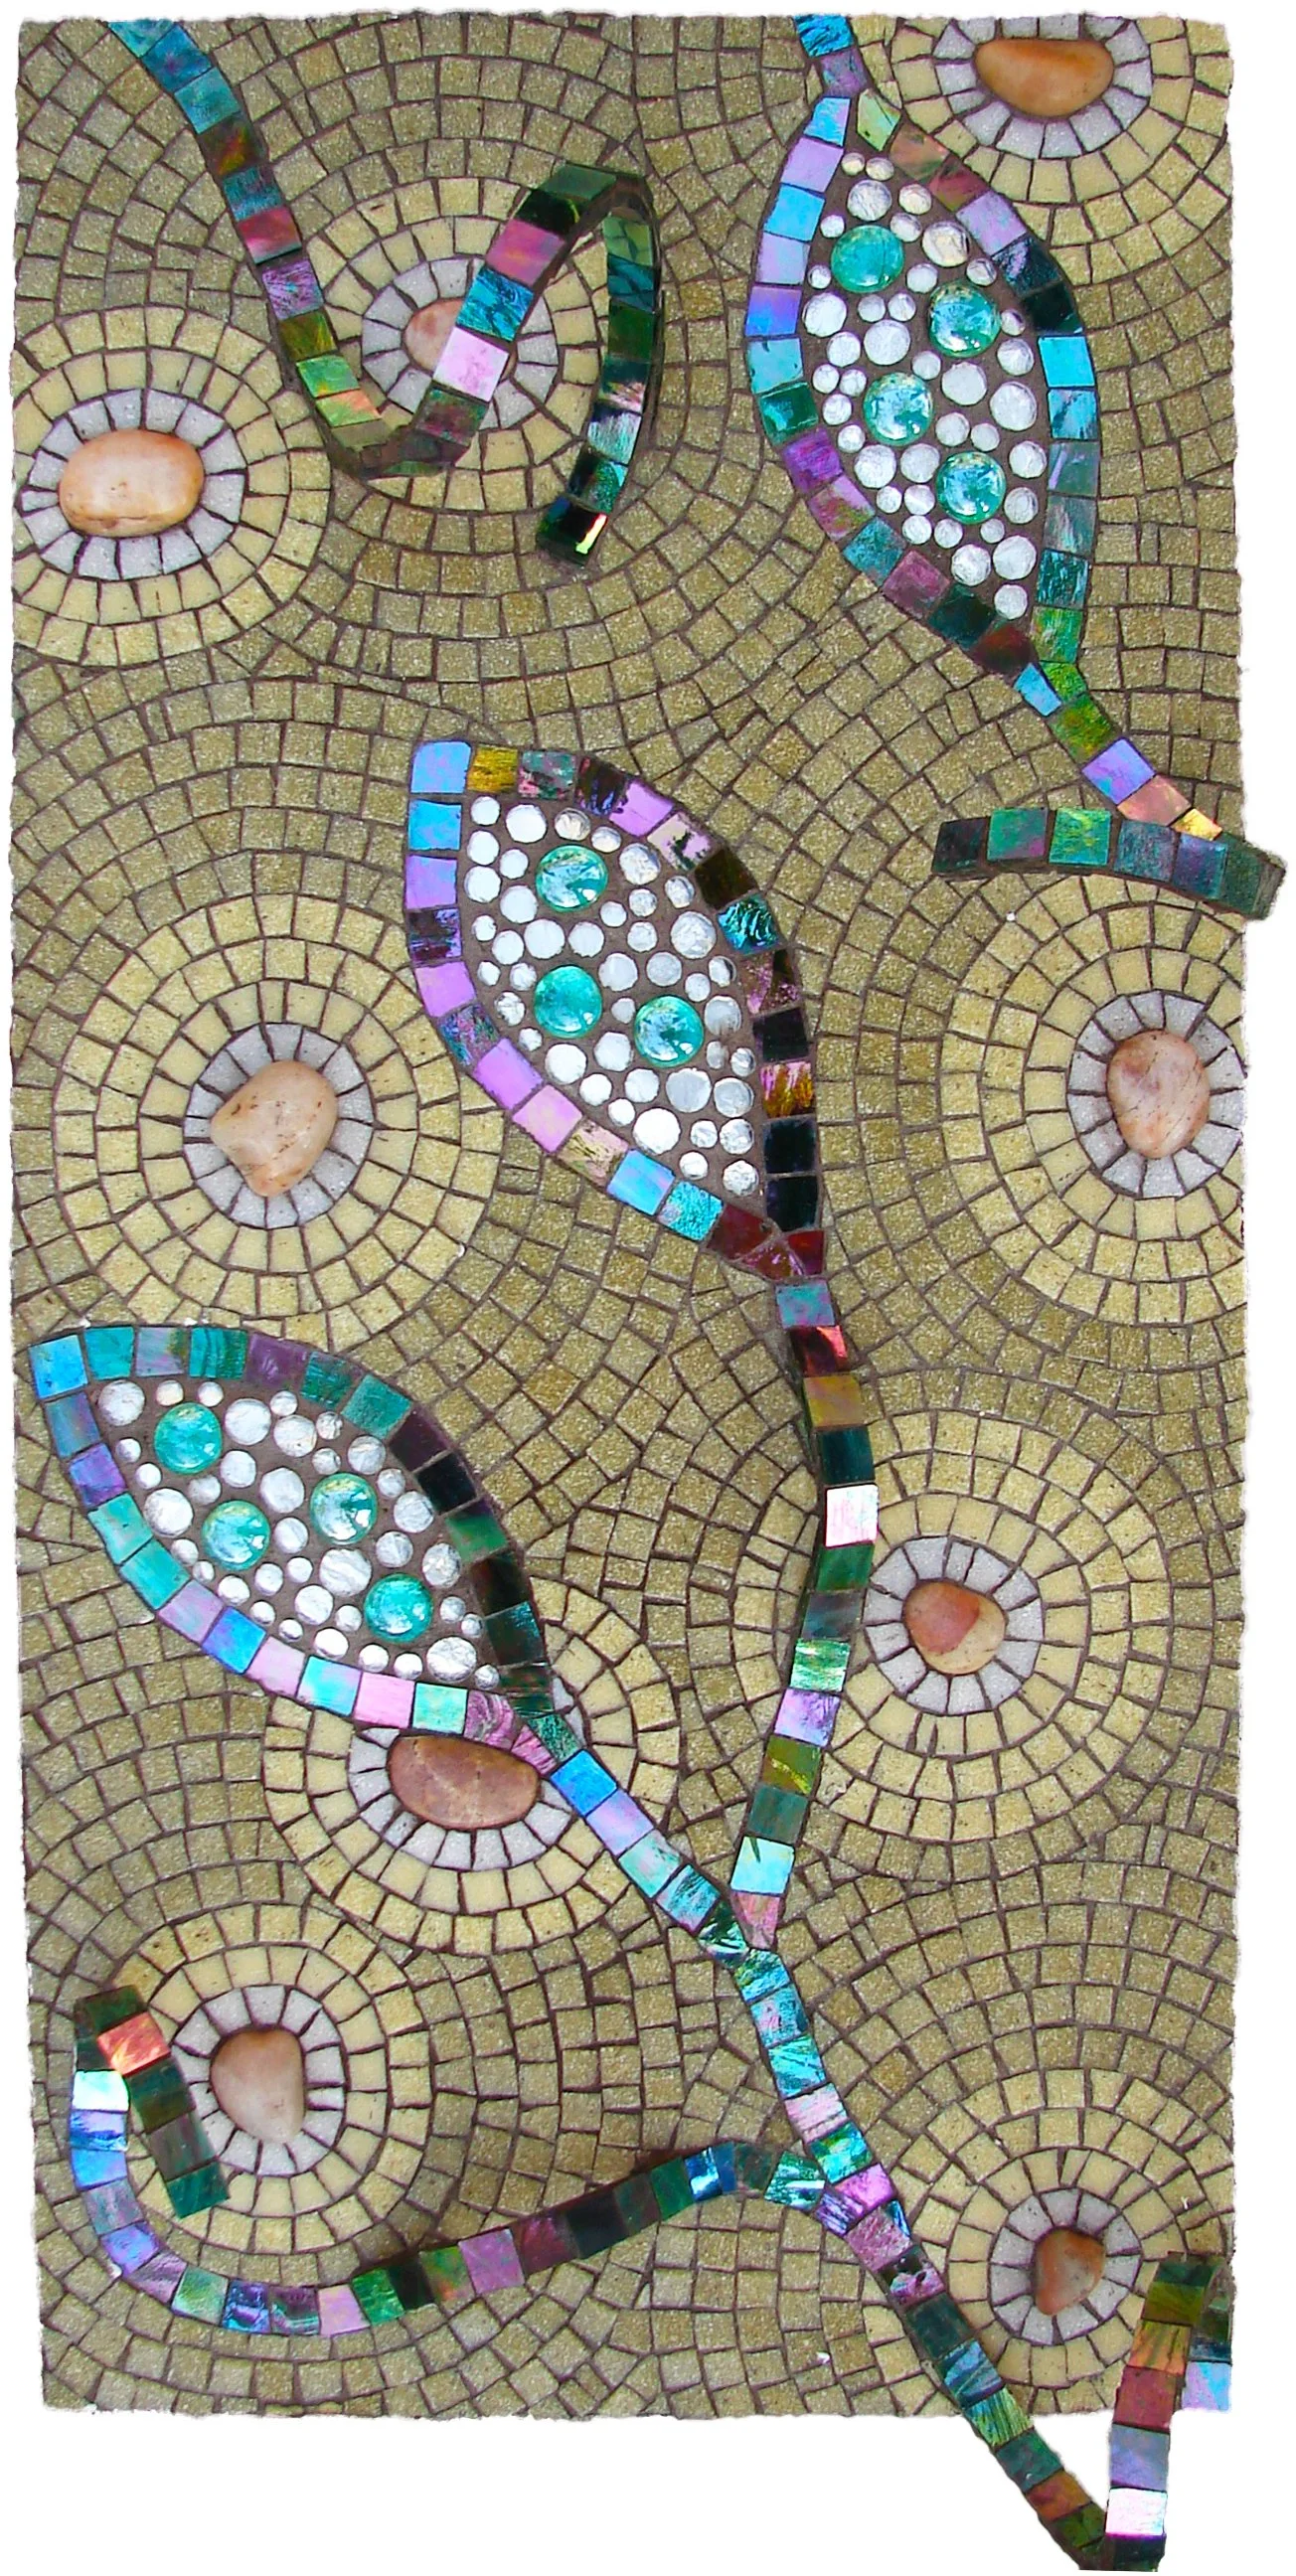
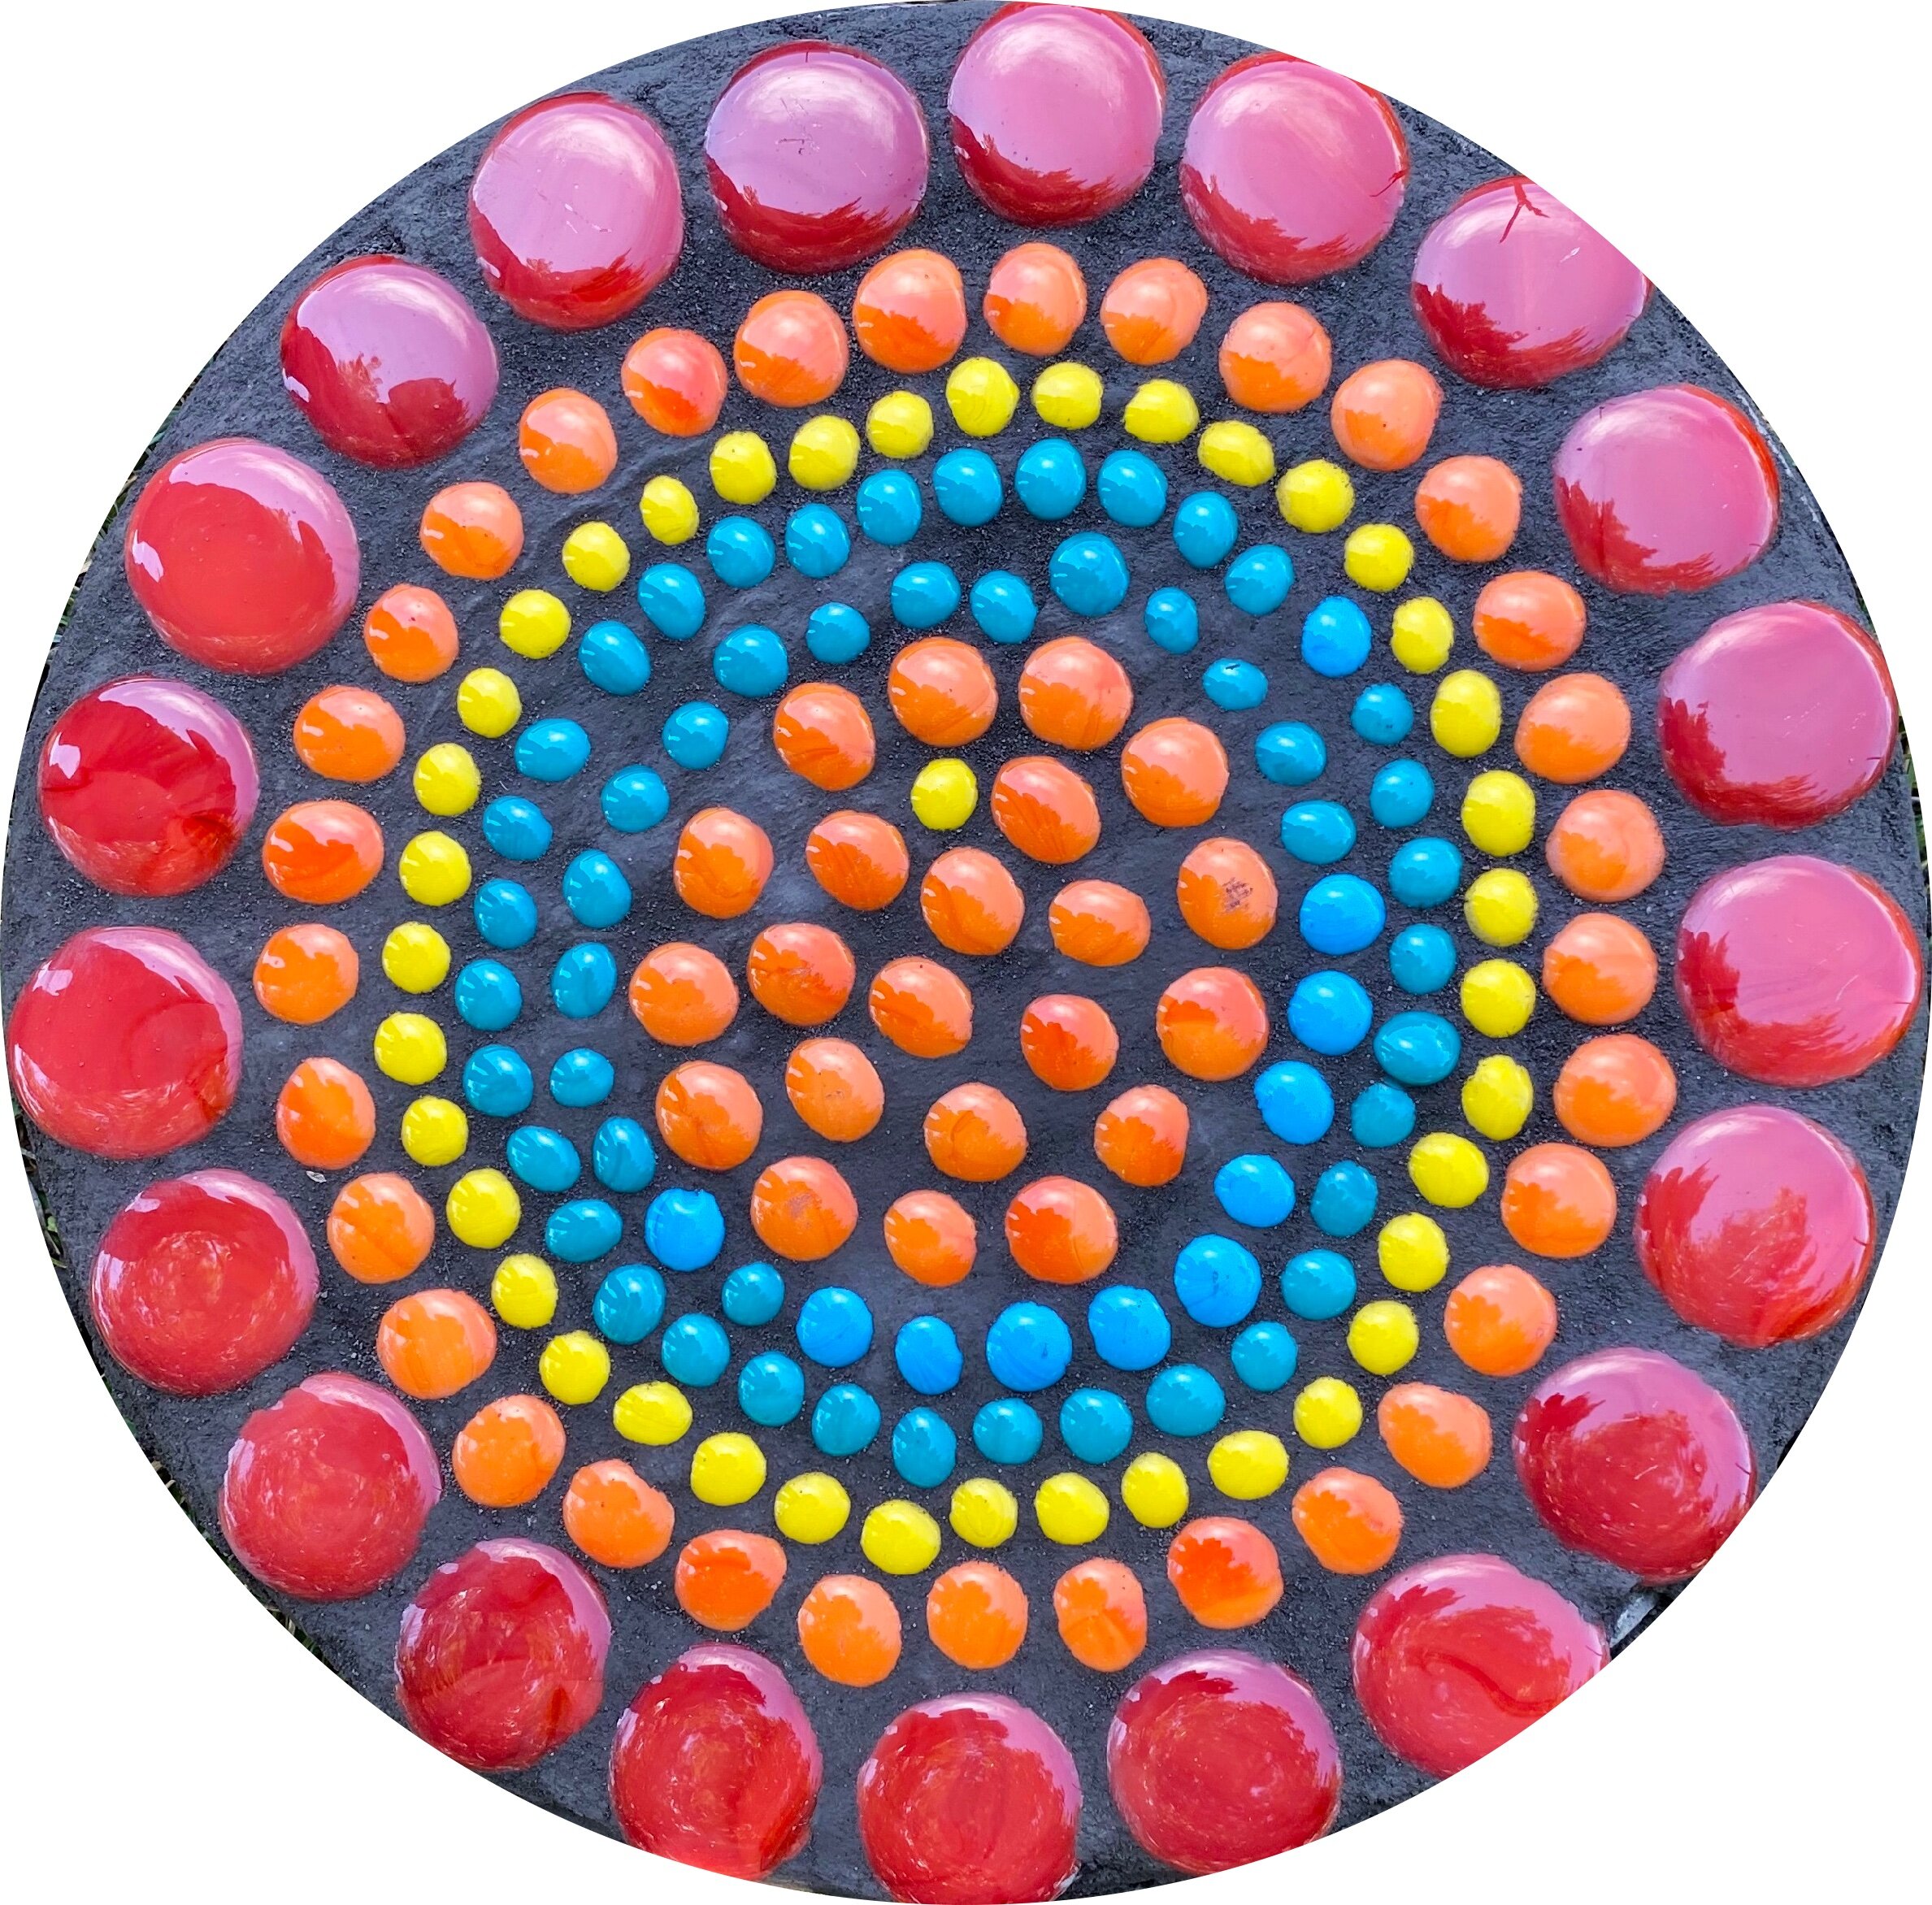
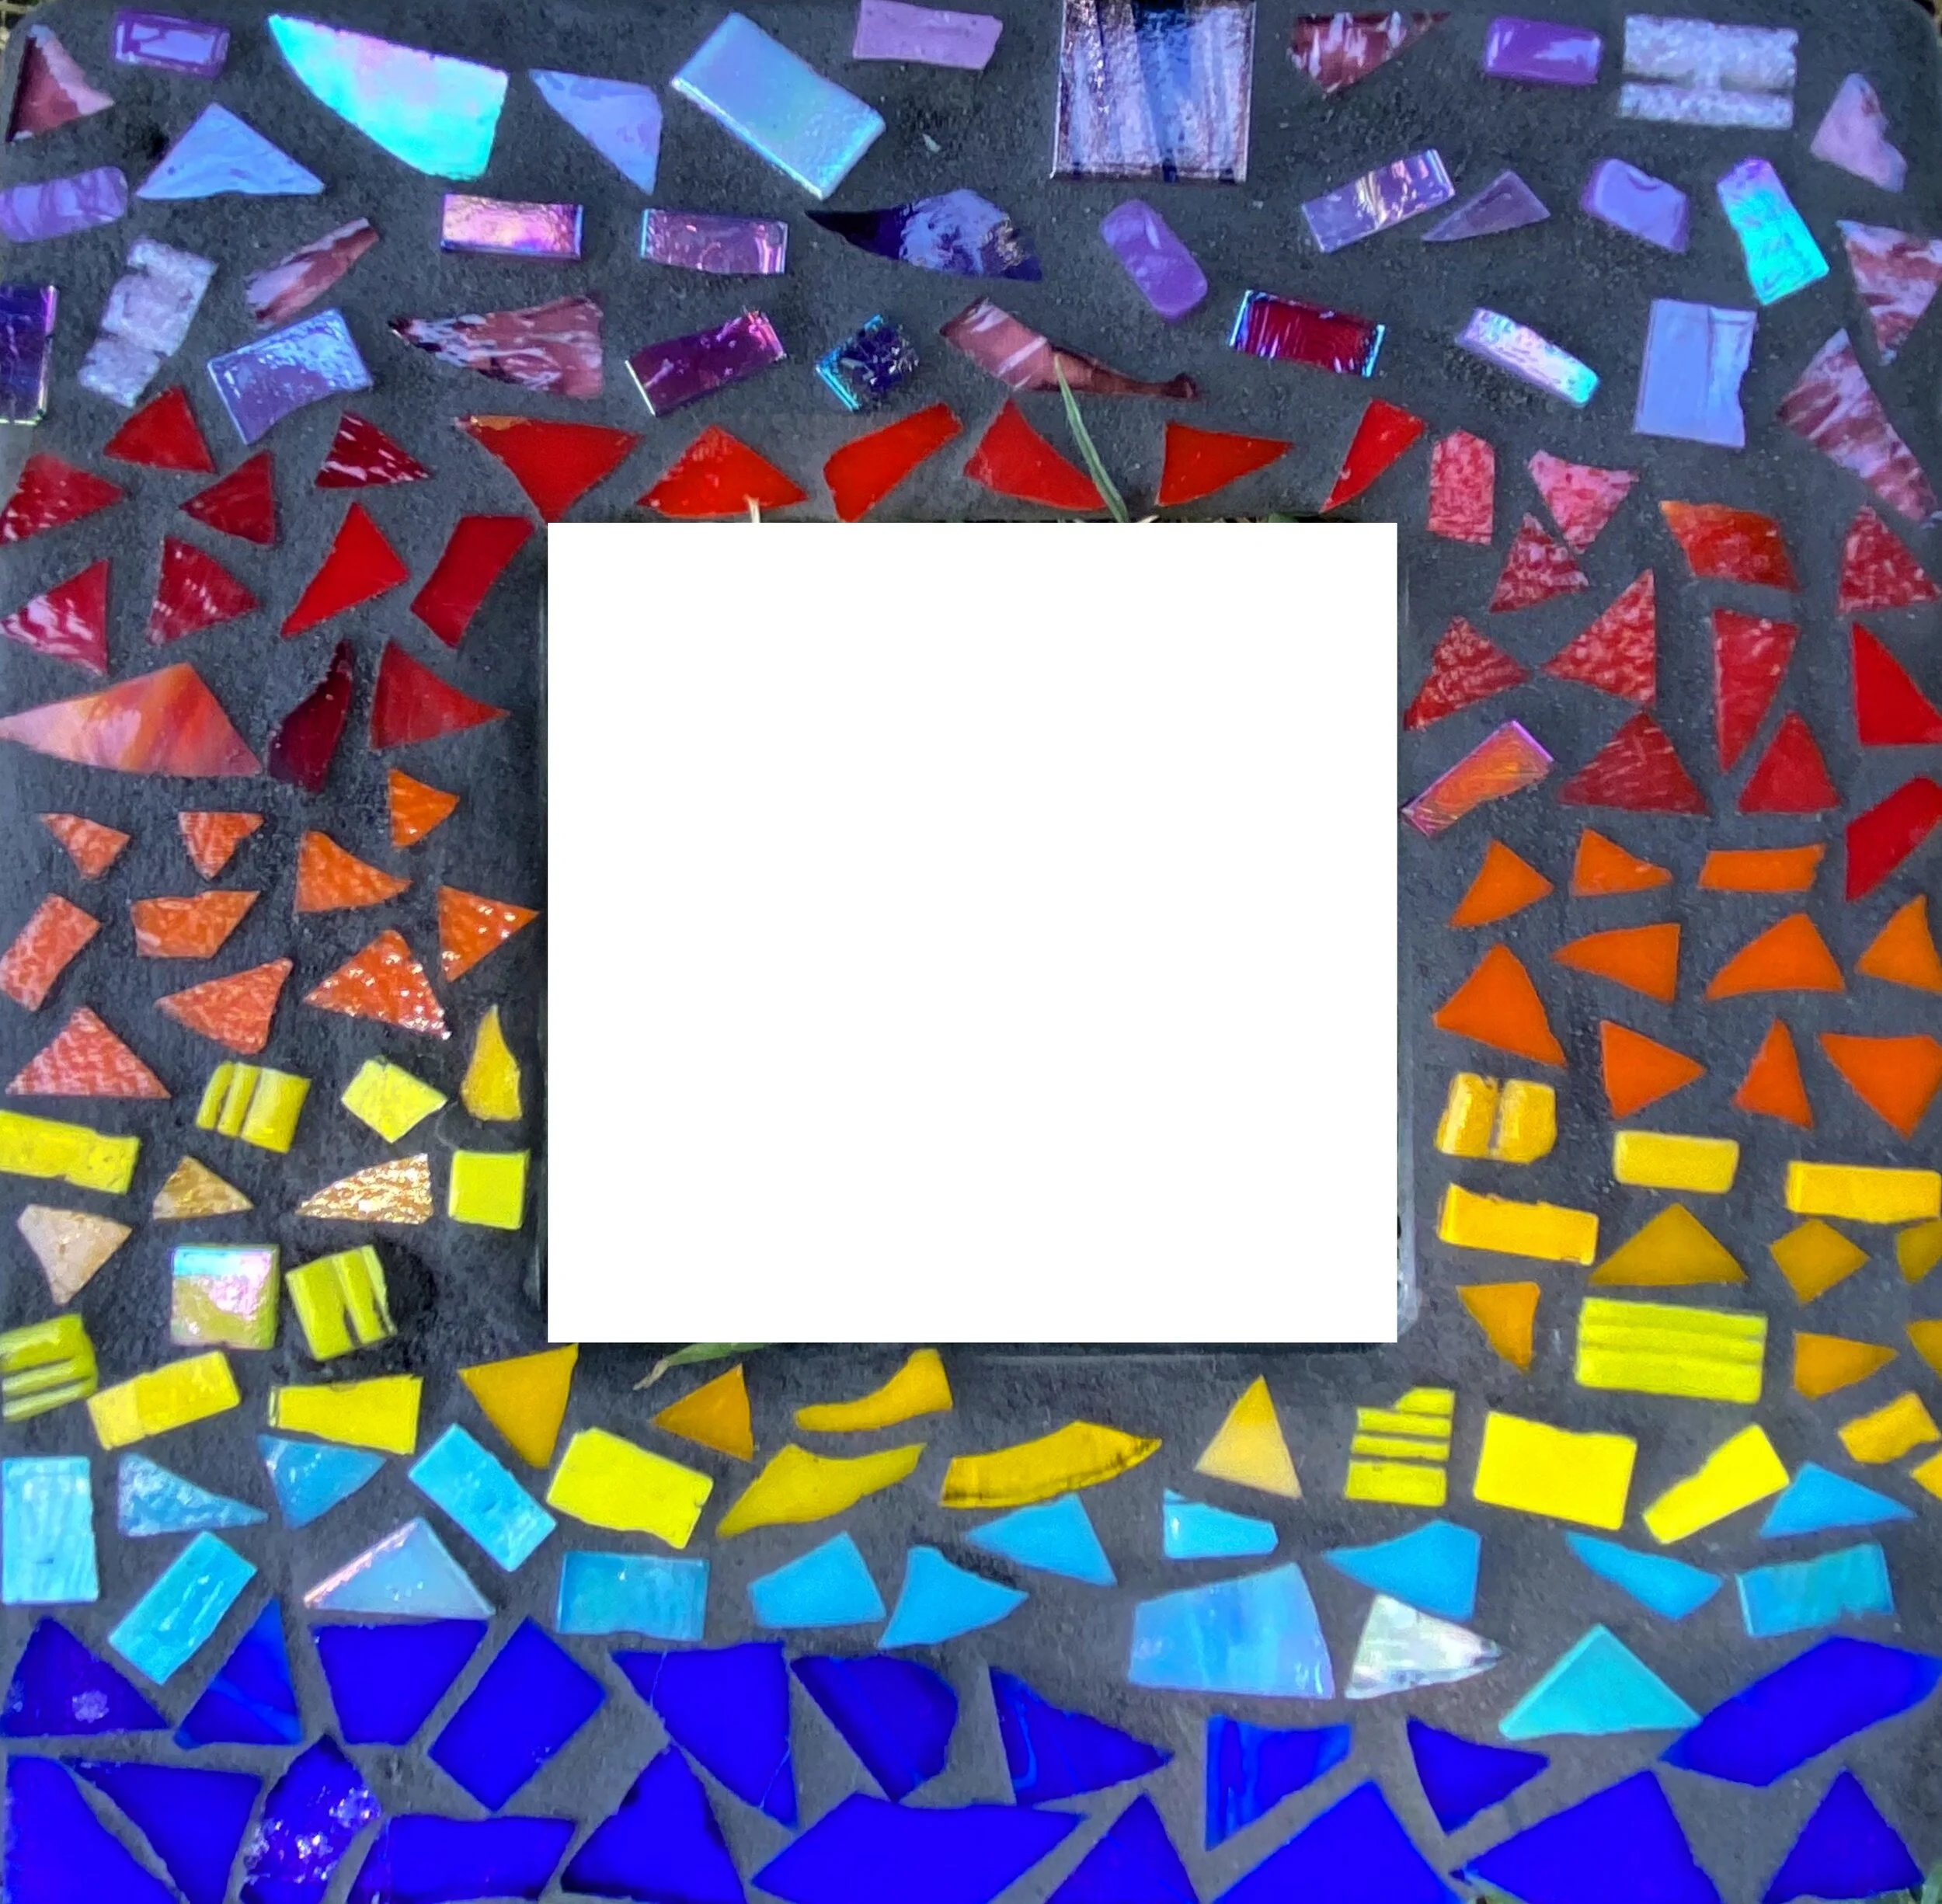
Next I’m going to show you the making of a mosaic necklace pendant. I used Apoxie Sculpt as the adhesive. I am still waiting on my new molds and haven’t pulled any new glass, so I just want to make a beaded mosaic with one of the pendants I already have to feel like I’m moving forward with things.

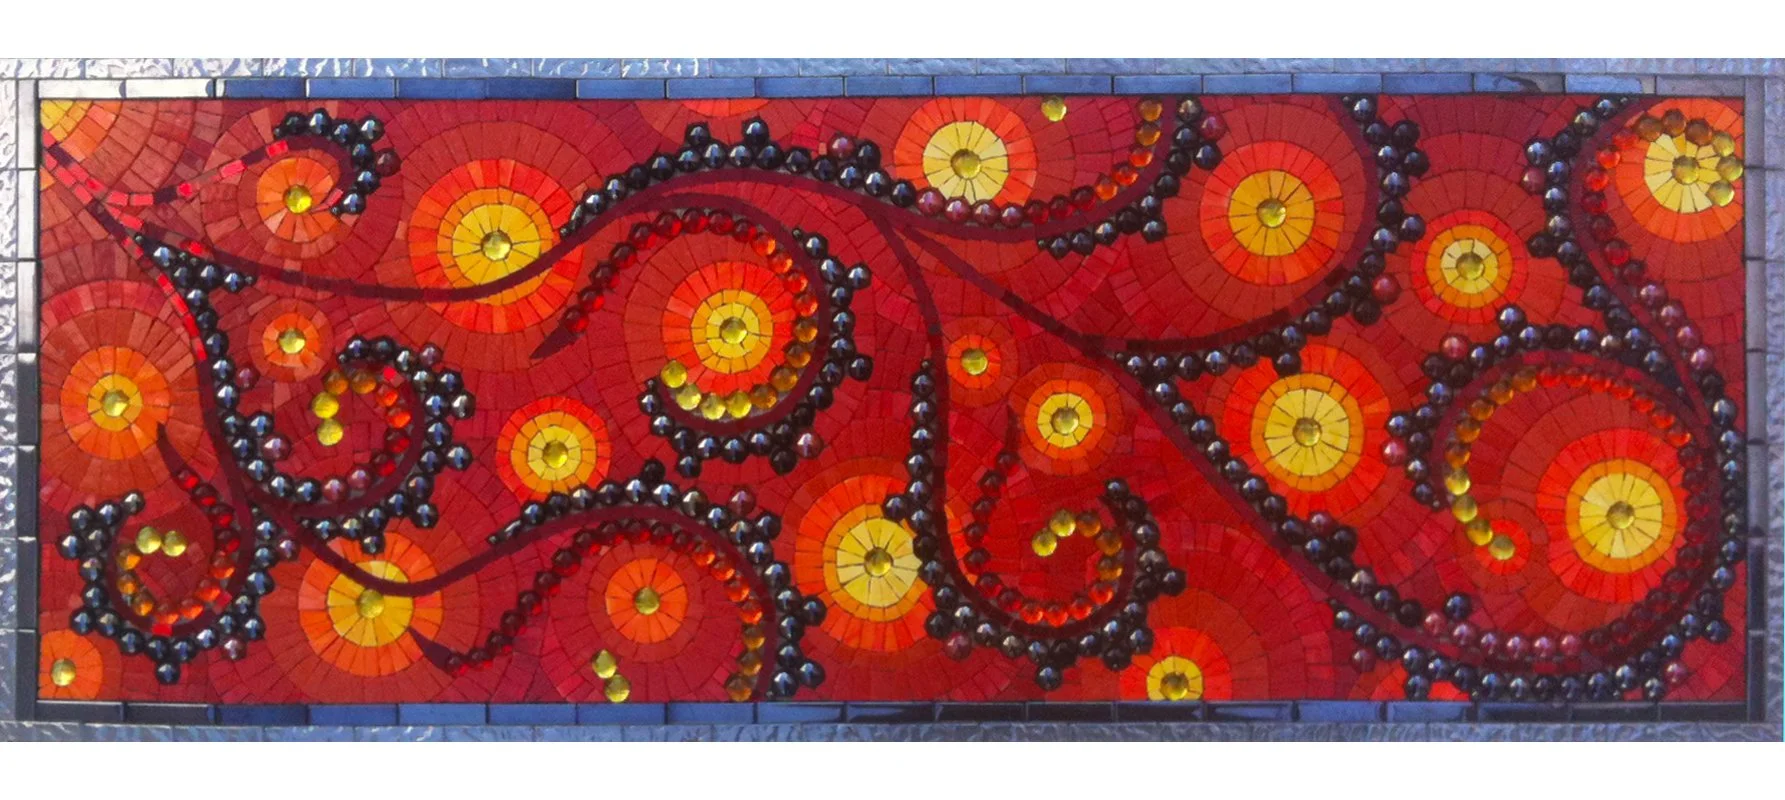
This one is very simple, but I’m really happy with the colors. As you know, I love the copper and turquoise combo. Hopefully someone else will like this one too.

As an update, the aluminum pendants I had poured didn’t work out well. They have to have an angle to the pour so that they’ll release, and I didn’t find that appealing, along with the weight and imperfections. I found pendants on Etsy that are working out much better.

As of this recording, this pendant is available at my Etsy shop. Thank you for watching!

3D Spiral Mosaics

I don’t have progress pictures of making my 3D spiral mosaics because I made them in the early 2000s and my technology made it hard to take good pictures in my studio. You’ll see this during the one progress pic I’m including in this post. I’ll have to rely on descriptions of the process.

I had the idea of making mosaics with more depth, that leapt out of the 2D realm, and couldn’t let it go because I hadn’t seen anything like that before. I remember that my first successful 3D spiral mosaic was the seventh attempt. I was relatively new to mosaics and had to do a lot of trial and error to make it work.

I used iridescent pink stained glass tiles for this first one because it’s what I had on hand. I learned later that molded glass tiles such as Sicis Iridium work better because the smooth edges make for cleaner grout lines along the spirals.


I don’t have pictures of the metal structure underneath, but this is a picture of Ruby Aspirations in progress so that you can see the spirals isolated. The metal structure that finally worked were these metal strips I found at an art supply store. I think they are for building models. They are just flexible enough to bend when I warm them a bit, but strong enough to hold the shape and not warp enough for the tiles to pop off. I started by cutting the strips in half with metal cutters. I then warped them into shape and used a metal punch tool and hammer to puncture holes where the tack nails would hold the metal on the plywood. I used Household Goop and the tack nails to hold the strips in place in their spiral shape. Then I used a hammer to flatten the ends of the metal so that the transition from wood to metal would be as smooth as possible. I again used Household Goop to adhere the glass tiles onto the metal strips. There is some flexibility to the metal even when they are held in place, so I needed to use a very strong adhesive with flexibility. Please note that you should always wear an organic vapor respirator when working with toxic adhesives such as Household Goop or E9000. Finally, I finished the rest of the mosaic as I would any mosaic.

For Blue Aspirations, I decided on a monotone look. I used a porous vitreous glass with a matte feel in the background to differentiate between the background and the super shiny glass of the spirals and accents.

For Pods, I chose my favorite organic, earthy glass tiles for the background, and shiny stained glass to have the pod spirals grow out of the earth. I also used mortar to slightly raise the pods to give them dimension also. This is one of my favorite mosaics I’ve made, but I’ve noticed it’s not a fan favorite! That happens with art!!


Don’t miss the recent Redfin article I was featured in!

I'm so excited that Redfin featured my mosaic backsplash in their article about ideas to add color into your home with mosaic & stained glass! ❤️

Your home is a space where you can decorate as freely and creatively as you wish. Whether that’s designing with pops of color throughout each room or taking a more minimalist approach, your options are endless. But a timeless and unique way to bring color into your home whether you’re living in Seattle, WA to Toronto, CA is with mosaics and stained glass.

To help you get started, I, along with other artists shared our advice for decorating your home with mosaics and stained glass art. Check out what we had to say so you can brighten your home today!

Brighten Your Space! 12 Mosaic and Stained Glass Ideas to Add Color to Your Home

New Mosaic Mezuzot!!

Just in time for a Hanukkah I’ve released some new beaded mosaic mezuzah designs. They are available for purchase in my shop for $180 each, and include free shipping and arrive in a cute silver satin gift pouch.

Sunburst Mosaic

Sunburst-Mosaic-Full.jpg

This is a mosaic I was lucky enough to be able to create for a wonderful couple in Eagle Rock, California, a suburb of Los Angeles. It was made to fit organically within their master bath design. This couple has a bold and beautiful vision of art. I was in love with them, their home, and their art as soon as I met them. I used stained glass, vitreous glass, smalti, Van Gogh glass, and glass gems to create a striking architectural artwork for their home, inspired by the stunning architecture of their home.

Sunburst-Mosaic-Detail2.jpg
2011-04-11 17.56.50.jpg
Sunburst-Mosaic-Detail1.jpg